Updated
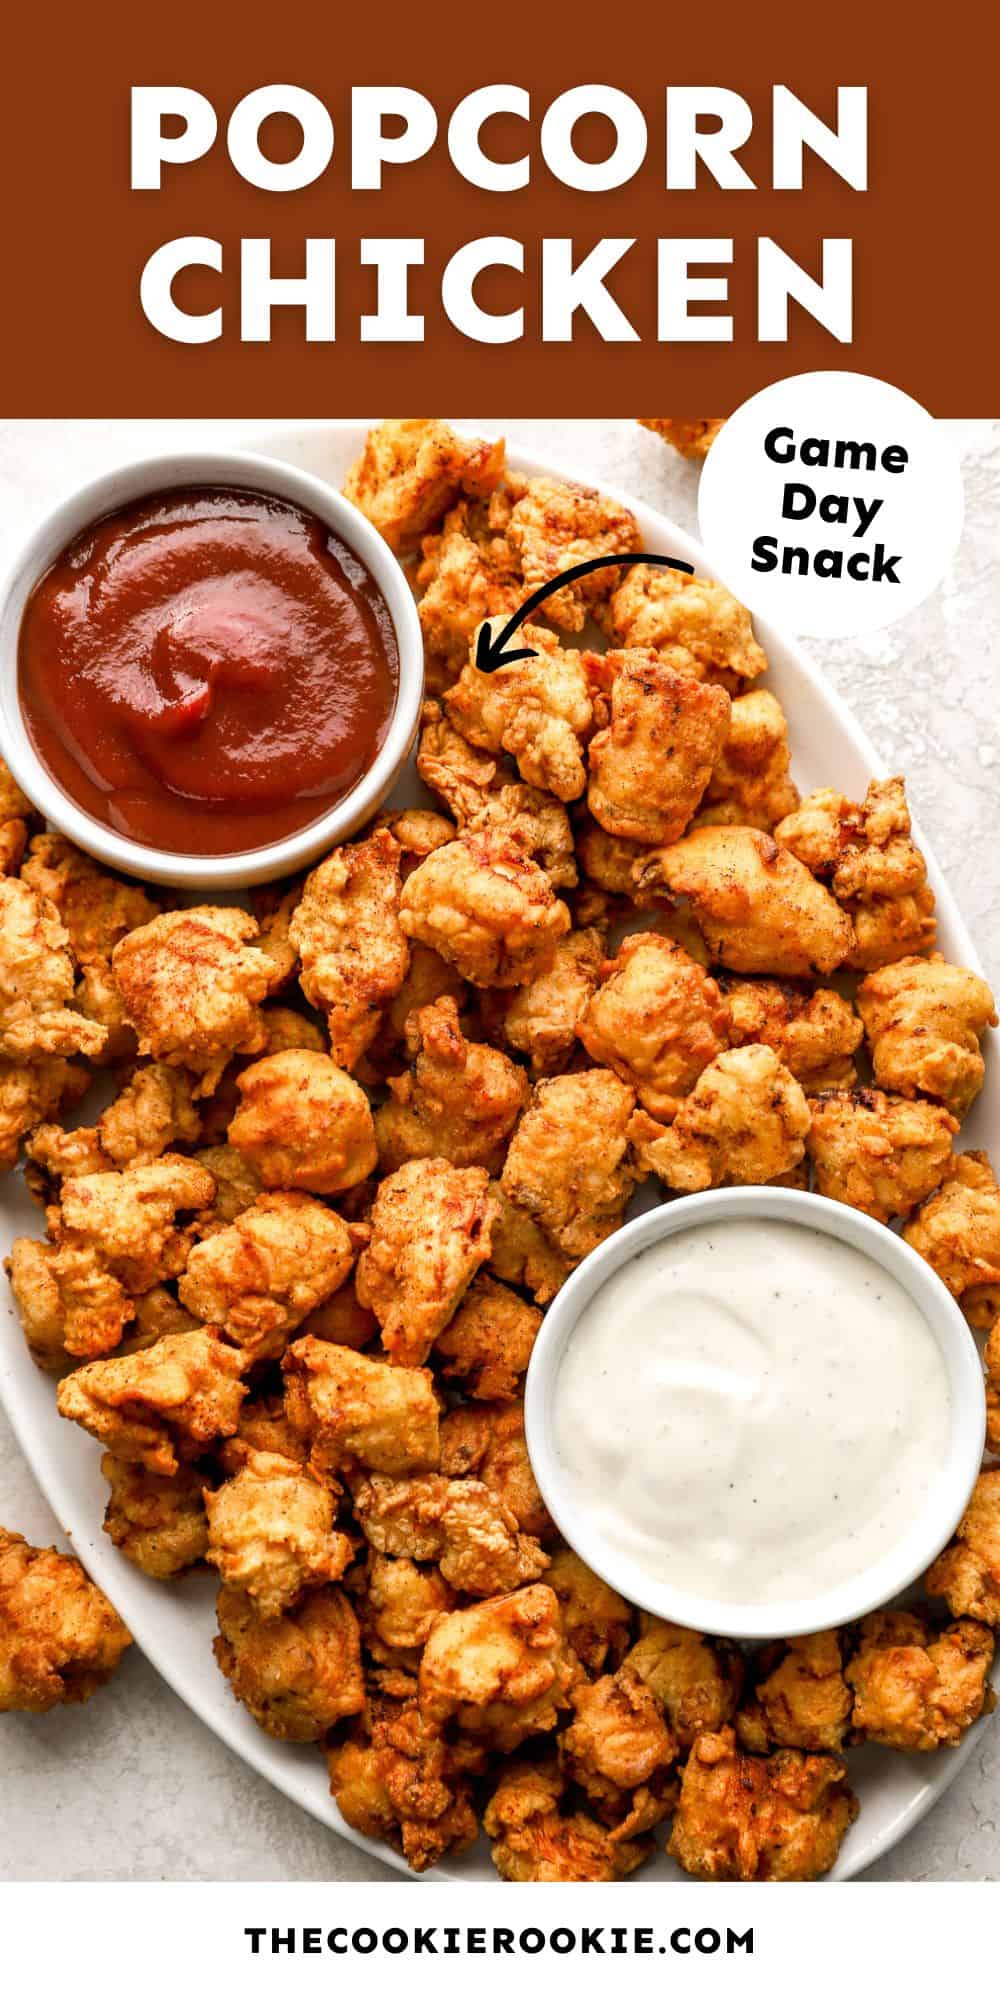
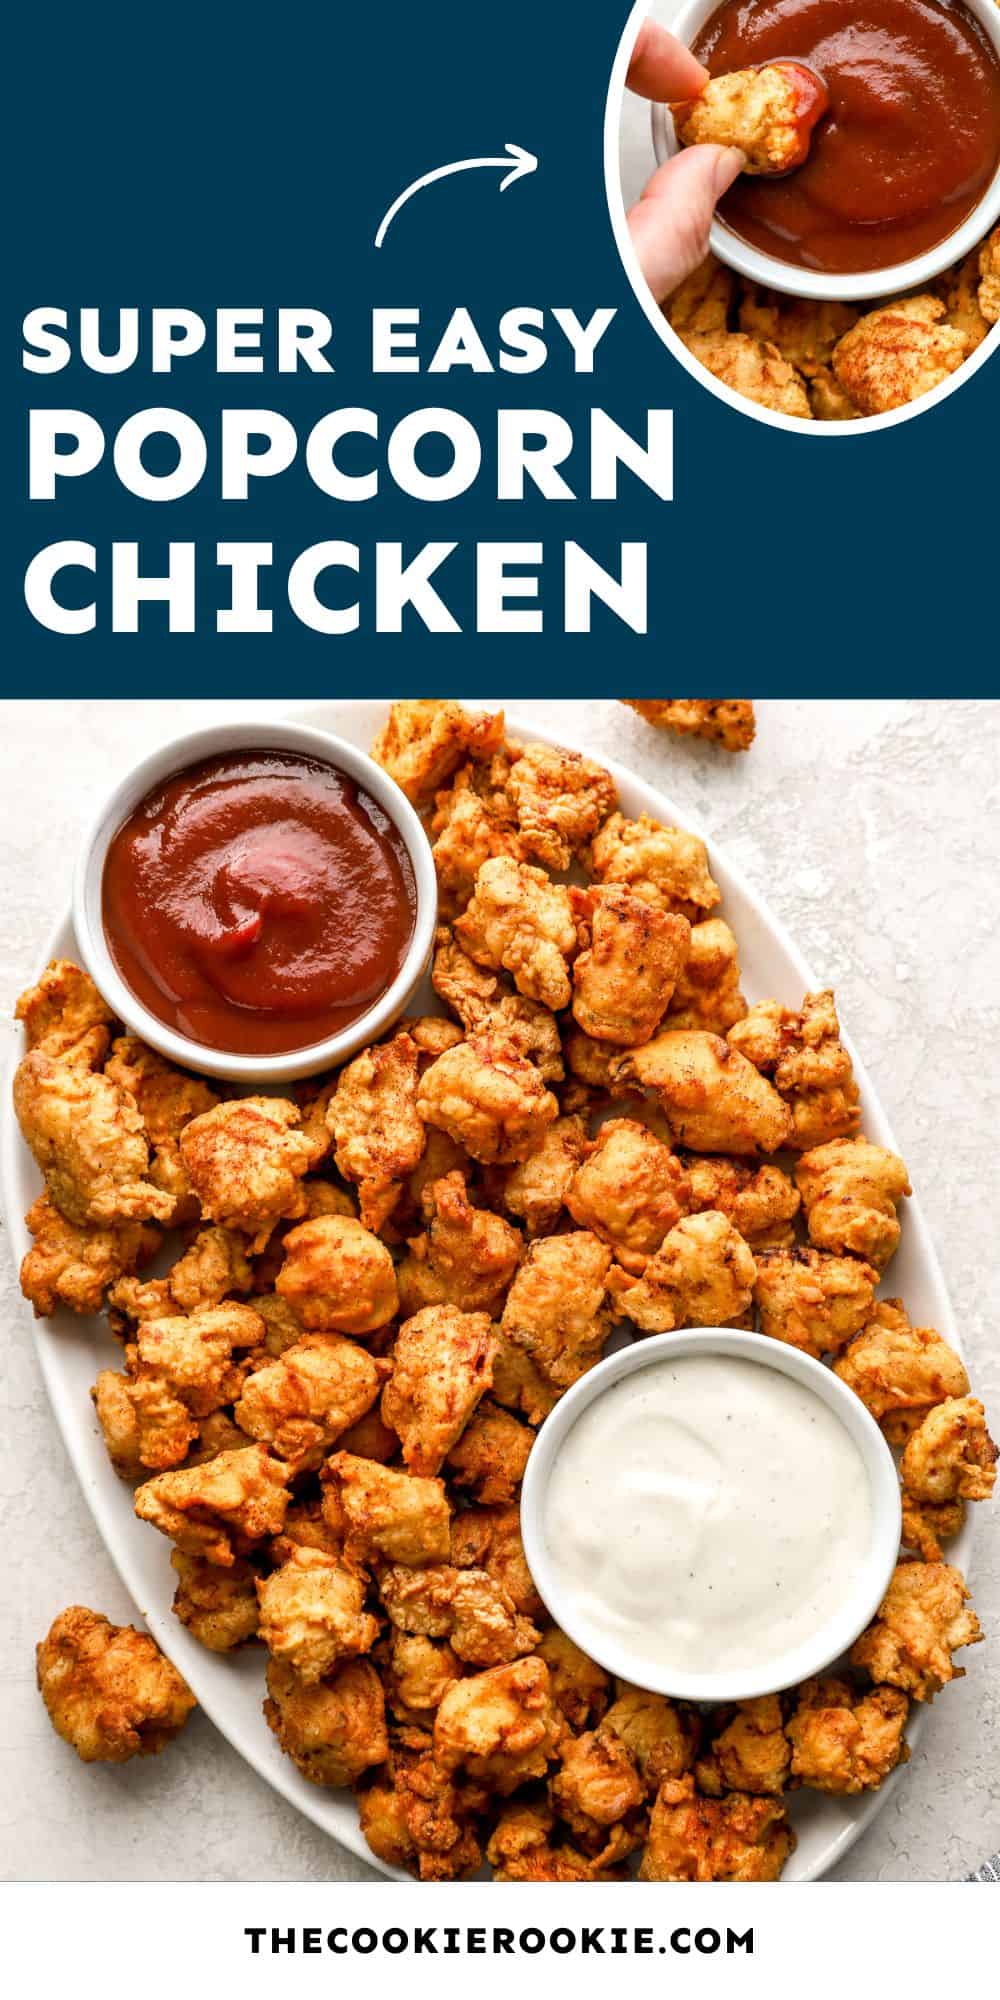
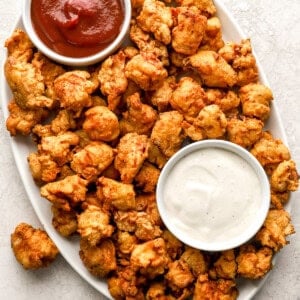
This popcorn chicken recipe is made using a deep-frying method for the crispiest, most golden coating, with tender, juicy chicken in every bite. It’s one of those easy, crowd-pleasing recipes I come back to when I want something fun, flavorful, and guaranteed to turn out right. The pieces cook quickly, the coating stays perfectly crunchy, and it’s just as good for dipping as it is piled onto a plate for dinner.
If you’re like me and love KFC popcorn chicken, then this recipe is for you. It’s homemade, which makes it simpler, fresher, and more balanced in flavor. And yes, they’re actually crispy. I tested a few different methods, and deep frying consistently gave me the best results. The high heat cooks the chicken quickly so it stays juicy, while the coating turns perfectly crisp and golden. I use a quick buttermilk soak to help tenderize the chicken and build flavor, then coat each piece in a seasoned flour and cornstarch mixture for that light, craggy crunch. The spice blend is simpler than most, but well-balanced, and easy to adjust depending on what you like.
If you want something a little bolder and extra crunchy, I also have a Fritos popcorn chicken version with a saltier, corn-forward flavor that’s a fun twist on this base recipe. I picked up a few key tricks along the way that make a big difference in getting that texture just right, and I’ve shared them below so you get consistent results every time.
Tips for Beginners
- Use the right cut of chicken. I use boneless, skinless chicken breast for that classic popcorn chicken texture, but thighs work too if you want something juicier. Through testing, I found breast gives a firmer bite while still staying tender, thanks to the buttermilk soak.
- Build a crispy coating. The combination of flour and cornstarch is what really sets this coating apart. The cornstarch helps create that light, crisp texture, while the flour gives it structure. You want the coating to look slightly rough and uneven before frying. That’s what turns into those crispy edges.
- Keep the seasoning simple but balanced. This isn’t an overly spiced coating, and that’s intentional. The paprika, seasoned salt, garlic powder, and onion powder give just enough flavor without overpowering the chicken, so it stays versatile for dipping and serving different ways.
- Cut evenly sized, bite-sized pieces. Aim for about 1-inch pieces so everything cooks at the same rate. Larger pieces take longer and can brown too quickly on the outside before cooking through, while smaller pieces can dry out.
- How much oil to use. You want enough vegetable oil to fill the pot about 2–3 inches deep. This allows the chicken pieces to fully submerge or at least float freely, which helps them cook evenly and get that crispy coating on all sides.
- Maintain a steady oil temperature. Keeping the oil at 350°F is one of the most important parts of this recipe. Too low, and the chicken absorbs oil and turns greasy. Too high, and the coating browns too fast. I always use a thermometer, but you can also look for steady bubbling when the chicken hits the oil.
- Don’t overcrowd the pan. Fry in batches so the oil temperature stays consistent. If you add too much at once, the oil drops in temperature, and the coating won’t crisp properly.
- Let the oil recover between batches. After each batch, give the oil a minute to come back up to temperature before adding more chicken. This small step makes a big difference in keeping every batch equally crispy.
- Drain on a wire rack for maximum crispiness. Instead of paper towels, place the chicken on a wire rack. This keeps air circulating around the pieces so the coating stays crisp instead of steaming and softening.
Popcorn Chicken Recipe
Ingredients
- 1½ lbs boneless, skinless chicken breast*
- 2 cups buttermilk
- 1¼ cup all-purpose flour
- ½ cup cornstarch
- 1 tsp ground paprika
- 1 tsp seasoned salt such as Lawry's
- ½ tsp garlic powder
- ½ tsp onion powder
- ¼ tsp ground black pepper
- Vegetable oil** for frying
Video
Instructions
- Cut the chicken breasts into small, bite-sized pieces.1½ lbs boneless, skinless chicken breast*
- Pour the buttermilk into a large bowl. Add in the chicken, cover the bowl with plastic wrap, and marinate for at least 1 hour or up to 8 hours.2 cups buttermilk
- Combine the flour, cornstarch, and seasonings in a shallow dish.1¼ cup all-purpose flour, ½ cup cornstarch, 1 tsp ground paprika, 1 tsp seasoned salt, ½ tsp garlic powder, ½ tsp onion powder, ¼ tsp ground black pepper
- Working in batches, remove the chicken pieces from the buttermilk and let the excess liquid drip off. Dredge the chicken in the flour mixture until fully coated.
- Heat the oil to 350°F in a large pot.Vegetable oil**
- Working in batches again, drop the chicken pieces into the oil and fry for 4-5 minutes until golden brown. (Don't try to fry too much chicken at once. This will lower the temperature of the oil, leading to greasy chicken.) Stir the chicken a little bit as they cook so they don’t stick together.
- Transfer the chicken to a plate or baking pan lined with paper towels to drain.
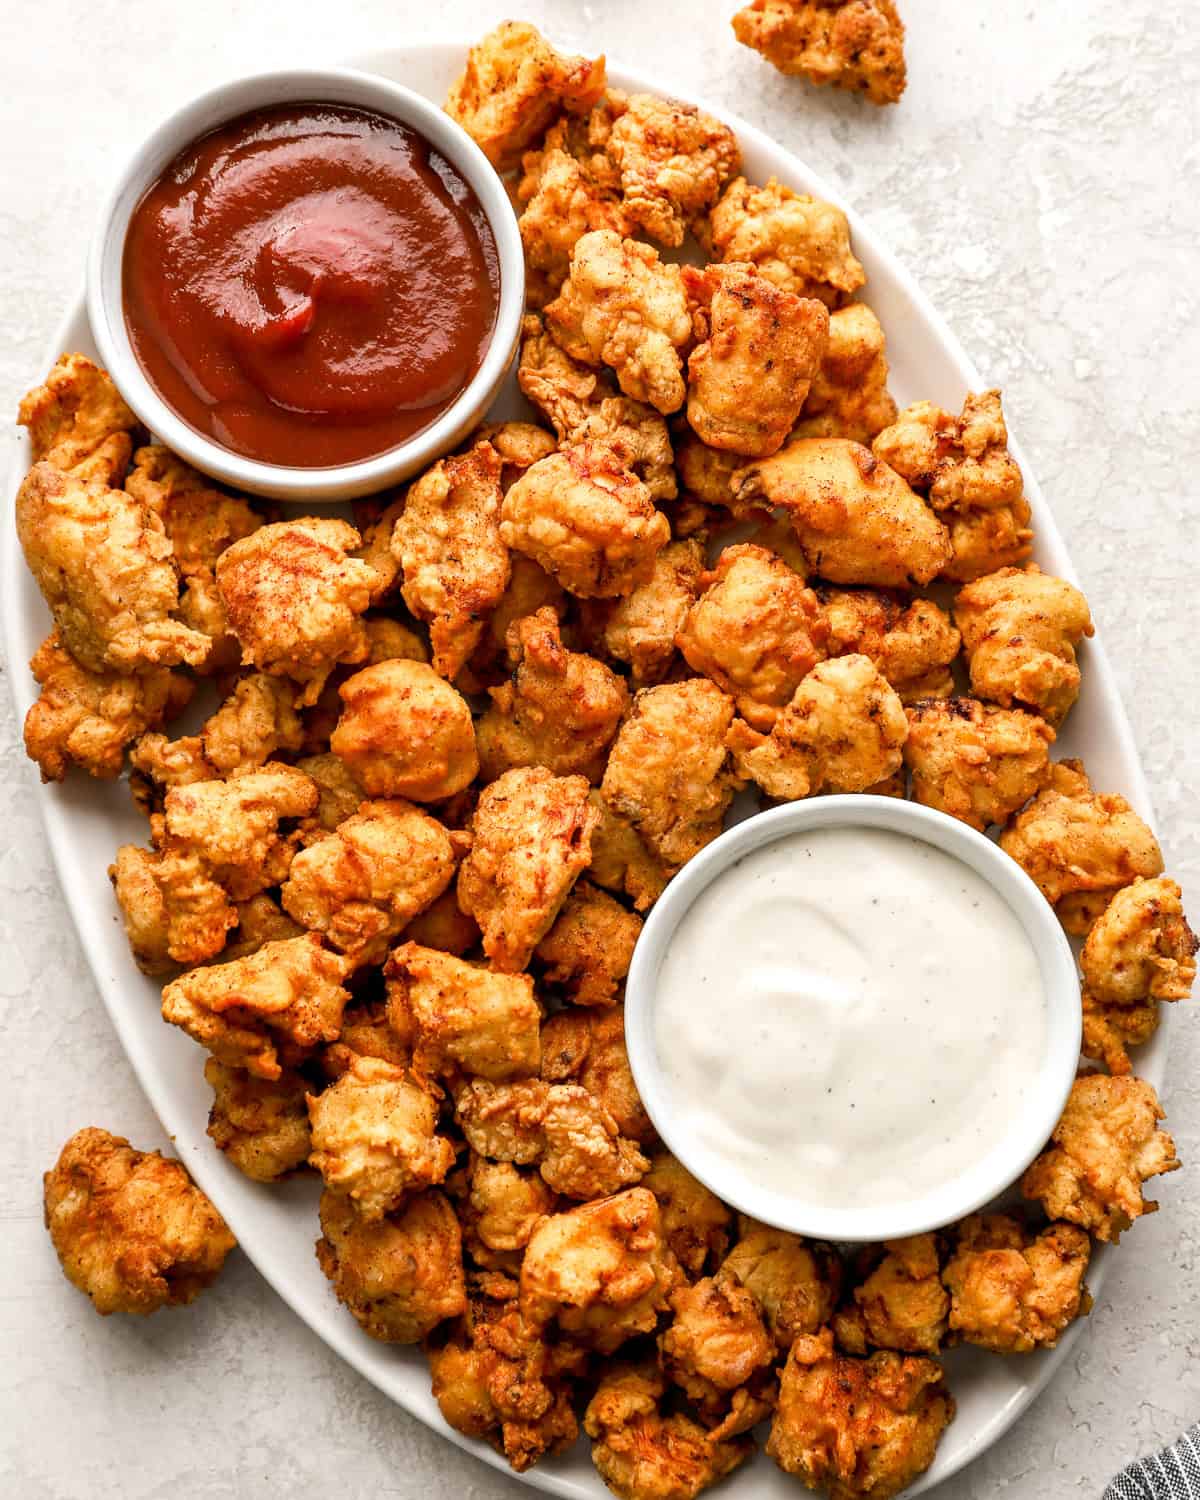
- Serve with your favorite chicken dipping sauces.
Equipment
- Dutch Oven
- Deep Frying Thermometer
Becky’s Tips
- I prefer boneless, skinless chicken breasts to keep this recipe a little healthier, but chicken thighs also work well. You can swap in boneless, skinless chicken thighs if you prefer a richer, more tender bite. Just cut them into similar-sized pieces and plan for a slightly longer cook time since they take a bit more time to cook through than chicken breast.
- I like to use vegetable oil for deep frying since it has a neutral flavor and a high smoke point.
- Adjust the spice level to your taste: Add cayenne, chili powder, or hot sauce for heat, or keep it mild with simple seasoning.
- Double coat for extra crunch: Dip the chicken back into the flour mixture a second time to create a thicker, crispier coating.
Nutrition information is automatically calculated, so should only be used as an approximation.
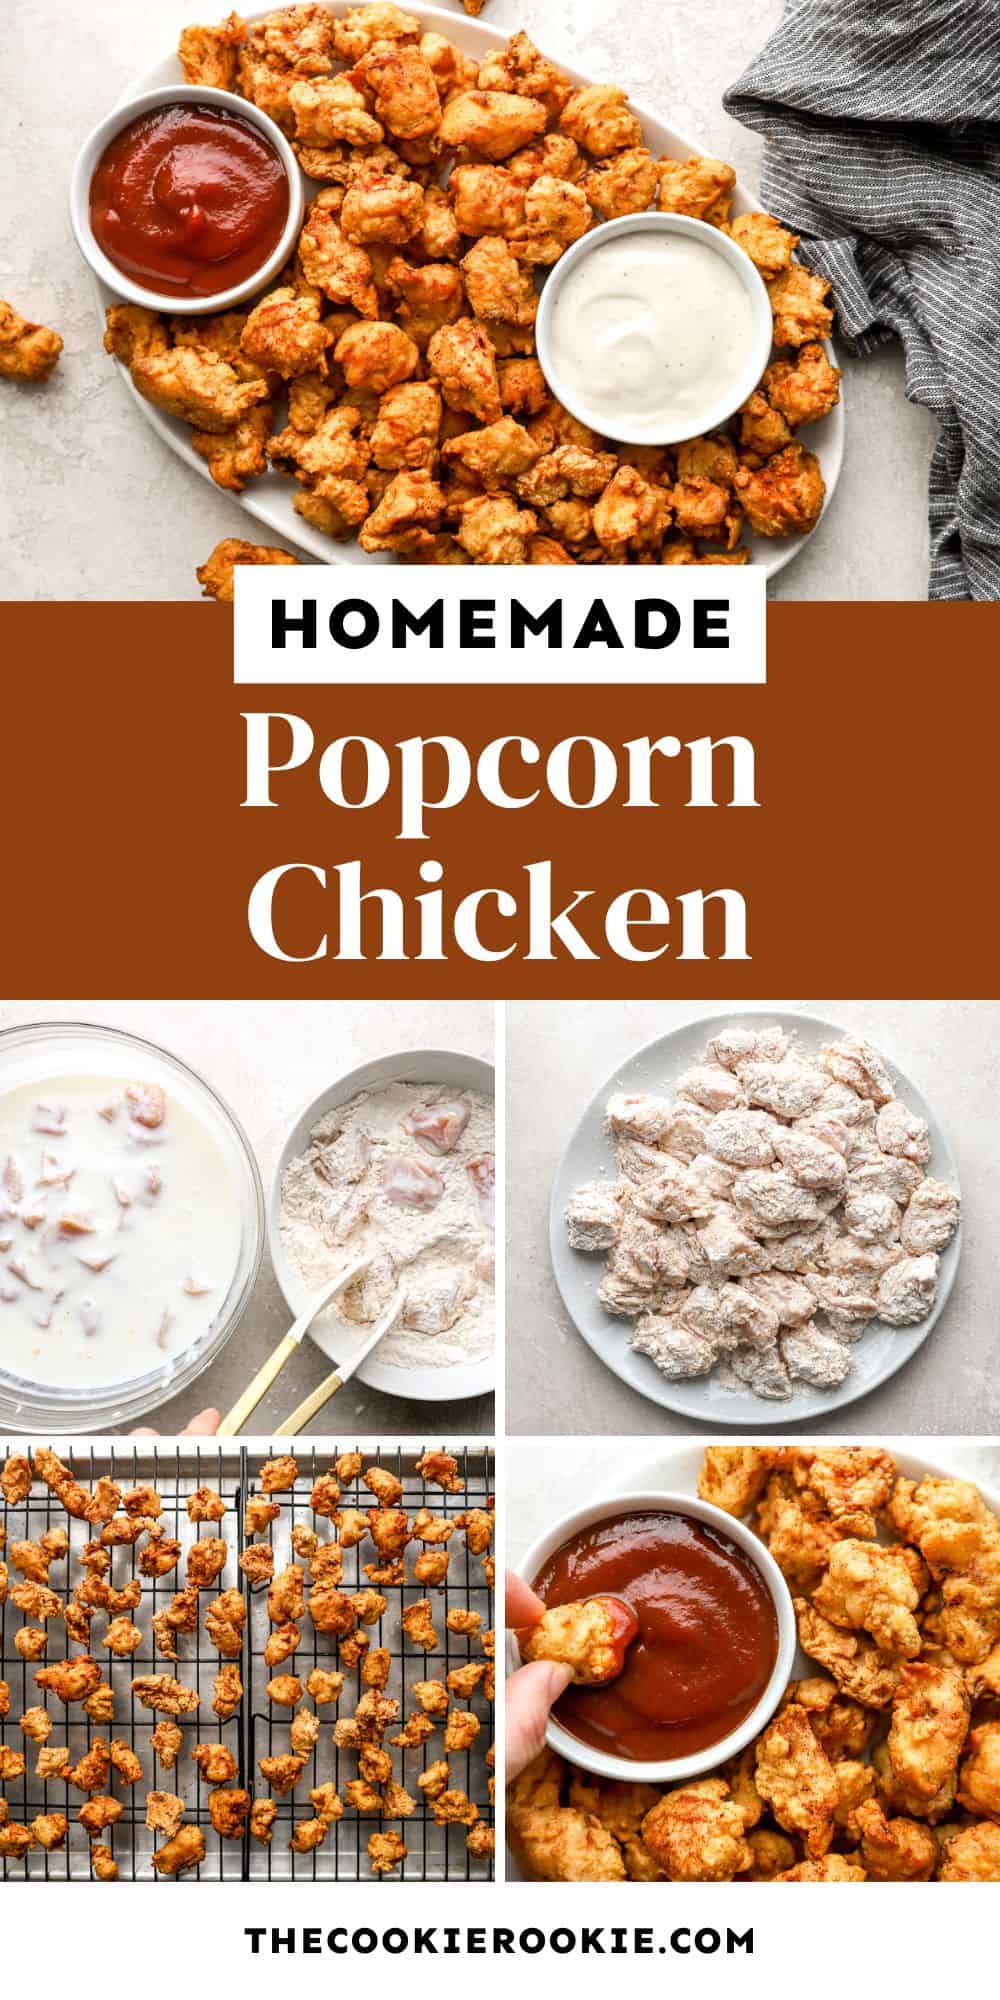
How to Make Popcorn Chicken Step by Step
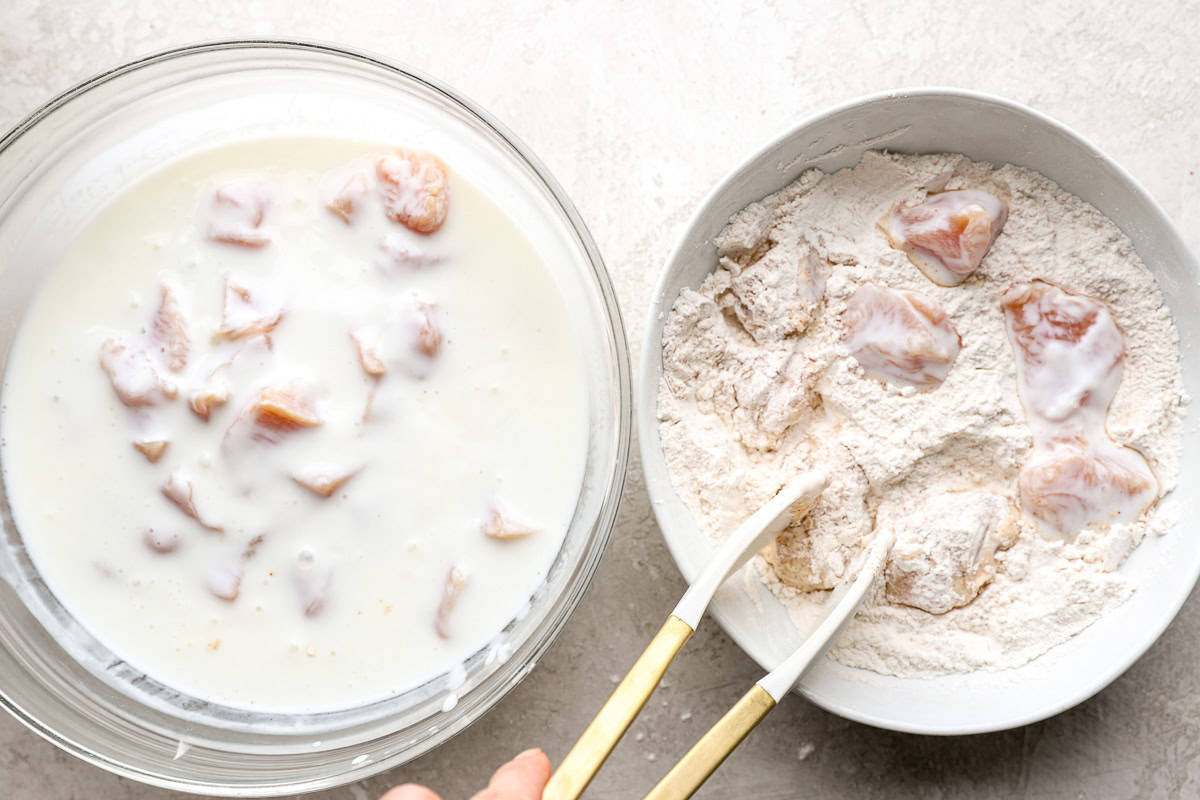
Gather all the ingredients together. Marinate and coat chicken: Cut 1½ lbs boneless, skinless chicken breast into small, bite-sized pieces, about 1 inch each, so they cook evenly and quickly. Pour 2 cups buttermilk into a large bowl, then add the chicken pieces and stir to fully coat. Cover and refrigerate for at least 1 hour or up to 8 hours. The buttermilk should fully surround the chicken and slightly thicken as it sits.
In a shallow dish, whisk together 1¼ cups all-purpose flour, ½ cup cornstarch, 1 tsp paprika, 1 tsp seasoned salt, ½ tsp garlic powder, ½ tsp onion powder, and ¼ tsp black pepper. The mixture should look evenly combined with no visible streaks of cornstarch.
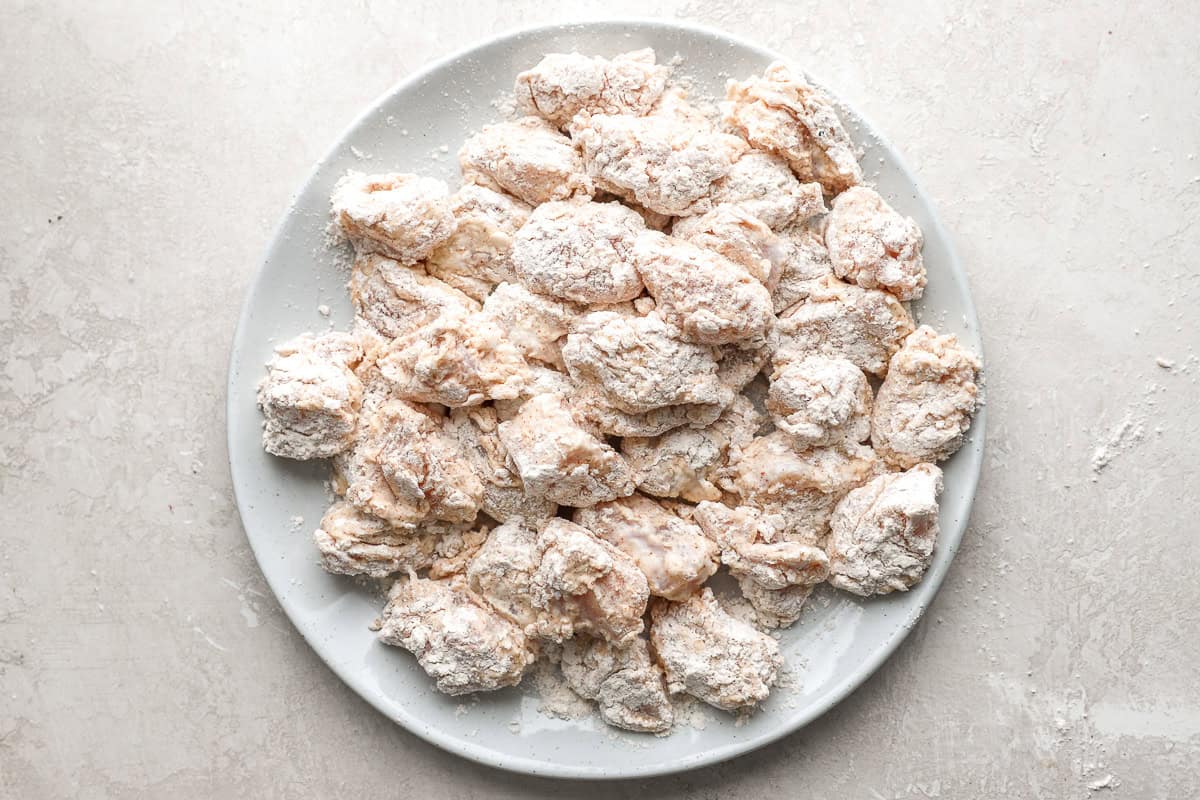
Coat the chicken: Remove the chicken from the buttermilk, letting the excess drip off so it’s not overly wet. Dredge each piece in the flour mixture, pressing lightly so the coating sticks. The coating should look slightly rough and craggy, not smooth or thin, which helps create that crispy texture.
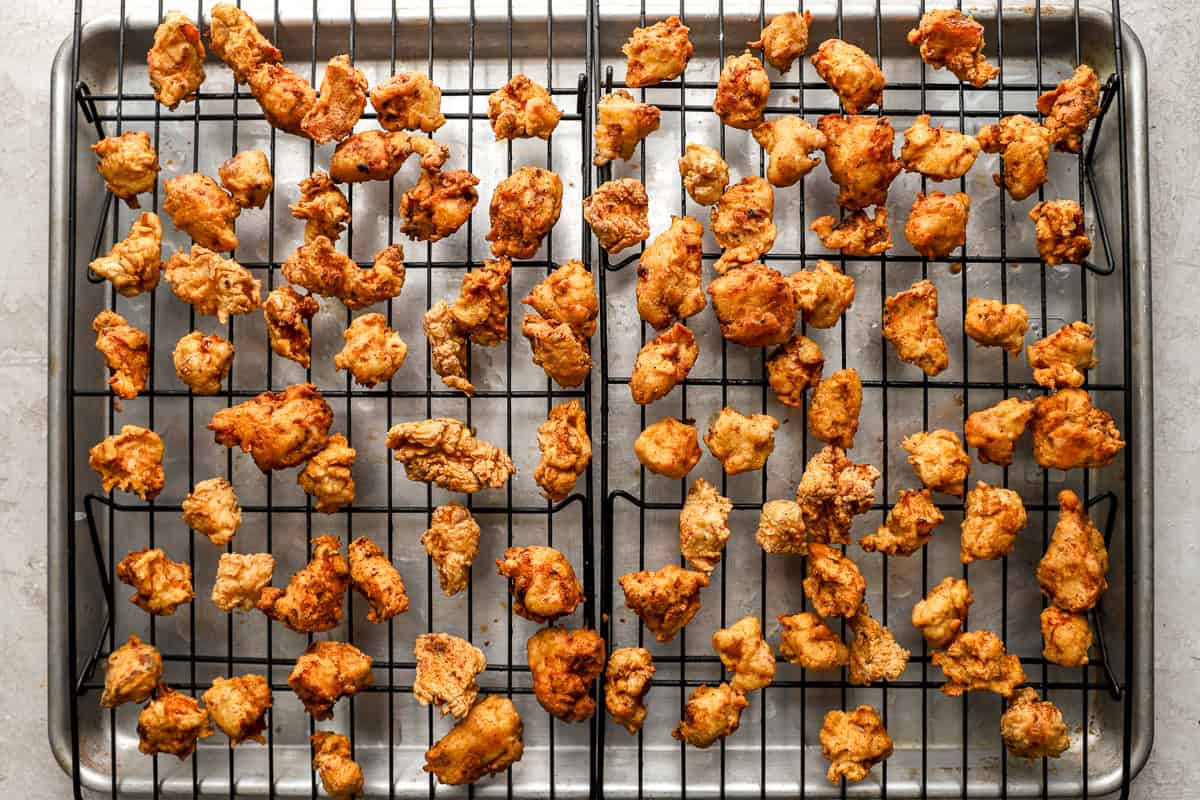
Fry the chicken: Pour enough vegetable oil into a large pot to fill it a few inches deep and heat to 350°F. The oil should shimmer, and a small pinch of flour dropped in should sizzle immediately without burning. Working in batches, carefully add the coated chicken pieces to the hot oil. Fry for 4–5 minutes, stirring occasionally so they don’t stick together. The oil should bubble steadily around each piece, not aggressively splatter.
The chicken is done when it’s deep golden brown, and the coating looks crisp and set. Allow the oil to come back to 350°F before adding the next batch of chicken. Use a slotted spoon to transfer the chicken to a plate or baking sheet lined with paper towels. Let it rest for a few minutes so the coating stays crisp and any excess oil drains off.

Serve and enjoy: Serve warm with your favorite dipping sauces and enjoy while the coating is at its crispiest.
Using An Air Fryer
You can also “fry” popcorn chicken in the air fryer. Simply spray the pieces liberally with vegetable, canola, or avocado oil spray and air fry at 400°F for about 8 minutes, flipping halfway through.
How to Store and Reheat
Let the popcorn chicken cool completely before storing, then transfer it to an airtight container and refrigerate for up to 3–4 days. For longer storage, freeze it for up to 2 months, keeping in mind the coating may lose some of its crisp texture.
When reheating, I recommend using the oven or air fryer to bring back that crispy exterior and heat it through evenly. I try to avoid the microwave if possible since it tends to make the coating soft instead of crisp.
Serving Suggestions
Popcorn chicken with a side of buttermilk biscuits is my ultimate comfort, classic combo that feels like a full meal. For dipping, I almost always pair it with homemade ranch because the creamy, herby flavor balances the crispy coating perfectly. If I want to add something a little lighter, I’ll make air fryer sweet potato fries, which bring a subtle sweetness that works really well with the savory chicken.
More Crispy Favorites
- Popcorn Shrimp: These popcorn shrimp are the seafood version of this recipe, with tender shrimp coated in a crispy, golden breading. They’re just as poppable and perfect for dipping, making them an easy appetizer or party favorite.
- Fried Okra: This fried okra is a classic Southern side made with sliced okra coated in cornmeal and fried until perfectly crisp. It’s simple, crunchy, and a great way to add something savory alongside your popcorn chicken.
- Fried Shrimp: This fried shrimp features juicy shrimp coated in a seasoned breading with a little cornmeal for extra crunch, then fried until golden and crispy. It’s a great option if you want something a little heartier but made with the same crispy technique.