Published

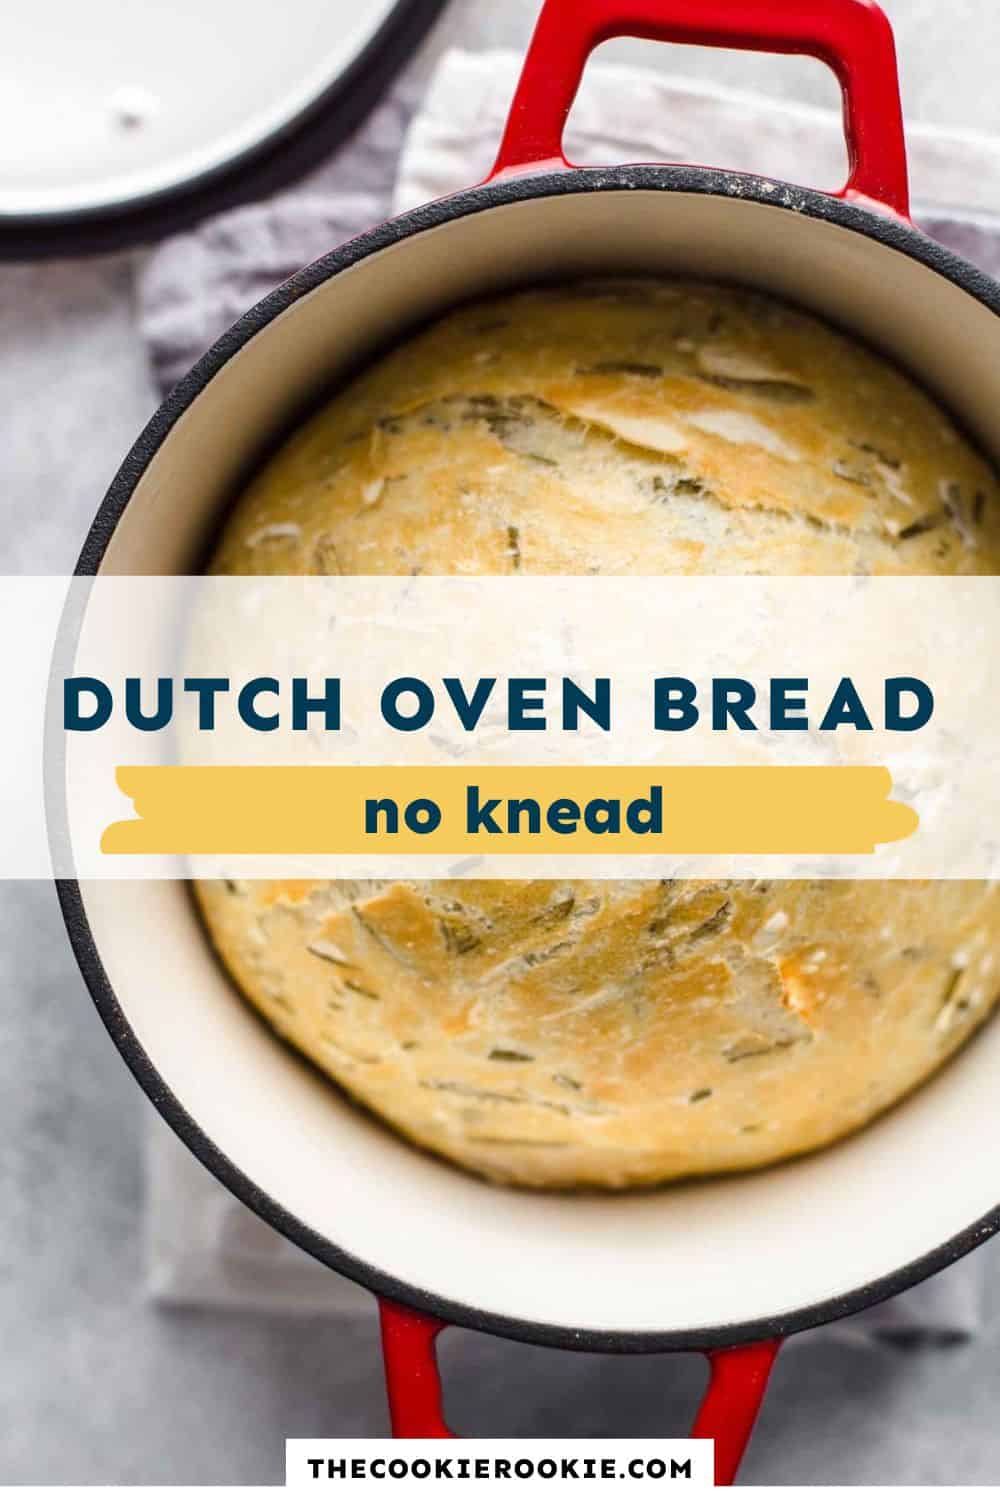
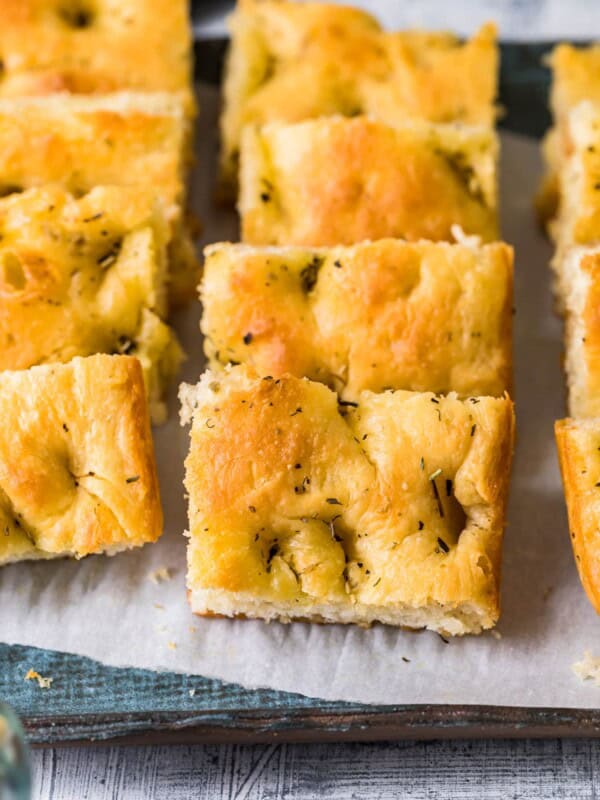
No Knead Dutch Oven Bread is a simple and easy way to make bakery-style bread right in your own kitchen—it’s completely changed the way I think about baking bread! The crust comes out golden and crisp, while the inside stays soft and chewy with that perfect airy texture. The best part? You don’t need any special skills or endless kneading to make it happen. If you’ve always been intimidated about making bread, this no knead recipe is for you.

5-Star Review
“This was so simple and so delicious. Wonderful crust while still having a wonderful soft doughy center. Yeast recipes and I have a love/hate relationship but this was perfection. Definitely going into my favorite recipe book.” – Mary
Easy No Knead Dutch Oven Bread Recipe
This no knead Dutch oven bread recipe couldn’t be easier. I’m using my 4½-quart Dutch oven (Cherry Red, it’s a beaut!) but you can use a 5-quart or 5.5-quart, just check the loaf a few minutes before the recommended bake time to ensure it doesn’t overbake. In terms of ingredients, all you need is all-purpose flour, water, yeast, and sea salt. However, I’ve added fresh rosemary to add a touch more flavor, but it isn’t required. Not only is this home-baked bread recipe simple, it’s also delicious.
This bread recipe is mostly hands-off and doesn’t require a lot of guesswork. With kneaded bread, I’m always wondering if I’ve over- or under-kneaded it. This no knead recipe takes all that guesswork out, so I get an amazing, fresh bread every time!
Tips for Beginners
- Do not grease the Dutch oven. This could cause oil to polymerize onto the surface of the Dutch oven, which is harmless but doesn’t look nice. Always place the bread directly in the dry Dutch oven or on a piece of parchment paper.
- Use the spoon and level method. Make sure to measure your flour using the spoon-and-level method to avoid adding too much, and check your oven temperature with a thermometer to ensure it is correct. This will reduce your risk of getting hard bread.
- Turn down temperature if needed. If your bread is gummy and dense, this too may be a result of your oven temperature. Gummy bread is usually the result of the crust forming before the bread inside has had a chance to fully expand.
- Test your yeast. If, after the 12-hour rest, your dough is dense and has not doubled in size, your yeast may have expired. To test your yeast, place 2¼ teaspoons of yeast and 1 teaspoon of sugar into a cup of warm water. If it starts to bubble within 5-10 minutes, it’s good; if it doesn’t, throw it away.
No Knead Dutch Oven Bread

Ingredients
- 3 cups all-purpose flour 360g
- 1¾ tsp sea salt 9g
- ¾ cup fresh rosemary leaves 22g, chopped, or 2-4 tbsp dried also works
- ½ tsp active dry yeast 2g
- 1½ cups water 341g, room temperature
Video
Instructions
- In a large bowl, mix the flour, sea salt, rosemary, and yeast together. Mix in the water and use a spatula to blend until well combined.3 cups all-purpose flour, 1¾ tsp sea salt, ¾ cup fresh rosemary leaves, ½ tsp active dry yeast, 1½ cups water
- Cover the bowl with plastic wrap or a clean, damp dish towel and allow it to sit on the counter overnight, at least 12 hours. (Patience is a virtue!)
- Preheat oven to 450°F degrees with a Dutch oven inside.
- Once preheated, carefully remove the Dutch oven from the hot oven and remove the lid from it. Use oven mitts!
- Flour a clean work surface as well as your hands. Remove the dough from the bowl and form it into a ball. This is a no-knead recipe, but you may have to fold it a couple of times to get it to form the shape you want. Place the dough into the bottom of the Dutch Oven (be careful not to burn your hands; the cast iron will be HOT!)
- Bake for 30 minutes with the lid on, then remove the lid and bake another 15-20 minutes, until the bread is golden brown.
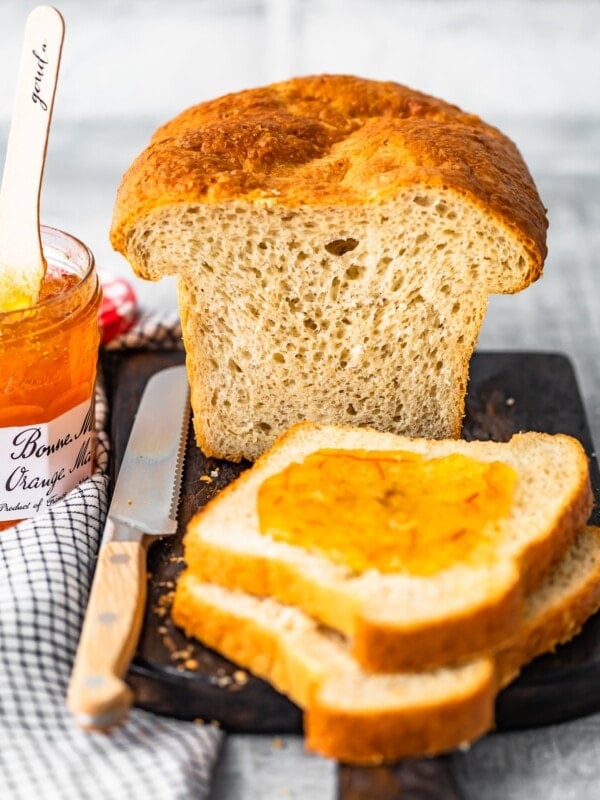
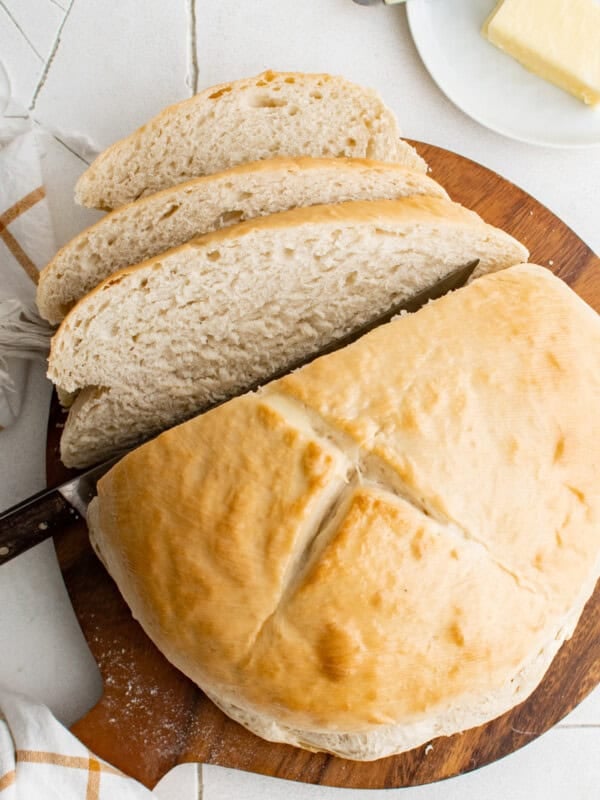
- The loaf should be nice and browned on top, and the crust should look crisp. If you gently tap on the bottom of the loaf with your finger, it should sound hollow. The proper internal temperature for baked bread is 195-210°F.
- Remove from the oven and allow to cool. Cut and serve.
Equipment
- Kitchen Scale (optional)
- Dutch Oven
Nutrition information is automatically calculated, so should only be used as an approximation.
How to Make No Knead Dutch Oven Bread Step by Step

Prepare the dough: In a large bowl, mix 3 cups flour, 1¾ tsp sea salt, ¾ cup rosemary, and ½ tsp yeast. Mix in 1½ cups water and use a spatula to blend until well combined

Proof the dough: Cover the bowl with plastic wrap or a clean, damp dish towel and allow it to sit on the counter overnight, at least 12 hours. (Patience is a virtue!)
Preheat the oven and get the Dutch oven ready: Preheat the oven to 450°F with the Dutch oven inside.
Once preheated, carefully remove the Dutch oven from the hot oven and remove the lid from it. Use oven mitts!
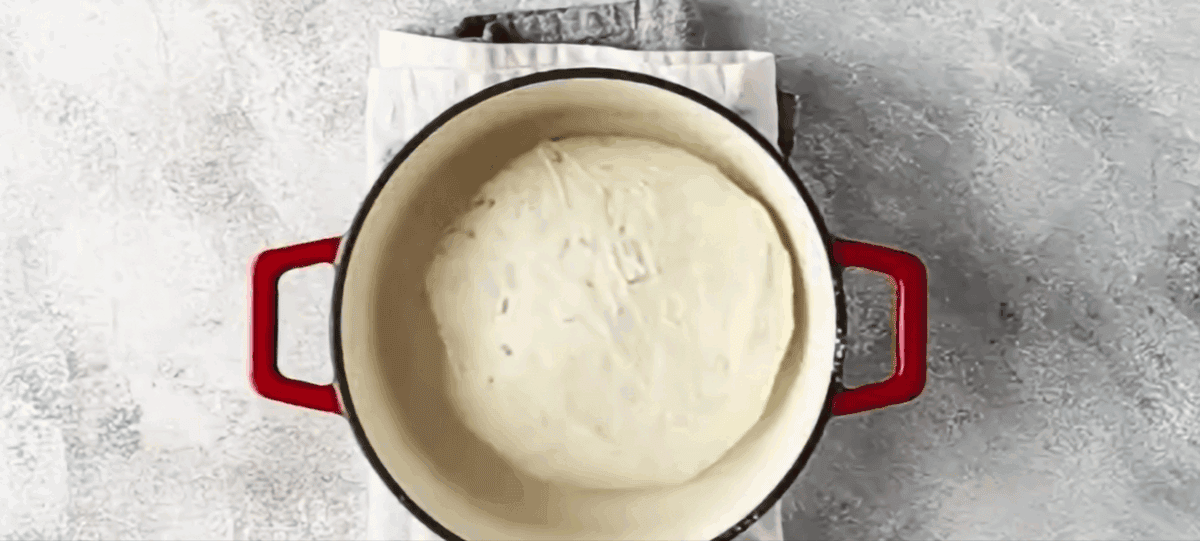
Fold the dough: Flour a clean work surface as well as your hands. Remove the dough from the bowl and form it into a ball. This is a no-knead recipe, but you may have to fold it a couple of times to get it to form the shape you want. Place the dough into the bottom of the Dutch Oven. Be careful not to burn your hands—the Dutch oven will be HOT.
Bake: Bake for 30 minutes with the lid on, then remove the lid and bake another 15-20 minutes, until the bread is golden brown.
The loaf should be nice and browned on top, and the crust should look crisp. If you gently tap on the bottom of the loaf with your finger, it should sound hollow. The proper internal temperature for baked bread is 195-210°F.
Remove from the oven and allow to cool.

Serve and enjoy: Cut and serve.
Variations on Dutch Oven No Knead Bread
You can flavor this delicious bread with just about any fresh herb or spice you like, add cheese, or even spice it up. Here are a few options:
Herbs: Sage, thyme, oregano, basil, or dill are just a few, though the possibilities are endless.
Spices: Garlic or onion powder, chili flakes, ginger, or for sweet bread, add cinnamon, nutmeg, or cardamom.
Cheese: Fold in up to ½ cup of freshly shredded cheese; Parmesan or mozzarella would go great with rosemary or any other herb.
Fruit: Chopped cranberries, raisins, currants, dates, and even diced apples or pears would taste great. Or, throw in chopped olives, any type works.
Nuts: Any chopped nuts would add great texture and taste, try walnuts or pecans.
Seeds: Seeds also add flavor and texture, so feel free to throw in pumpkin or sunflower seeds or top the bread with a sprinkling of sesame seeds.
Chilis: Stir in chopped jalapenos or green chilies, or add red chili flakes to the batter.

How to Store
Store leftover no knead Dutch oven bread in an airtight container at room temperature for up to 3 days. I do not recommend storing homemade bread in the refrigerator.
To freeze this rosemary bread, cut it into individual slices, then freeze in an airtight container or tightly wrapped in plastic wrap. It will keep for up to 3 months. Remove individual slices and thaw in the refrigerator or microwave before enjoying.

Serving Suggestions
I like to serve this delicious no knead Dutch oven bread simply with butter or olive oil. However, it’s great for eating with your favorite dips, such as a cheesy Caprese dip and a super savory bacon spinach dip. It also goes great with 15 bean soup or on the side of chicken mushroom pasta.

more homemade bread recipes
Our No Knead Dutch Oven Bread recipe was originally published on 01/26/19. It was retested, reworked, and republished to be better than ever on 10/15/25.


Hi Becky,
I have never bread before. I would like to know if I can use whole wheat flour only and would that be the same measurements of ingredients and directions?
Thanks!
Doris
Hi Doris, we haven’t tried this recipe with whole wheat flour.
The bread came out perfectly except that the parchment paper stuck to the bread and could not be pulled off by hand. I suggest you skip using the parchment paper during the baking cycle.
Hi Becky.
My concern lies with the recipe not calling for any butter or oil. Will that life be as soft the next day? I have my doubts.
Hi Becky,
I don’t have a Dutch oven but I have a giant oven safe Pyrex bowl with lid. Would that be an ok substitution in your opinion?
Hi Vi, it could work, but you may not get quite as high of a rise!
Can I use bread flour if out of AP flour?
Hi Pedro, it should work, but you may need to adjust the total amount of water slightly.
Question, I was taught to bloom yeast before mixing with salt as it can cause the yeast to not act correctly. Is it ok to bloom before adding to flour and salt.
Hi Rachel, you can definitely bloom the yeast in the water first to make sure it’s alive, but it’s not necessary for the yeast to act correctly.
This was so simple and so delicious. Wonderful crust while still having a wonderful soft doughy center. Yeast recipes and I have a love hate relationship but this was perfection. Definitely going into my favorite recipe book. Note it takes a lot of rosemary to get 3/4 cup so be prepared to wipe out one of your garden plants or buy enough. So worth it though.
The bread!
I just got my first Dutch oven and wanted to make some bread, I was at first kinda worried because I’ve never made such a high water bread but it turned out beautifully! I’m already making a double batch to divide and give to some family!
7 minutes is all I need after I take the lid off. 30 minutes with lid on and 7 minutes with lid off, plus I use luke warm water not room temp. And a stitch more yeast. Everyone loves it. Don’t forget to shape and let rest while oven is heating up. This is key.
Love this bread. Make it every 3 days. Mmmm