Published


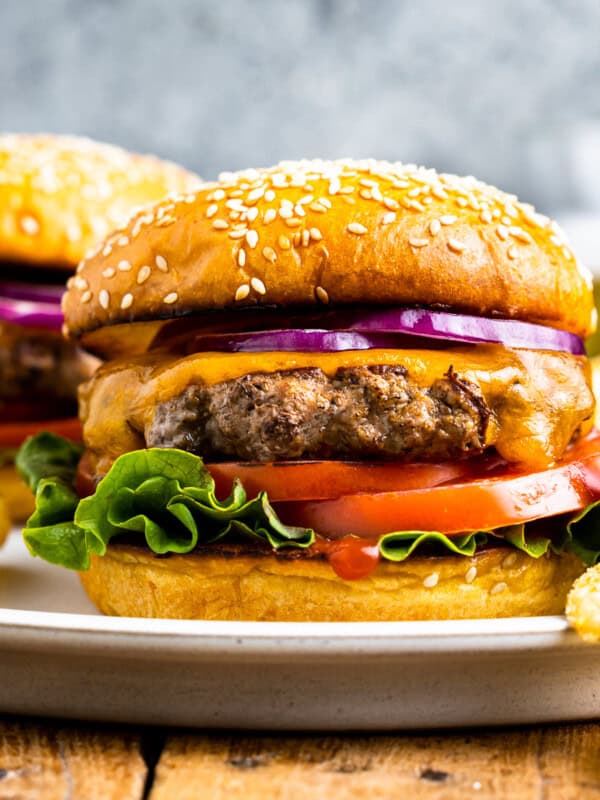
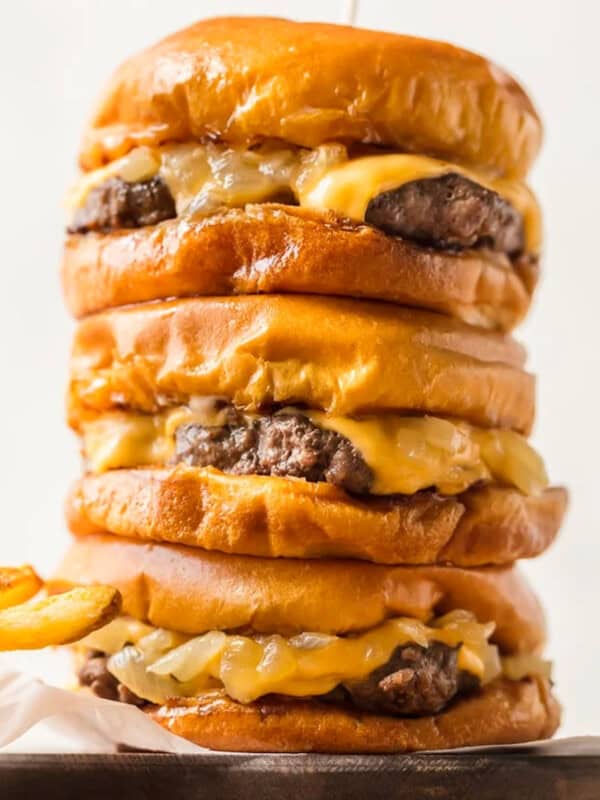
Stuffed with cheese for a delicious surprise, this juicy Lucy burger might just be my favorite of all time! Thin burger patties are wrapped around a hefty hunk of cheese to create the ultimate cheeseburger experience. Easy to make and cooked to perfection, these cheesy burgers are the star of every BBQ we host!
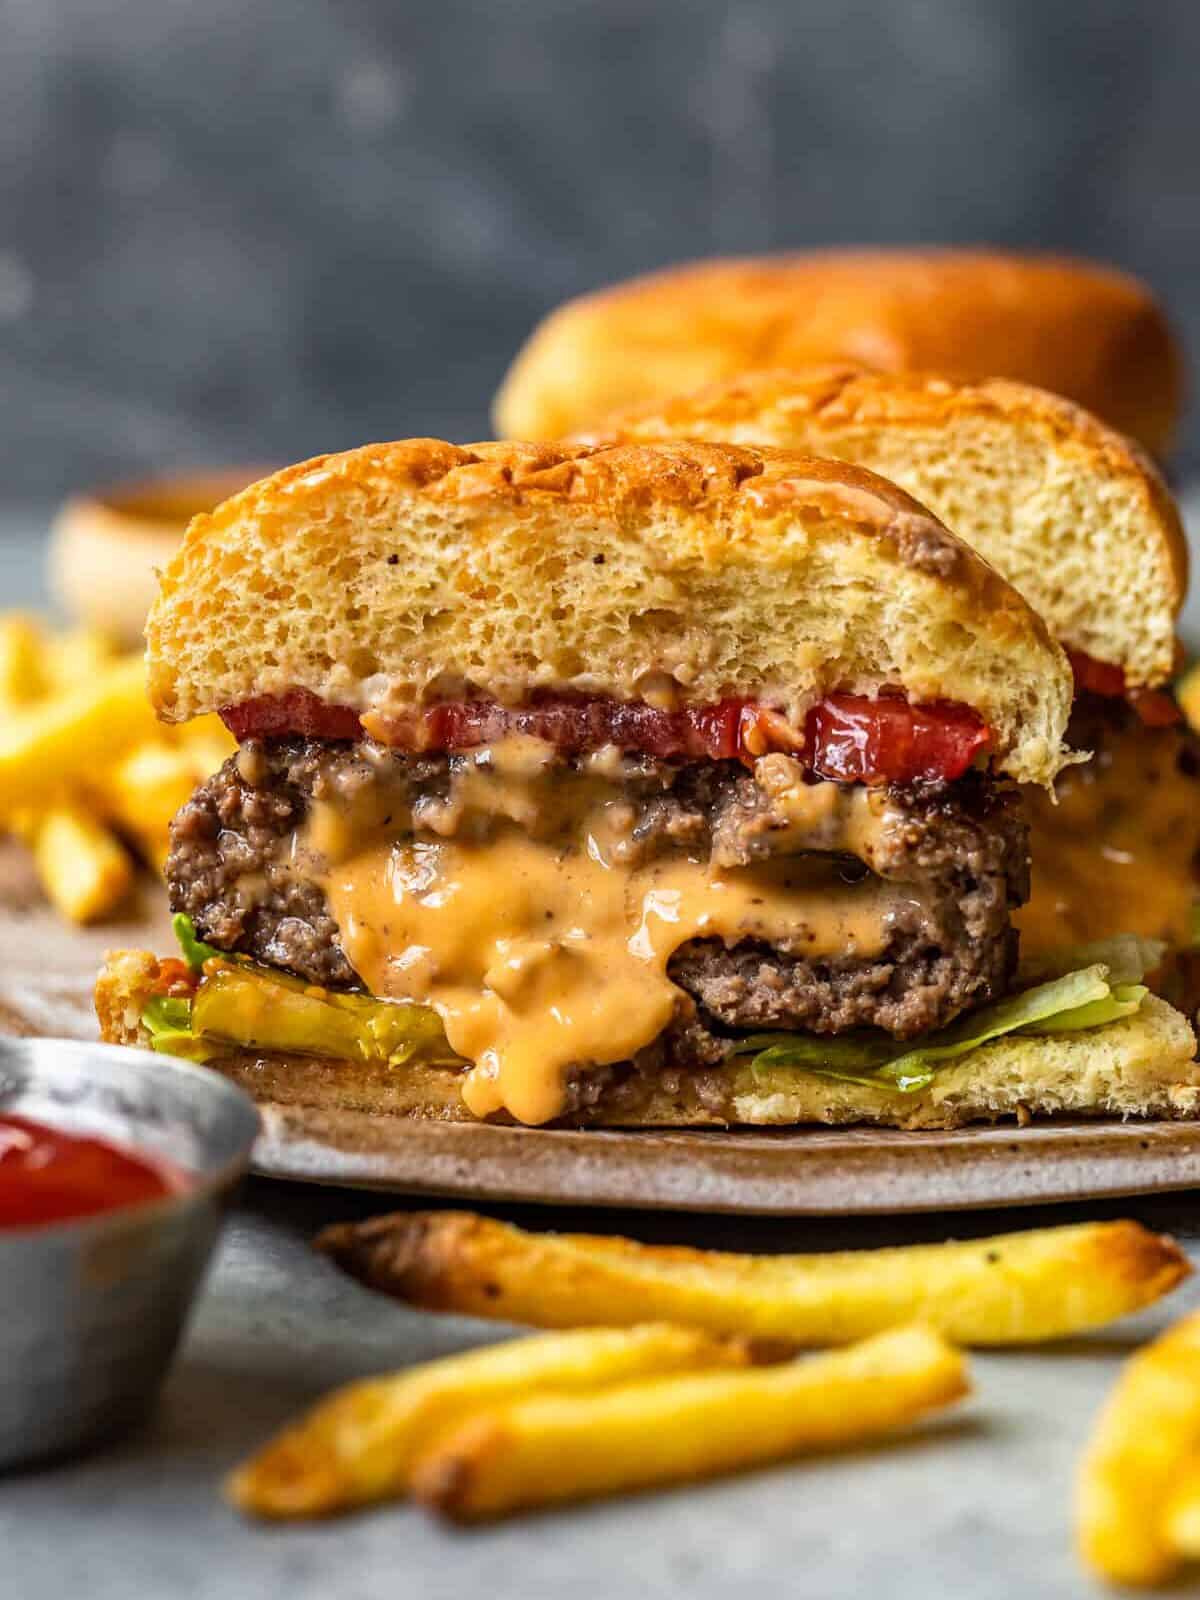
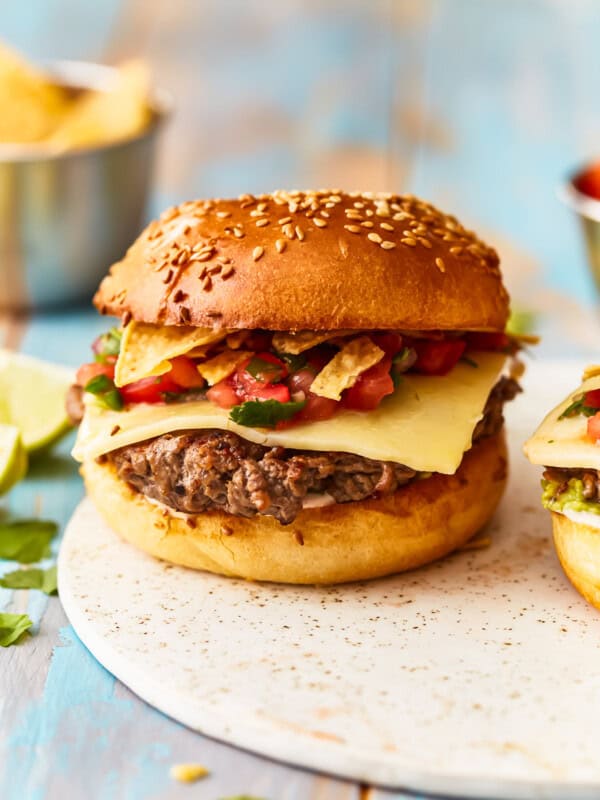
Burgers are delicious on their own, but stuffed with cheese? I can’t think of anything better! Originally invented in Minneapolis, these Juicy Lucy burgers (aka burgers stuffed with cheese) are a seriously fun twist on the classic hamburger. Piled high with toppings, these stuffed burgers are always a hit with my friends and family. Learn how to make these cheesy burgers with this simple recipe!
What’s in This Juicy Lucy Burger Recipe?
- Ground Chuck: Higher in fat than traditional ground beef, chuck is my number 1 choice for juicy, flavorful burgers.
- Cheese: For best results, I recommend using sliced American cheese. It’s one of my favorite cheeses for burgers – it’s super smooth and melts beautifully. Instead of American cheese, use your favorite kind but keep in mind that some cheeses melt better than others.
- Hamburger Buns: I like potato buns for these burgers, but any kind will work.
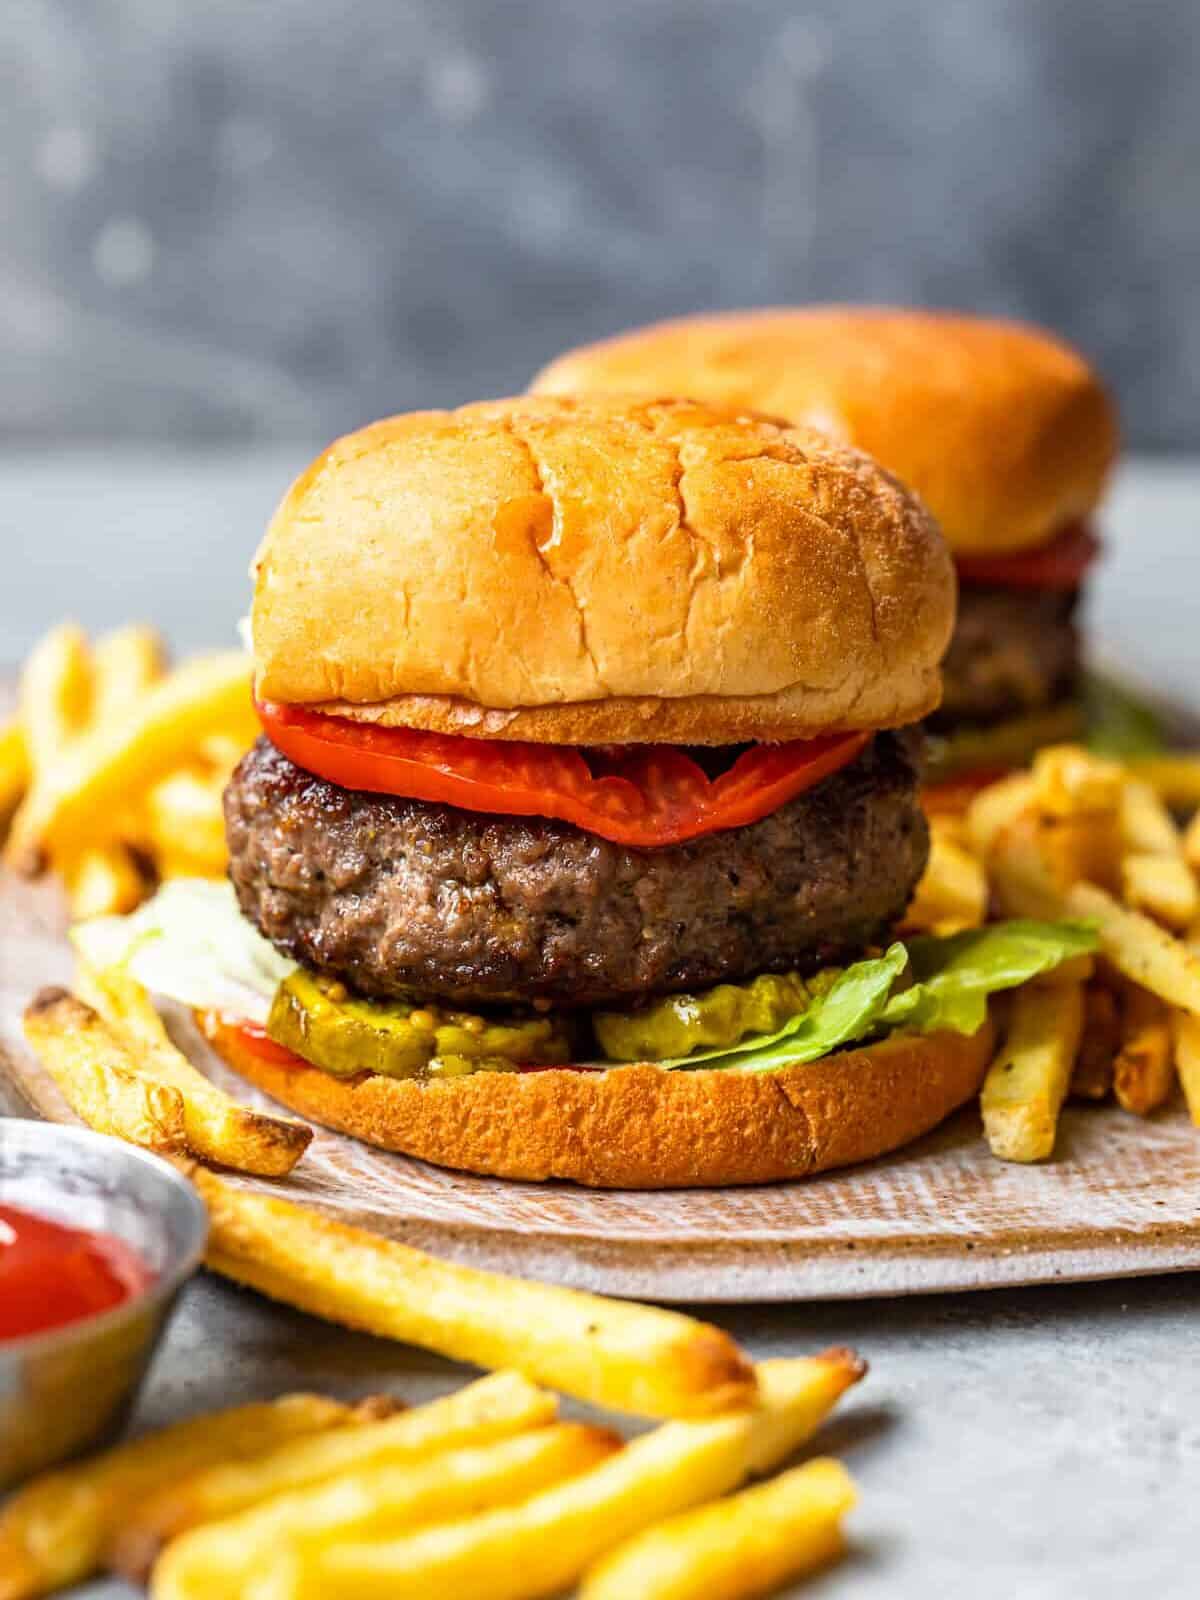
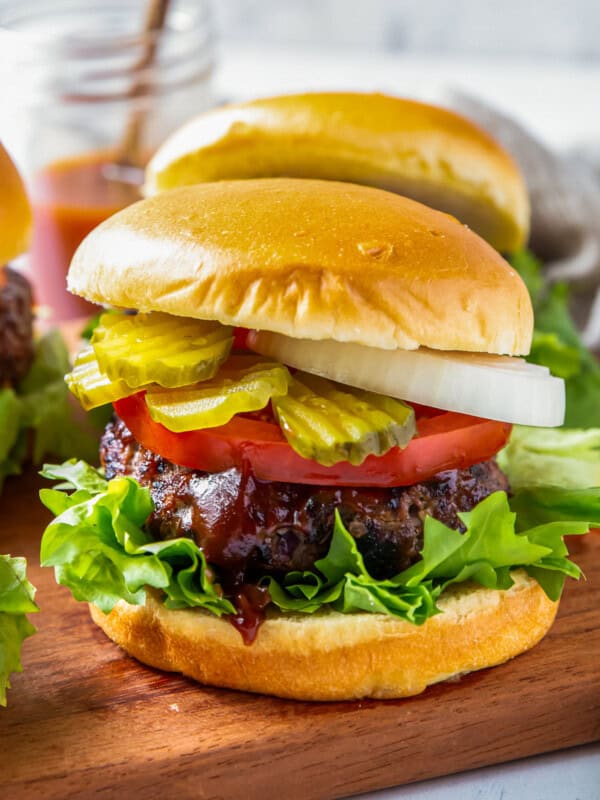
- Toppings: Lettuce, tomatoes, pickles, ketchup, and caramelized onions are my favorite toppings for these burgers.
Tips for Success
- Fold the cheese into the center of the base patty before adding the second patty on top.
- Before cooking, pinch the edges of the burgers together to seal the cheese inside.
- Once the patties are formed and stuffed, you can refrigerate them for up to 24 hours before cooking.
- If you want to grill them, make sure the cheese is really sealed inside the burgers. Here are all of my tips for how to grill burgers.
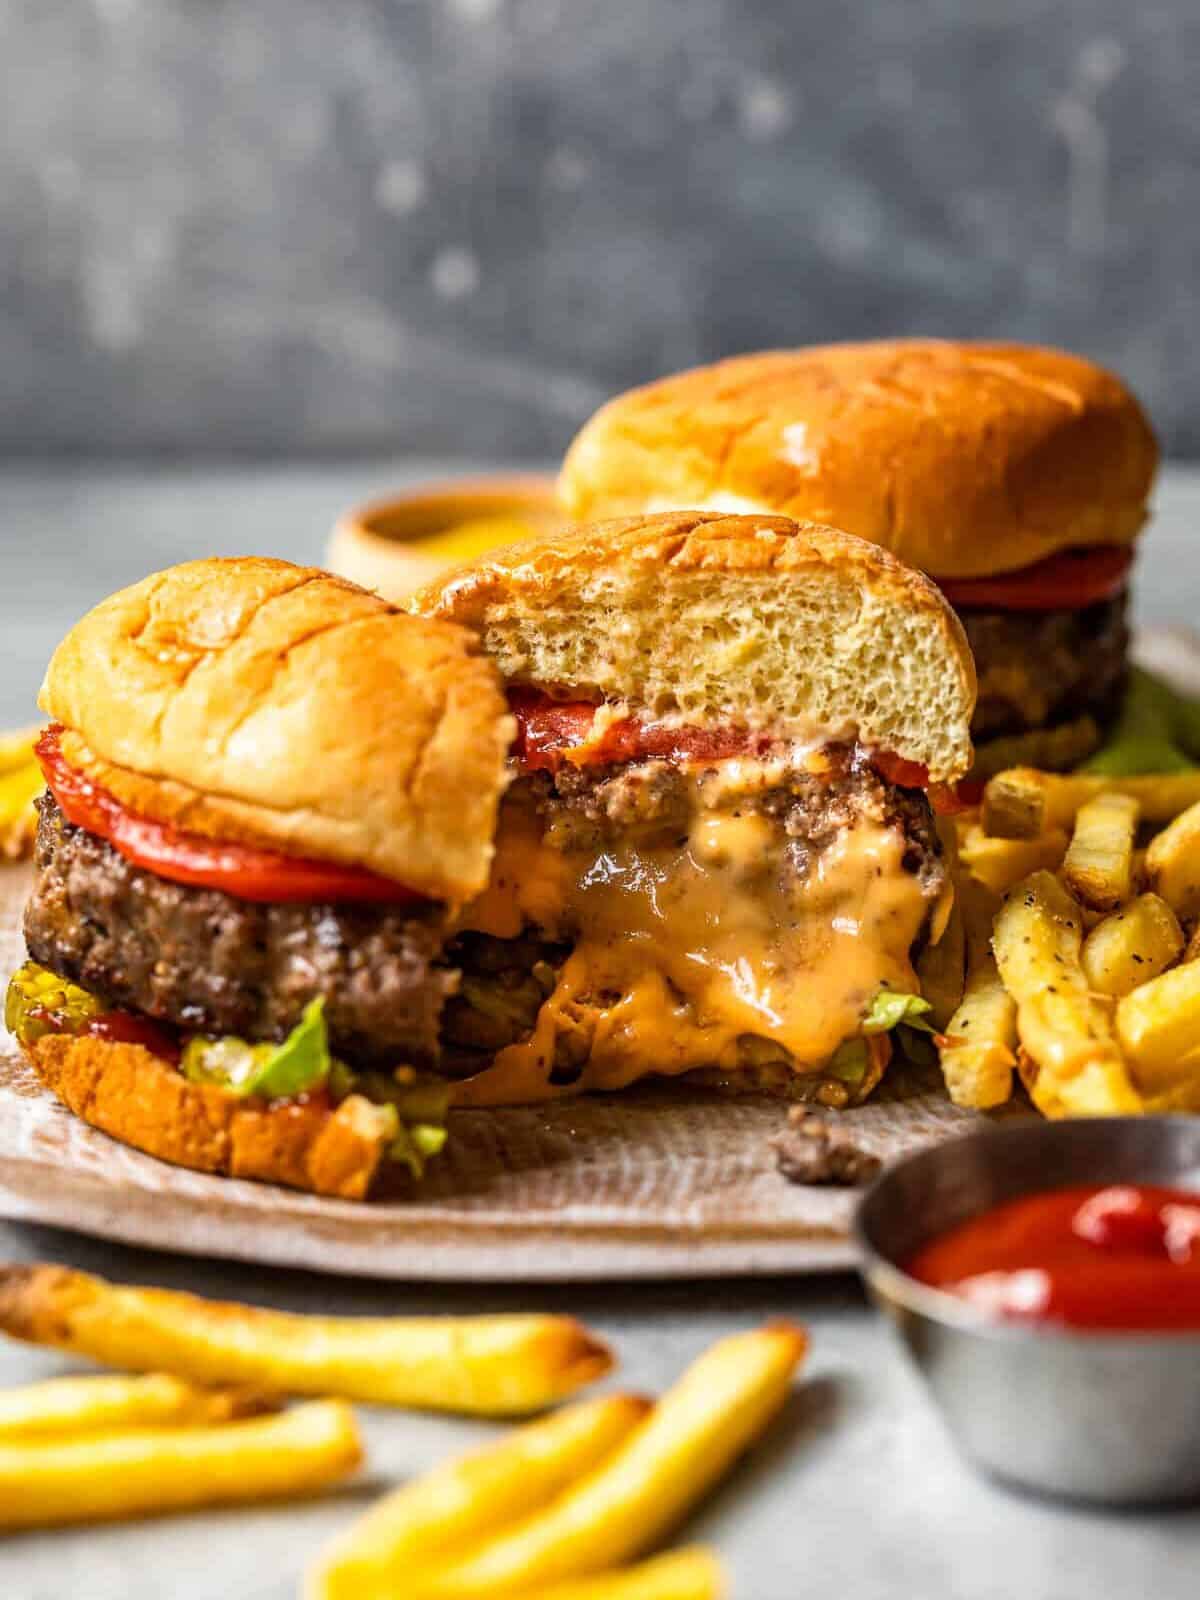
- The cheese inside is hot and melty so be careful when taking that first bite!
How to Store and Reheat
Store leftover juicy Lucy burgers in an airtight container in the refrigerator for up to 4 days or in the freezer for up to 3 months. Let thaw overnight in the refrigerator before reheating in a skillet or in the microwave.
Serving Suggestions
I love these juicy Lucy burgers with classic French fries, but they’re also tasty with sweet potato fries or corn on the cob. And don’t forget a heaping dollop of my favorite burger sauce!

All the Burgers
Guide to Cooking Burgers at Home
See all of our favorite burger recipes plus tips and tricks for cooking the ultimate burger at home.
See Burger GuideJuicy Lucy Burger Recipe
Ingredients
- 1½ pounds ground chuck
- 2 teaspoons kosher salt
- 1½ teaspoons ground black pepper
- 4 slices American cheese
- 2 tablespoons canola oil
- 4 potato hamburger buns split in half
- Lettuce, tomato slices, bread and butter pickles, ketchup, and caramelized onions for garnish
Video
Instructions
- In a small bowl, combine the salt and pepper. Set aside.2 teaspoons kosher salt, 1½ teaspoons ground black pepper
- Divide the beef into 4 equal portions and halve each portion for a total of 8 equal portions.1½ pounds ground chuck
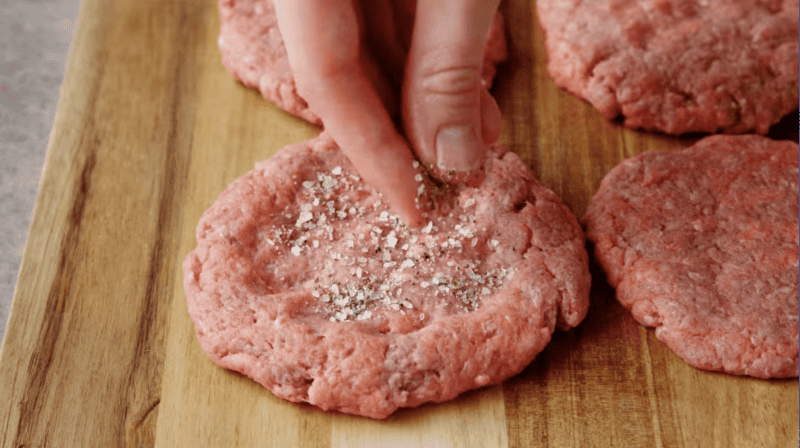
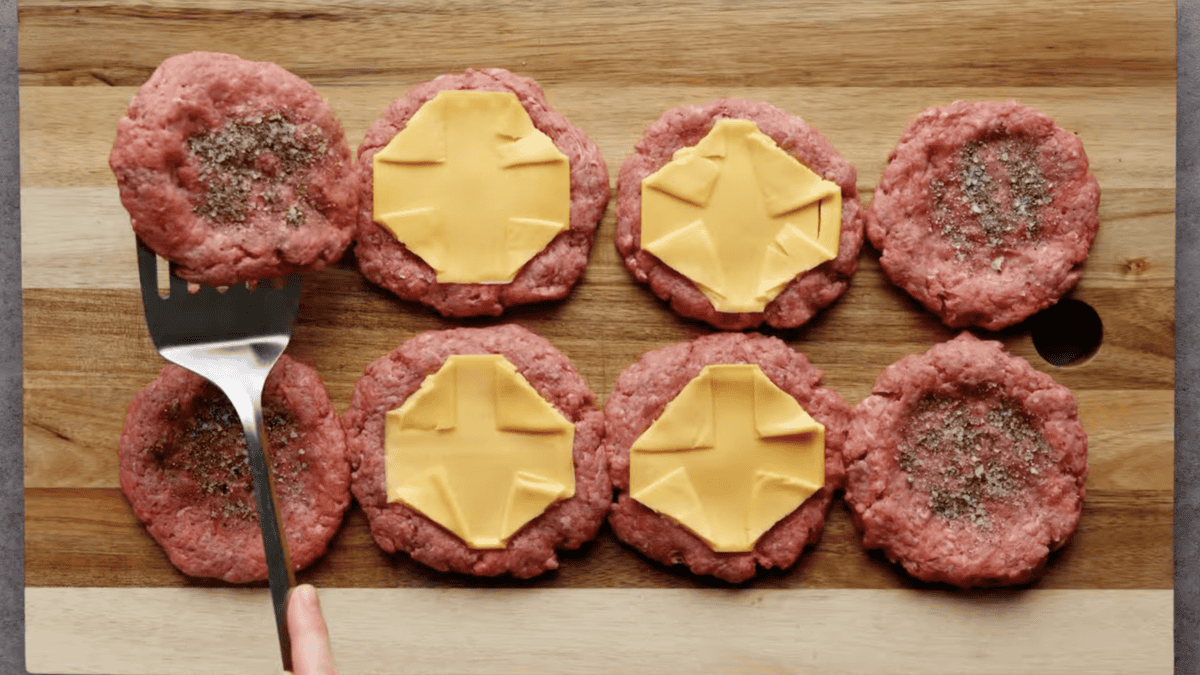
- Gently form each portion into a 4-inch wide x ¼-inch deep disc and season both sides of each patty with the salt and pepper mixture.

- Place 1 slice of cheese in the middle of 4 patties. Fold the cheese corners to the middle of each cheese slice so there is no overhang.4 slices American cheese

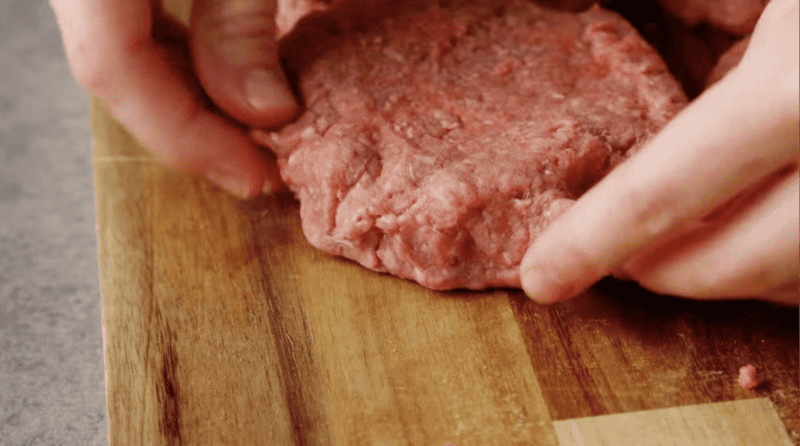
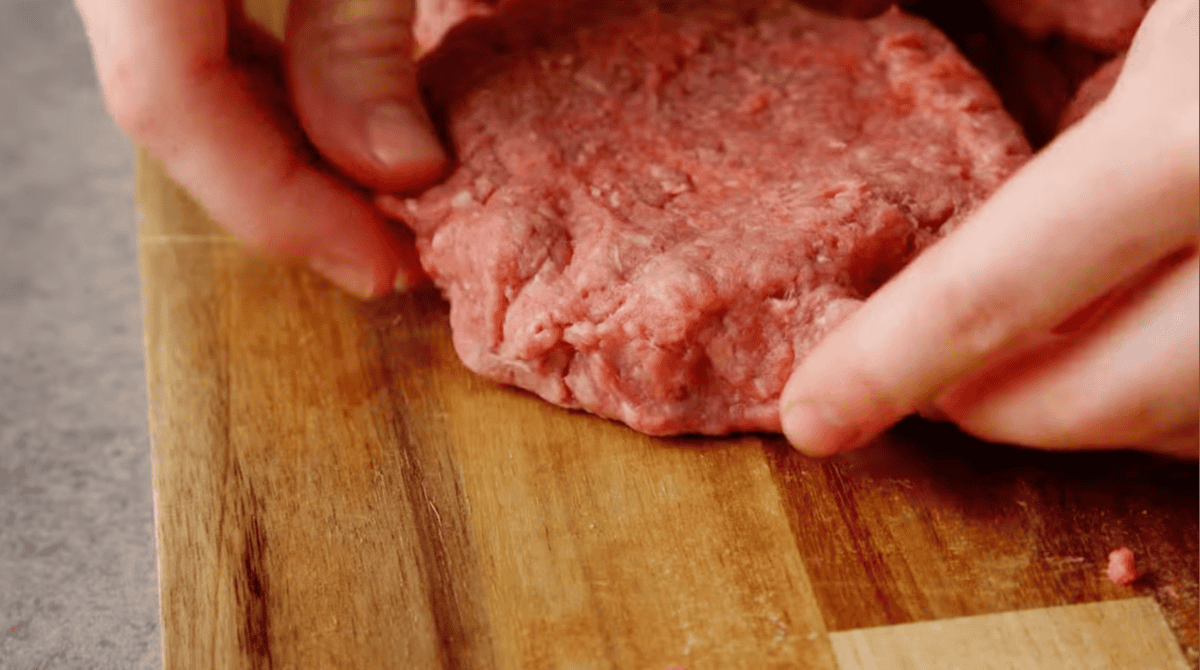
- Use your fingers or a spatula to lift a patty (without cheese) and place it on top of one of the patties with cheese. Pinch the edges together to ensure the cheese stays inside the patty when cooked/melted. Repeat this process until all 4 cheese-filled patties are formed.

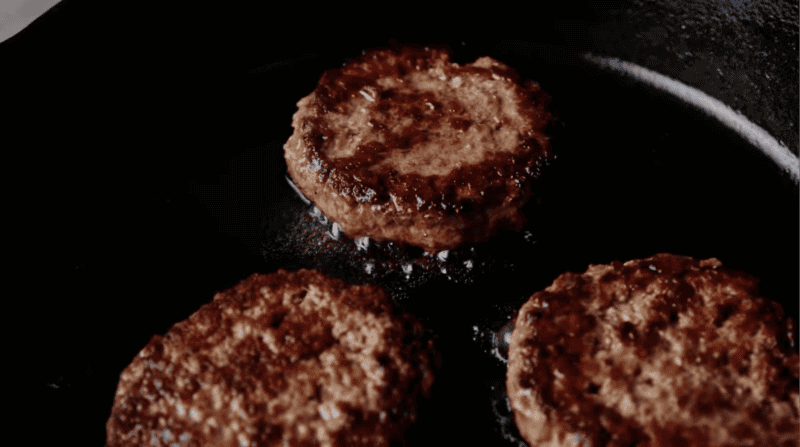
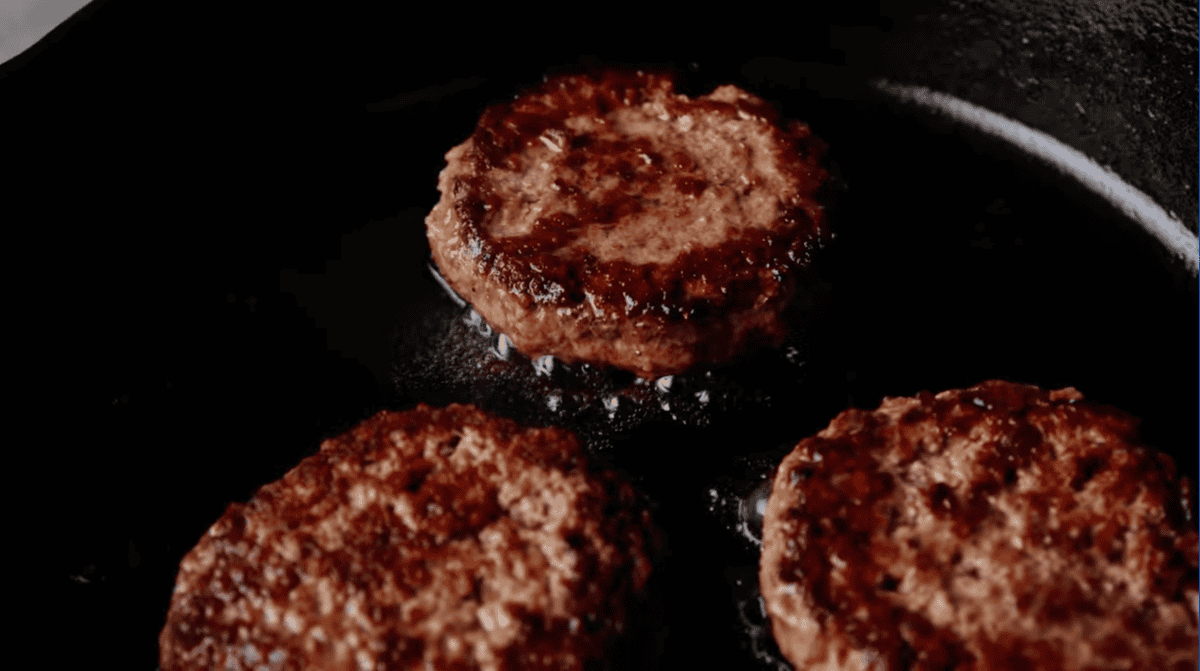
- Heat the oil in a large cast-iron skillet over medium heat for 2 minutes. Add the burgers and cook for 3-4 minutes until a good sear is formed and the edges begin to brown. Gently flip the burgers over and sear the second side, about 3-4 more minutes.2 tablespoons canola oil

- While the burgers cook, toast the buns, if desired.4 potato hamburger buns
- Transfer the burgers to a paper towel-lined plate.
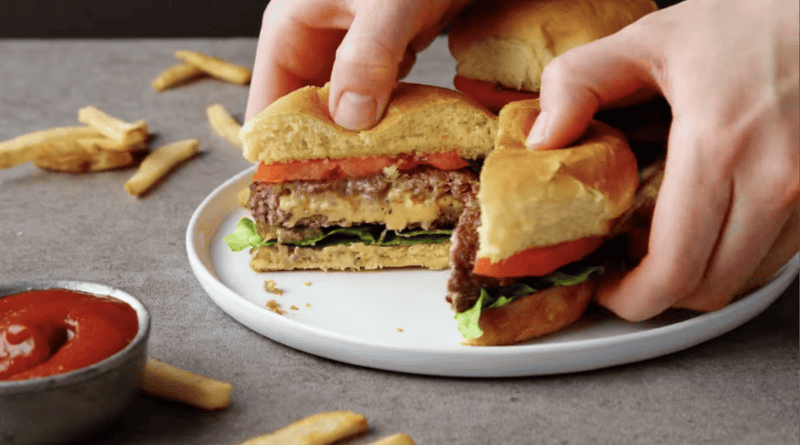
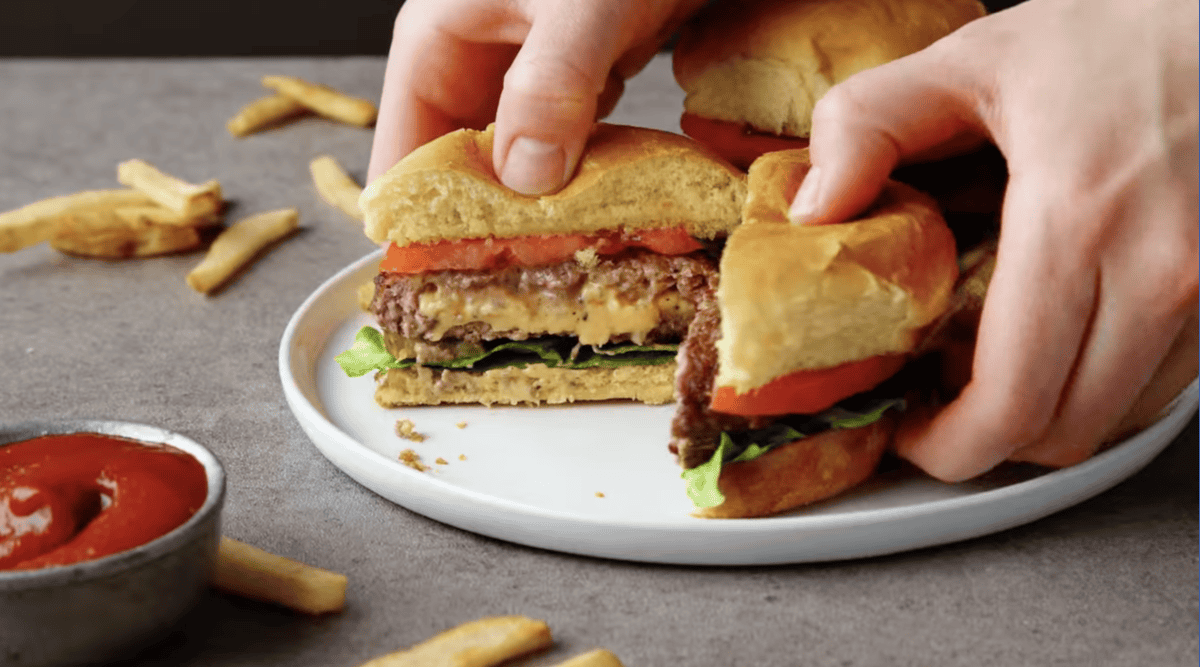
- Assemble the burgers and add your favorite burger toppings. (Be careful when taking the first bite – the hot cheese can squirt out.) Serve and enjoy!Lettuce, tomato slices, bread and butter pickles, ketchup, and caramelized onions


Becky’s Tips
Nutrition information is automatically calculated, so should only be used as an approximation.
How to Make a Juicy Lucy Burger Step by Step
Season the Patties: In a small bowl, combine 2 teaspoons of kosher salt and 1½ teaspoons of ground black pepper. Divide 1½ pounds of ground chuck into 4 equal portions and halve each portion for a total of 8 equal portions. Gently form each portion into a 4-inch wide x ¼-inch deep disc and season both sides of each patty with the salt and pepper mixture.

Add the Cheese: Place 1 slice of American cheese in the middle of 4 patties. Fold the cheese corners to the middle of each cheese slice so there is no overhang.
Seal the Patties: Use your fingers or a spatula to lift a patty (without cheese) and place it on top of one of the patties with cheese. Pinch the edges together to ensure the cheese stays inside the patty when cooked/melted. Repeat this process until all 4 cheese-filled patties are formed.
Cook the Burgers: Heat 2 tablespoons of canola oil in a large cast-iron skillet over medium heat for 2 minutes. Add the burgers and cook for 3-4 minutes until a good sear is formed and the edges begin to brown. Gently flip the burgers over and sear the second side, about 3-4 more minutes. While the burgers cook, toast 4 hamburger buns, if desired. Transfer the burgers to a paper towel-lined plate.
Assemble the Burgers: Assemble the burgers and add your favorite burger toppings. (Be careful when taking the first bite – the hot cheese can squirt out.) Serve and enjoy!


This is a dangerous recipe. I got 3rd degree burns when I bit into it. But it was still good, so 5-stars.
Hi, I’d recommend letting the burgers rest for 5-10 minutes before digging in next time!
Matts in South Minneapolis is the best. They serve them with fried onions. Mmm
Thanks for sharing!
Hmm your Leave a Review form was acting wonky, so part of what I typed (at the bottom) disappeared) and then it would not let me scroll so even to top may sound disjointed! Please feel free to make corrections,!
Just a couple of comments from someone who has been making this burger for over 50 years. 1) No, you can’t make the patties in advance, because of #2. 2) For best results when you fold your slice of American cheese into fourthJust a couple of comments from someone who has been making this burger for over 50 years. 1) No, you can’t make the patties in advance, because of #2. 2) For best results when you fold
your slice of American cheese into fourths, pop the cheese squares into the freezer. (THIS can be done in advance.) 3) Slice a medium onion into 1/4″ or slightly smaller rings, then break apart. These are for taste and timing. When the patties are assembled, pop them into your skillet and place the halved onions all around the patties in the skillet. Cook on med – med/low until onions are well caramelized, flipping patties periodically. When I put the patties on a bun, I put some of the caramelized onion on each. Sooo good! It’s what makes the burger. I’m not one for pink hamburger, so that’s where freezing the cheese and cooking til onions are caramelized (brown) Just a couple of comments from someone who has been making this burger for over 50 years. 1) No, you can’t make the patties in advance, because of #2. 2) For best results when you fold your slice of American cheese into fourthJust a couple of comments from someone who has been making this burger for over 50 years. 1) No, you can’t make the patties in advance, because of #2. 2) For best results when you fold your slice of American cheese into fourths, pop the cheese squares into the freezer. (THIS can be done in advance.) 3) slice a medium onion into 1/4″ or slightly smaller rings, then break apart. These are for taste and timing. s, pop the cheese squares into the freezer. (THIS can be done in advance.) 3) slice a medium onion into 1/4″ or slightly smaller rings, then break apart. These are for taste and timing. from.
cheese squares into the freezer. (THIS can be
done in advance.) 3) slice a medium onion into 1/4″ or slightly smaller rings, cut in half, then break apart. These are for taste and timing. When you place the patties in your skillet, put the raw onion halves all around the patties, and the skillet on med – med/low depending on your stove.
Thank you for sharing!