
Updated



Why scoop a million cookies when you can make one pan of bars and call it a day? These chocolate chip cookie bars give you all the soft, chewy, chocolate-loaded magic of your favorite cookie, minus the standing-at-the-oven part. One bowl, one pan, crisp edges, gooey middle. You’ll have buttery, chocolate-packed bars cooling on your counter using ingredients you probably already have in your pantry, and they’re in the oven in about 15 minutes flat.
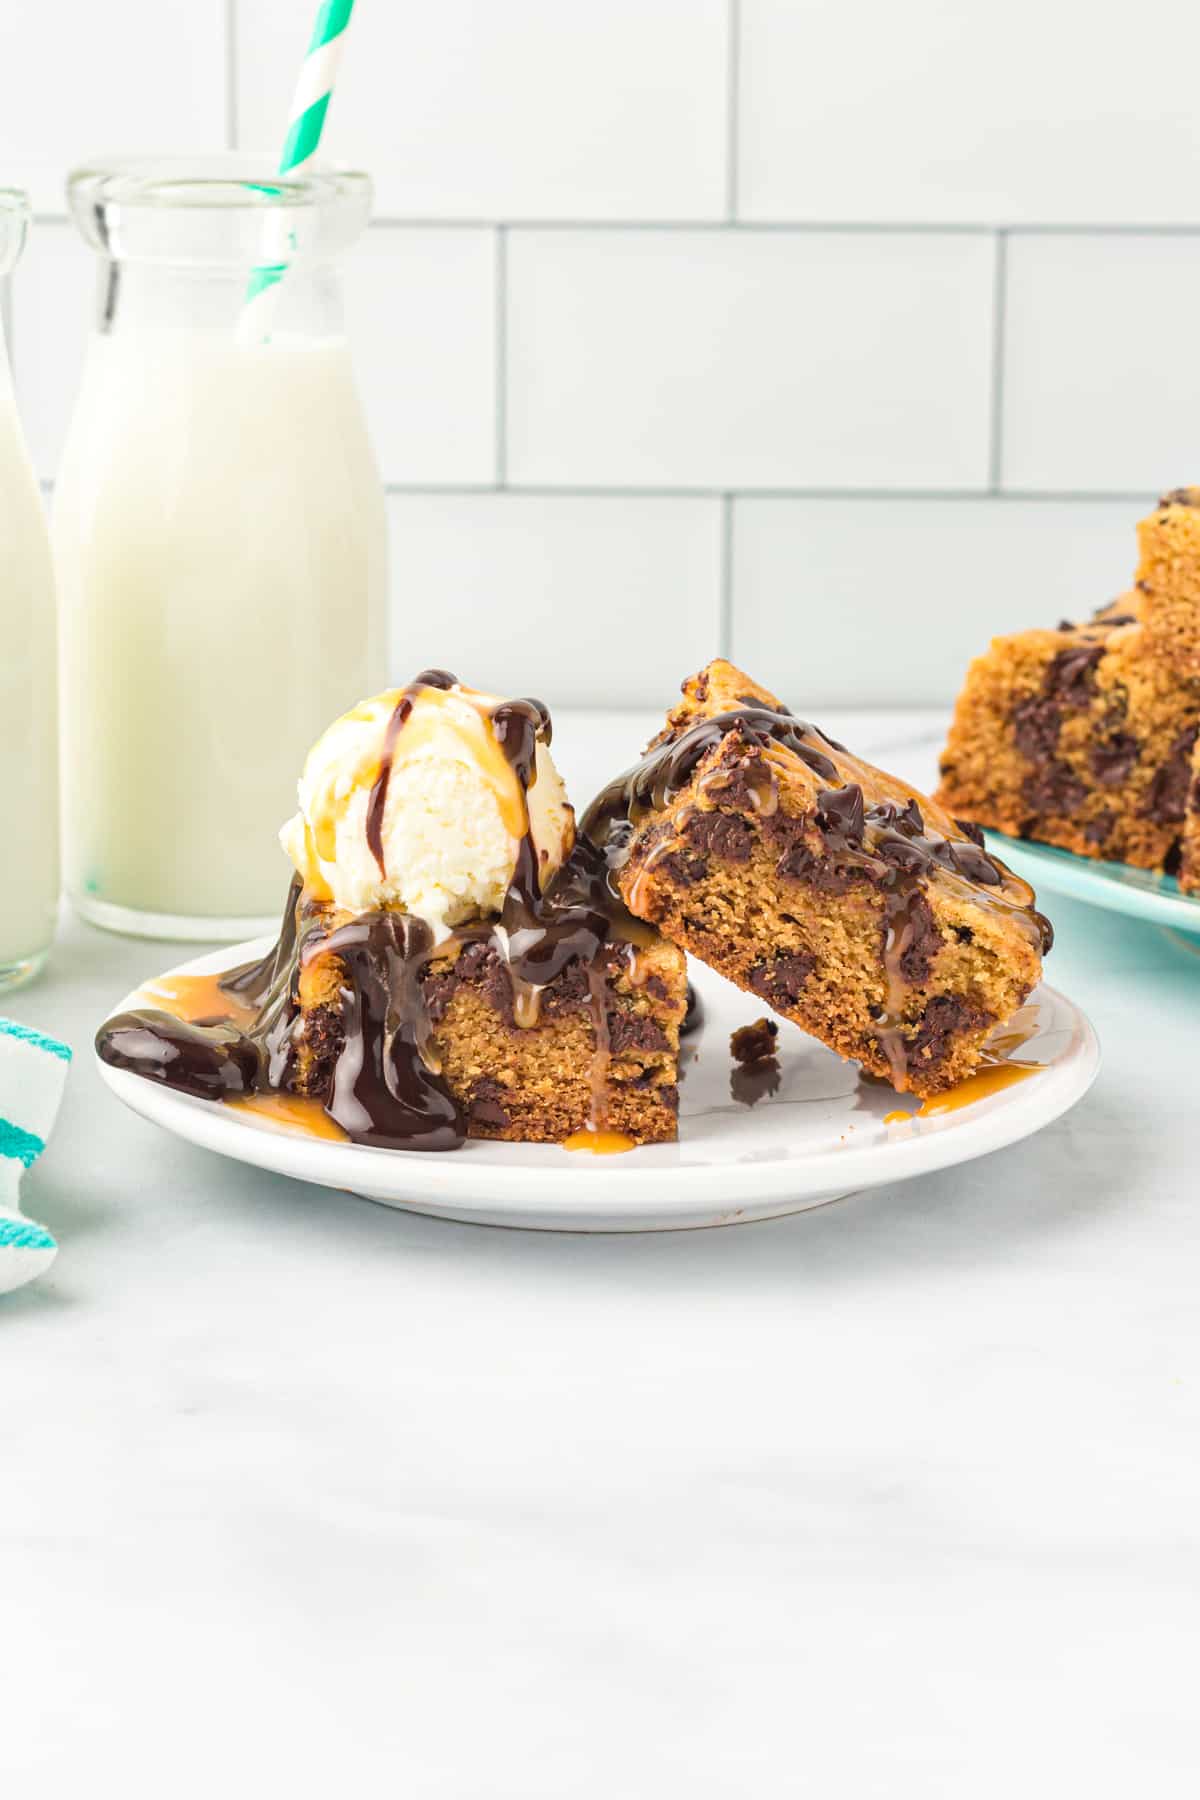
What Makes These Bars So Soft and Chewy
I make these when I want chocolate chip cookies but don’t want to stand at the oven all afternoon. They’re perfect for bake sales, lunchboxes, or a Tuesday night when everyone wants something sweet. Slice them into squares, stack a glass of milk next to the plate, and you’re set.
The secret is in two small details you might not expect: a touch of corn starch and a slightly shorter bake time than you’d guess. Corn starch keeps the crumb tender and prevents the bars from turning cakey, while pulling them from the oven before the center looks fully set is what keeps them chewy instead of dry. Covering the pan with foil partway through baking is the other trick. It keeps the edges from over-browning while the middle finishes cooking through, so every bar has the same soft texture from edge to center.
If you’ve made dry or crumbly cookie bars before, this method fixes that. The dough is mixed in a stand mixer for an even, well-creamed base, then baked low and slow enough that the center stays fudgy without being raw.
Tips for Beginners
- Keep the salt as written. Cutting it out entirely will make the bars taste flat, since the salt is what makes the brown sugar and chocolate flavors stand out.
- The center should look slightly underdone when you pull the pan from the oven. This is normal, not a mistake. Carryover heat finishes the job while the bars rest in the hot pan, and it’s the difference between chewy bars and dry ones.
- No stand mixer? A hand mixer works just as well. Just make sure the butter and sugar are creamed for the full 1 to 2 minutes so the texture stays light.
- Want a 9×13-inch pan instead? You can use one, but the bars will come out thinner and less soft. Cut the bake time roughly in half, or double the recipe and add about 10 minutes to the bake time for a full 9×13 pan of standard-thickness bars.
- Swap the mix-ins to make it your own. White chocolate chips, toffee bits, or chopped pecans all work in place of some or all of the semisweet chips, cup for cup.

Chocolate Chip Cookie Bars Recipe
Ingredients
- 2½ cups all-purpose flour 300g
- 1 tsp baking soda 6g
- 1 tsp corn starch 3g
- ½ tsp kosher salt 2g
- 1 cup unsalted butter 227g, room temperature (2 sticks)
- 1 cup brown sugar 200g
- ½ cup granulated sugar 100g
- 2 large eggs 100g, room temperature
- 2 tsp pure vanilla extract 8g
- 1½ cups semisweet chocolate chips 255g, divided
Video
Instructions
- Preheat oven to 350°F. Line an 8×8-inch baking pan with parchment paper and spray with nonstick spray. Set aside.
- In a medium bowl, whisk the flour, baking soda, corn starch, and salt together.2½ cups all-purpose flour, 1 tsp baking soda, 1 tsp corn starch, ½ tsp kosher salt
- To the bowl of a stand mixer fitted with the paddle attachment, add the butter, brown sugar, and granulated sugar. Beat until light and fluffy, about 1 -2 minutes. Scrape down the sides of the bowl as needed.1 cup unsalted butter, 1 cup brown sugar, ½ cup granulated sugar
- Add the eggs and vanilla and beat until well combined, about 1 minute.2 large eggs, 2 tsp pure vanilla extract
- Mix the dry ingredients into the wet ingredients. Beat just until mixed and the dough starts sticking together. Scrape down the sides of the bowl as needed.
- Gently fold in 1 cup of the chocolate chips.1½ cups semisweet chocolate chips
- Transfer the cookie dough to the prepared pan. Use a rubber spatula or the back of a spoon to spread the cookie dough into an even layer.
- Sprinkle the remaining ½ cup of chocolate chips over the top of the cookie dough.
- Bake for 15 minutes.
- After 15 minutes, loosely cover the baking pan with aluminum foil. Bake for another 35 minutes, or until the edges are set and the middle is slightly browned. A toothpick inserted in center should come out clean.
- Remove the pan from the oven and leave the cookie bars in the baking pan until completely cool.
- Once cool, remove the cookie bars from the baking pan and slice into 16 squares.
Equipment
- 8×8-inch Baking Pan
- Stand Mixer
Becky’s Tips
- Don’t pack the flour. Spoon it into your measuring cup and level it off or the bars will turn out dense.
- Butter and eggs need to be at room temperature. Pull them out about 30 minutes before you start. Cold butter won’t cream properly, and cold eggs can cause the mixture to seize.
- Stop mixing as soon as the dough comes together. Overmixing develops gluten and makes the bars tough.
- The center will look underdone when you pull the pan from the oven. That’s correct. It firms up as it cools, and if you wait for it to look fully set in the oven the bars will be dry.
- Cover the pan with foil after the first 15 minutes of baking to keep the edges from over-browning while the middle finishes cooking.
- Cool completely before slicing, about 1 hour. Cutting too early gives you crumbly bars instead of clean squares.
- Store in an airtight container at room temperature for up to 5 days. Don’t refrigerate — it dries them out.
- To make ahead, refrigerate the unbaked dough in the pan for up to 3 days and add 5 to 10 extra minutes to the bake time when you’re ready to go.
- Freeze individually wrapped bars for up to 2 months.
Nutrition information is automatically calculated, so should only be used as an approximation.
 Did you make this? Leave a comment!
How to Make Chocolate Chip Cookie Bars Step by Step
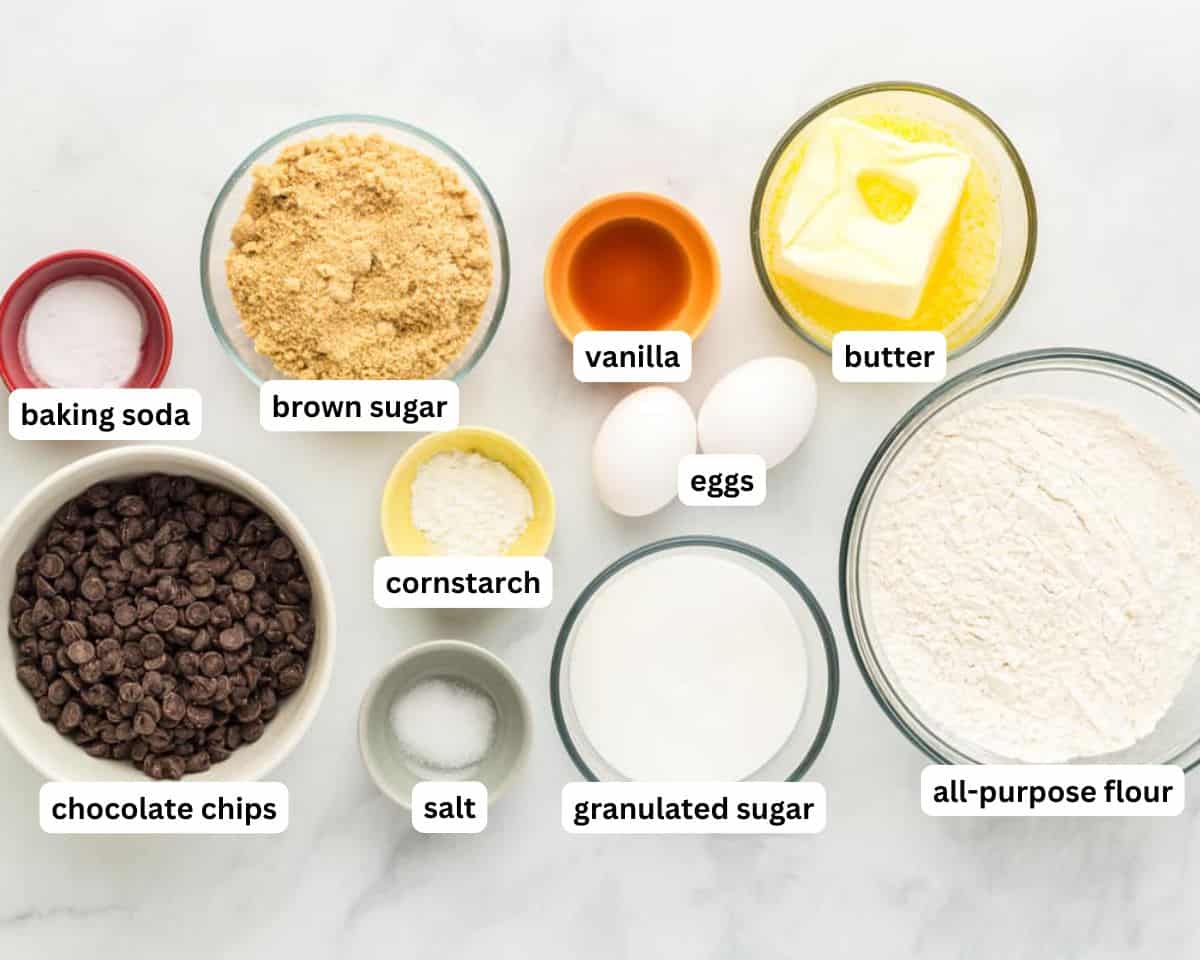
Gather the ingredients: Gather all the ingredients together and preheat the oven to 350°F. Line an 8×8-inch baking pan with parchment paper and spray it with nonstick spray.

Whisk the dry ingredients: In a medium bowl, whisk together 2½ cups all-purpose flour, 1 tsp baking soda, 1 tsp corn starch, and ½ tsp kosher salt. Set this aside.
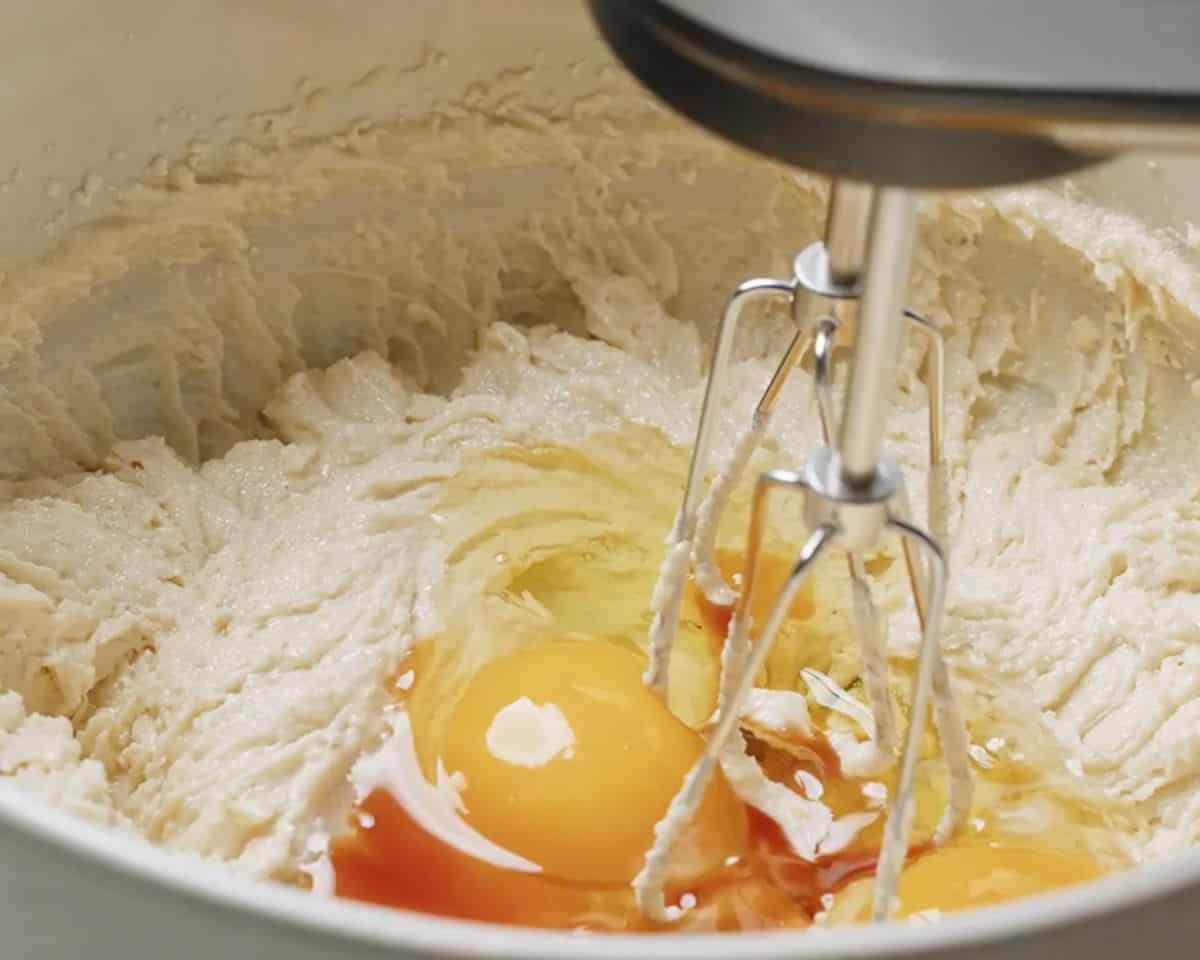
Cream the butter and sugars: In the bowl of a stand mixer fitted with the paddle attachment, beat 1 cup unsalted butter, 1 cup brown sugar, and ½ cup granulated sugar together for 1-2 minutes, until light and fluffy. The mixture should look pale and slightly airy, not dense or grainy. Scrape down the sides of the bowl as needed. Add 2 large eggs and 2 tsp pure vanilla extract. Beat for about 1 minute, until fully combined and smooth.
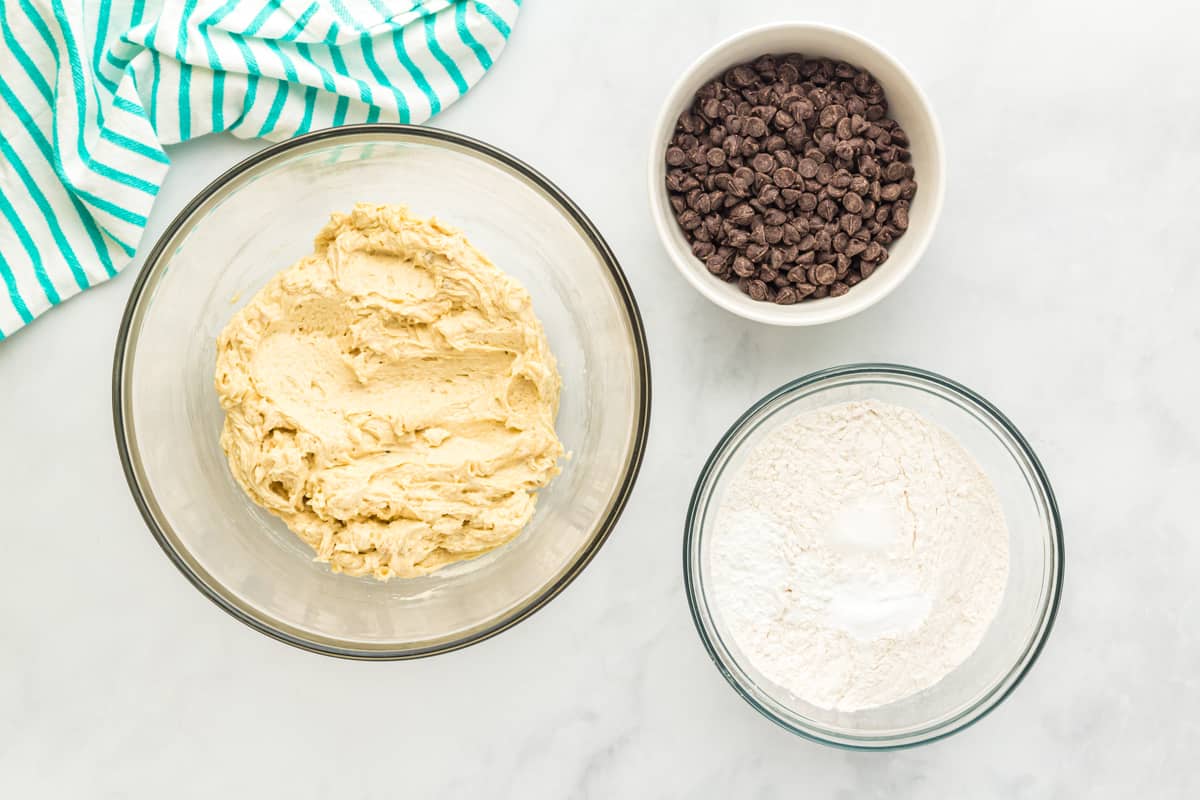
Combine wet and dry: Add the dry ingredients to the wet mixture. Beat just until everything comes together, and the dough starts to pull from the sides of the bowl. The dough should look thick and slightly sticky at this stage, not runny. Avoid overmixing, since that can make the bars tough.
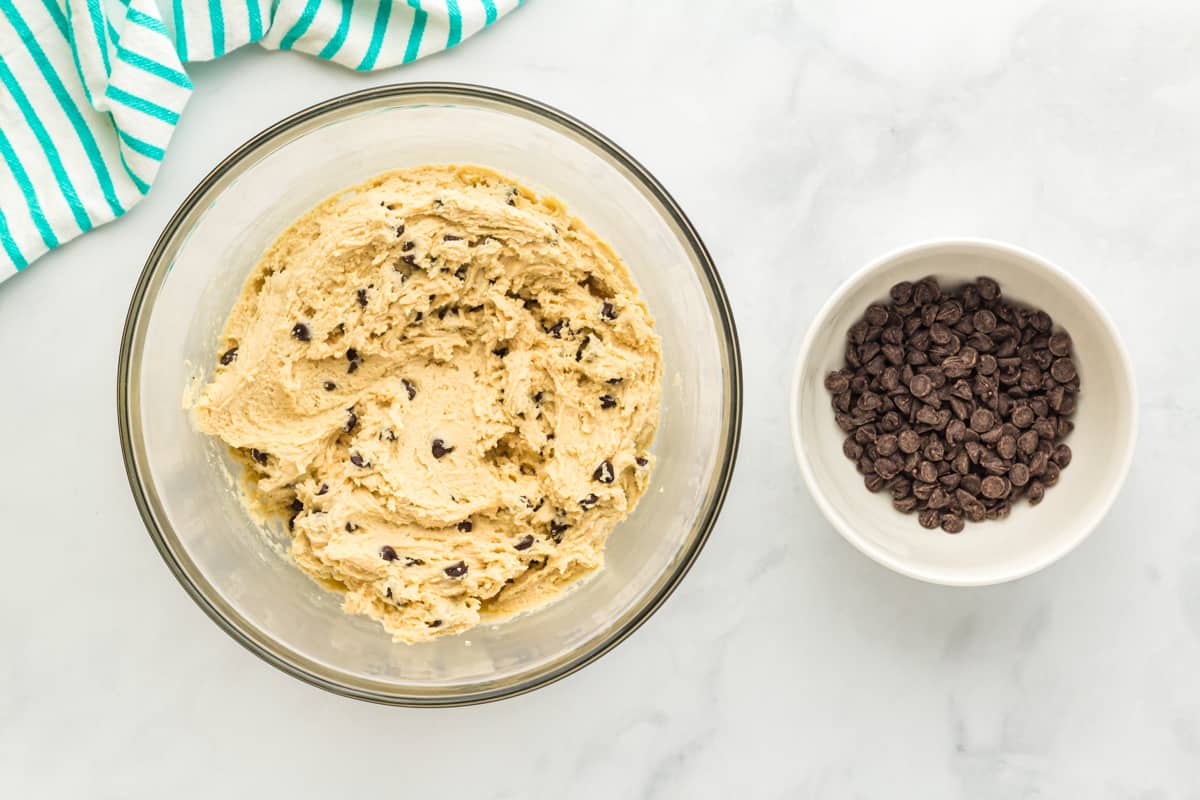
Fold in the chocolate chips: Gently fold in 1 cup of the 1½ cups semisweet chocolate chips, saving the rest for topping.
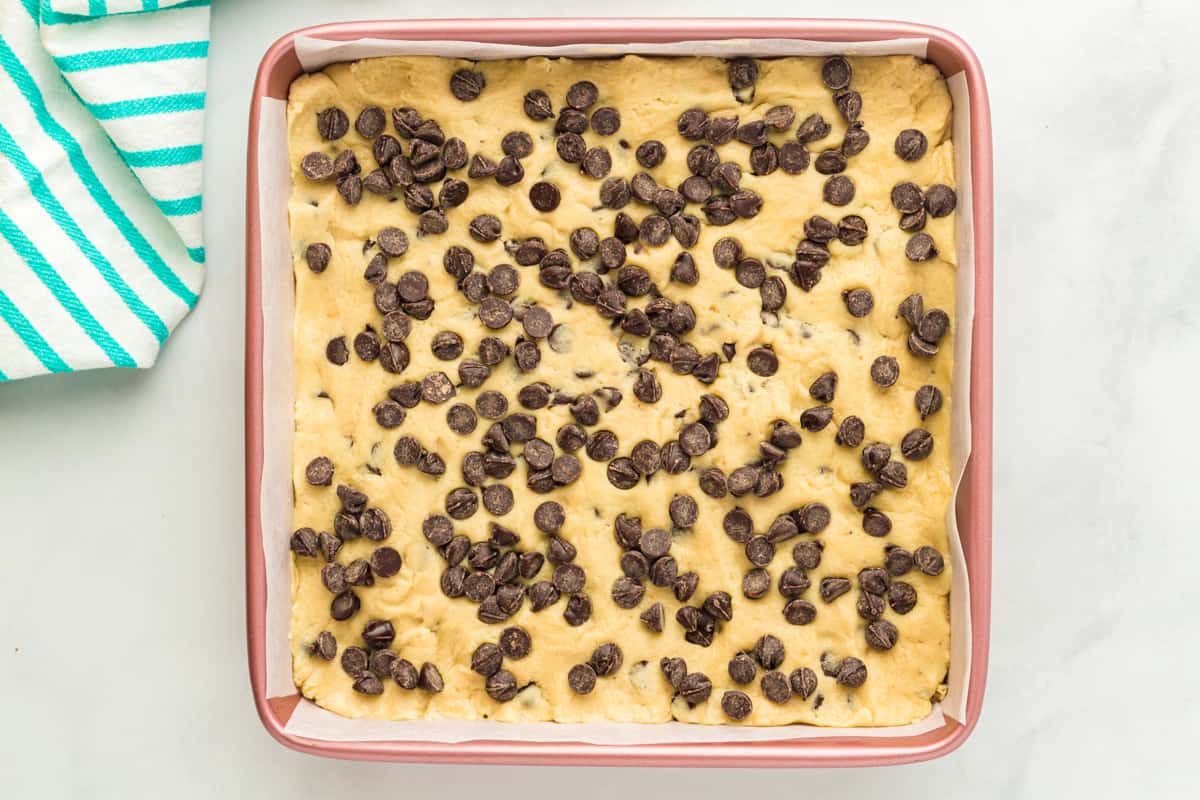
Spread the dough: Transfer the dough to the prepared pan. Use a rubber spatula or the back of a spoon to press it into an even layer, all the way to the corners. Sprinkle the remaining ½ cup chocolate chips evenly over the top of the dough.
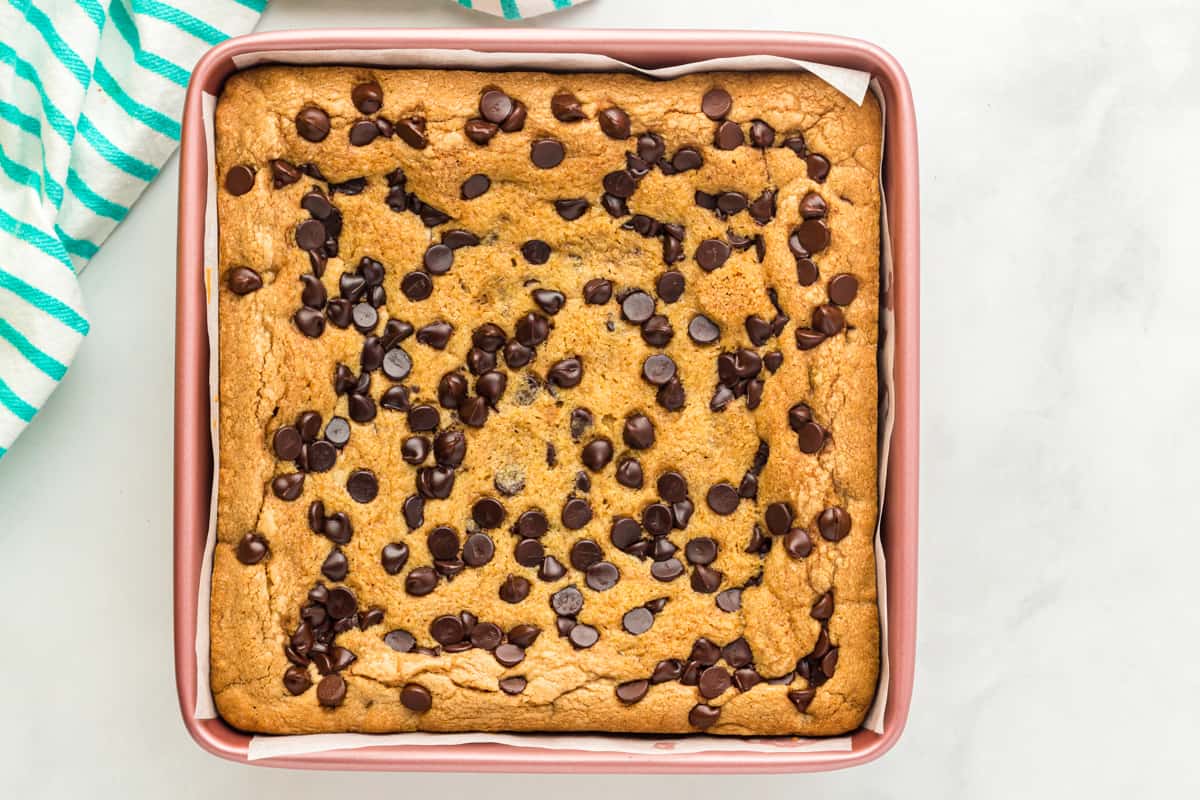
Bake in two stages: Bake for 15 minutes uncovered. After 15 minutes, loosely cover the pan with aluminum foil and bake for another 35 minutes, until the edges are set and the middle is just slightly underbaked. A toothpick inserted near the center should come out mostly clean with a few moist crumbs.
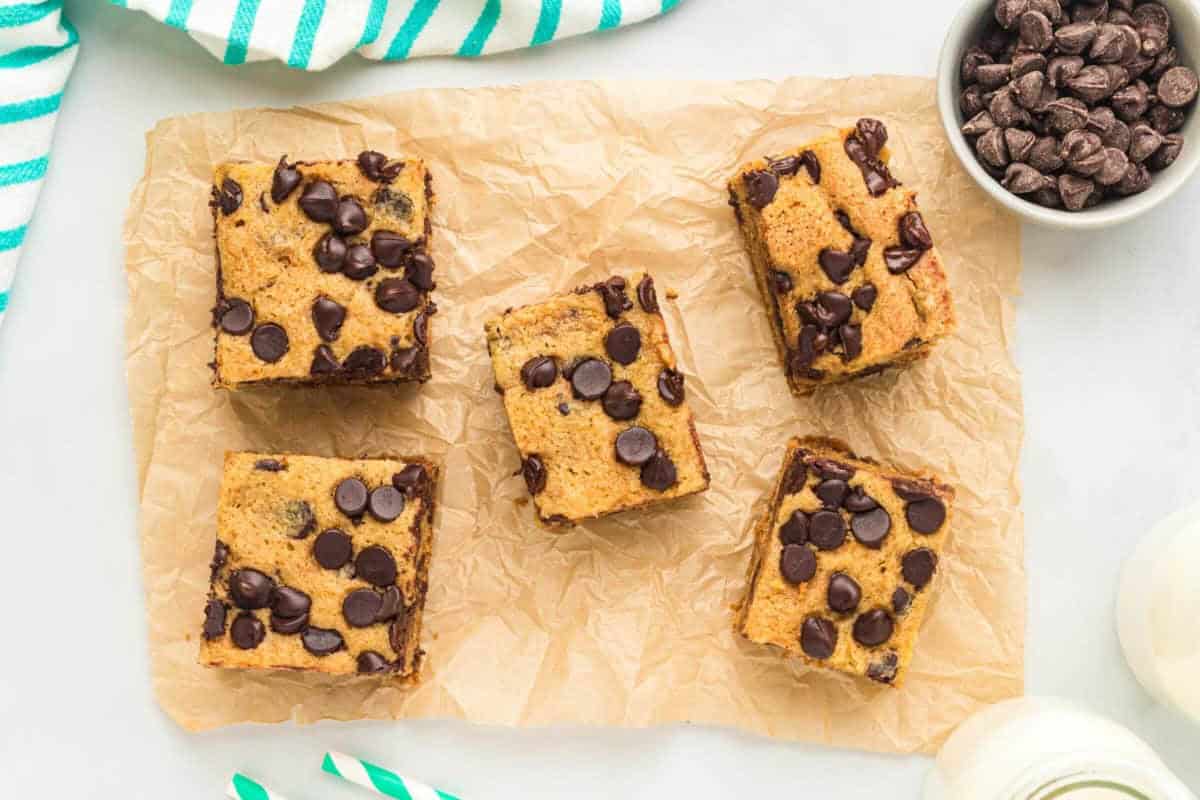
Cool completely and slice: Leave the bars in the pan until they’re fully cool, about 1 hour. They’ll continue to firm up as they sit, so don’t rush this step. Once cool, lift the bars out using the parchment paper and slice into 16 squares. Serve and enjoy!
How to Store and Reheat
You can store these at room temperature instead of the fridge. Keep the bars in an airtight container at room temperature for up to 5 days. Refrigeration isn’t necessary and can actually dry the bars out faster.
Freezer
Wrap individual bars tightly in plastic wrap, or layer them in an airtight container with parchment between layers, and freeze for up to 2 months.
Reheating
Microwave a bar for about 30 seconds for a warm, just-baked texture, especially if you’re topping it with ice cream. To reheat a larger batch, warm them in a 300°F oven for 5 to 7 minutes.
Serving Suggestions
My go-to way to serve these is warm, straight from the pan, with a cold glass of milk on the side. There’s something about that contrast of warm chocolate and cold milk that just makes me feel like a kid again. It’s classic for a reason.
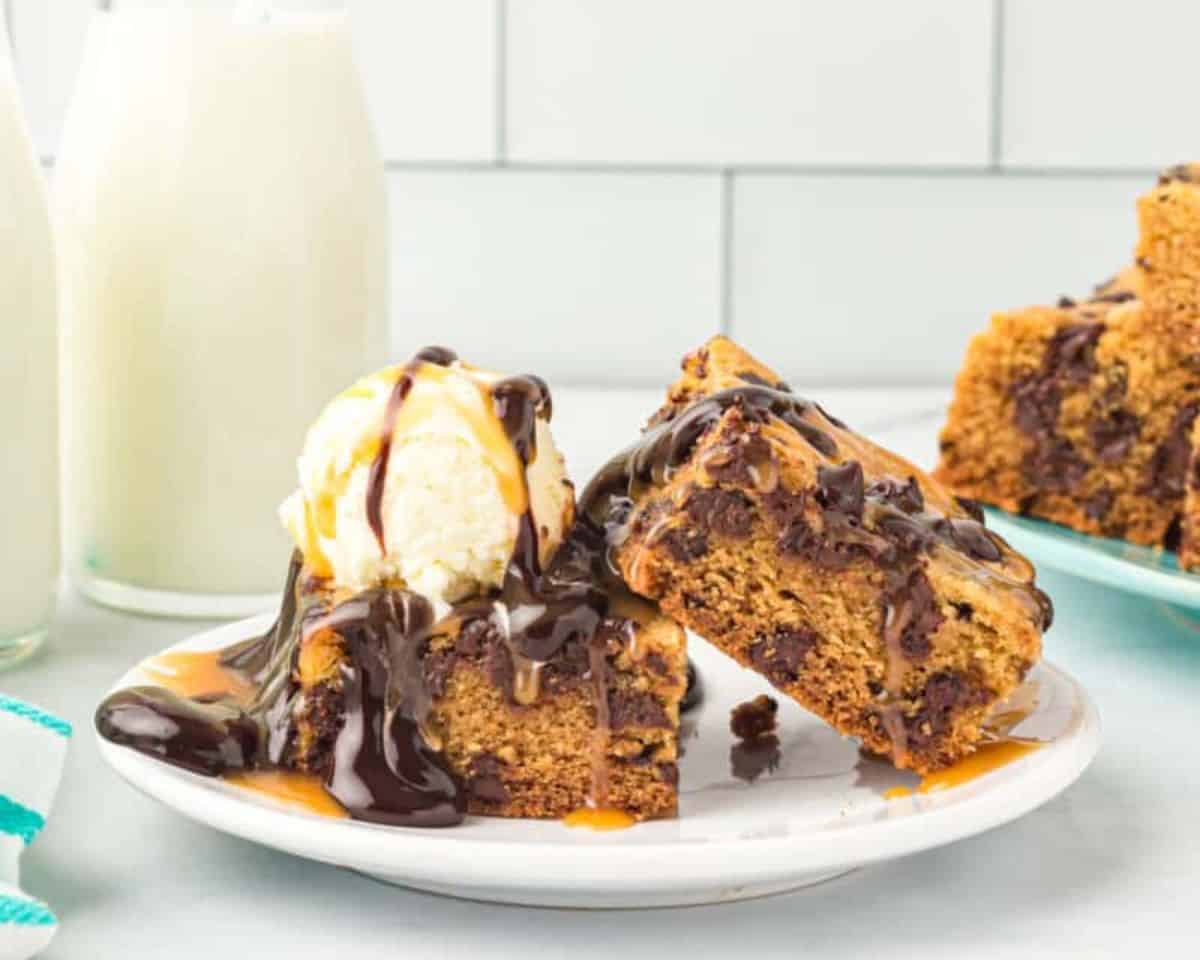
When I want to fancy things up a bit, I’ll warm a bar in the microwave for 30 seconds and top it with a scoop of vanilla ice cream or whipped cream, and a drizzle of warm caramel sauce. I love how the caramel brings a buttery, slightly salty edge that plays so well against the sweetness of the chocolate chips. It turns a simple bar into a sundae-style treat, and I always make this version when I’m celebrating something or hosting friends.
If I’m feeding a crowd, I like to cut the bars a little smaller and set them out on a platter with a bowl of fresh berries or my fruit salsa on the side so people can spoon some over their bars. I find that the bright, slightly tart fruit balances out all that chocolate richness and keeps the dessert table from feeling like a sugar overload.
If You Love These Bars, Try These Next
- Millionaire Bars: If you love how rich and chocolatey these cookie bars are, this one layers a shortbread base with homemade caramel and chocolate for an even more decadent bite.
- Peanut Butter Bars: No oven needed for this one. It’s a great option when you want that same chocolate and peanut butter combo but don’t feel like baking.
- Chocolate Chip Banana Bars: A softer, more cake-like take on the chocolate chip flavor I love here, perfect for using up ripe bananas.
- Frosted Sugar Cookie Bars: Another one-pan bar cookie that skips the scooping, with a sweet vanilla frosting on top for parties and holidays.