Published


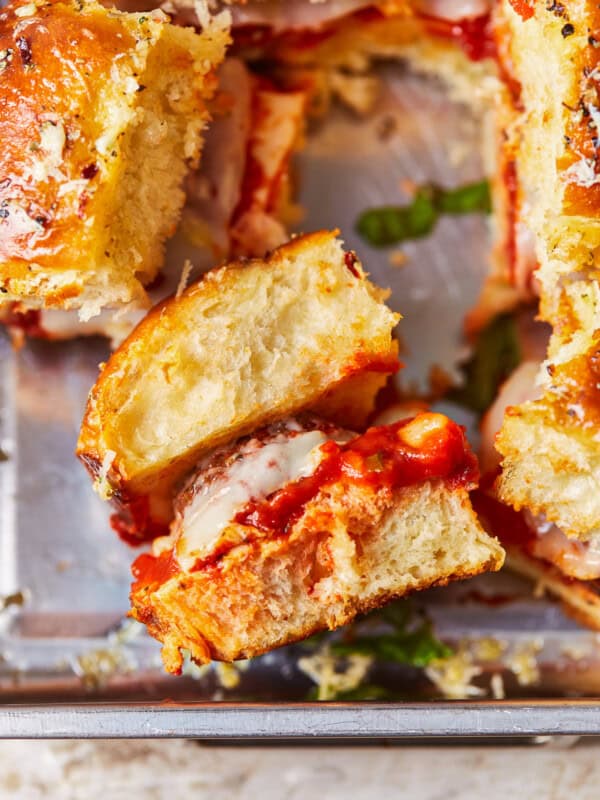
Cheeseburger Sliders are a fun and easy meal perfect for those busy school nights or exciting game days! When I’m not sure what to make for dinner, my son Henry always requests these. There’s nothing better than these easy baked sliders for feeding a hungry crowd.

5-Star Review
“This is bar none one of the most delicious recipes I have ever made. My husband was over the moon! Thank you!!” – Lisa
Easy Cheeseburger Sliders Recipe
I simply cannot get enough baked sliders in my life. Being a parent is busy, especially around back to school, and these cheeseburger sliders are just one way I make life easier. I tested several ways to make the burger part of these sliders, and once I developed this technique, I knew I’d found a winner.
I’ve also created an amazing glaze, which is optional. You can use as little or as much as you’d like. I find it helps to keep the bread from getting too dry and toasted. Alternatively, you can tent the dish with foil to keep the tops from burning. As much as we like these cheeseburger sliders, if I’ve got leftover ham on hand, I like making these ham and cheese sliders. My kids love them too!
Cheeseburger Sliders Recipe

Ingredients
For the Cheeseburgers
- 2 lbs lean ground beef I used 85%
- 2 tsp garlic powder
- 1 tsp kosher salt
- 2 tsp ground black pepper
- 1 tbsp olive oil
- ½ white onion diced
- 12 slider-sized Hawaiian rolls (1 package)
- 12 (¾ oz.) cheese snack bars any flavor — I used Borden
For the Glaze (Optional)
- ¼ cup unsalted butter melted (½ stick)
- ½ tsp kosher salt
- 2 tbsp brown sugar
- 3 tsp Worcestershire sauce
- 2 tbsp Dijon mustard
- ½ tbsp sesame seeds plus more for garnish
Video
Instructions
- Preheat oven to 350°F.
- Combine the beef and spices in a bowl.2 lbs lean ground beef, 2 tsp garlic powder, 1 tsp kosher salt, 2 tsp ground black pepper
- Press the beef into the bottom of a 9×13-inch baking dish into a flat and even layer.
- Bake for 20 minutes. Drain the liquid and set aside.
- Slice the rolls in half lengthwise. Place the bottom half in a lined baking pan.
- Top the bottom half of the rolls with the cooked beef.
- In a large skillet set over medium-high heat, add the olive oil. Add in the diced onion and stir to coat. Cook until the onion is translucent and fragrant.1 tbsp olive oil, ½ white onion
- Top the beef with the cooked onions, cheese, and top half of the bun.12 slider-sized Hawaiian rolls
- In a small bowl, combine the melted butter and all other ingredients for the butter topping.¼ cup unsalted butter, ½ tsp kosher salt, 2 tbsp brown sugar, 3 tsp Worcestershire sauce, 2 tbsp Dijon mustard, ½ tbsp sesame seeds
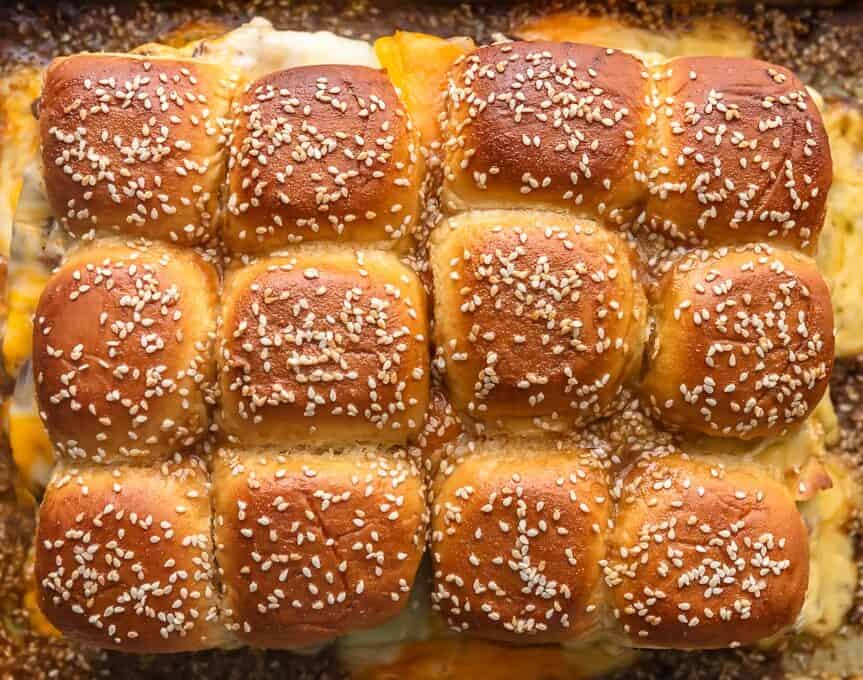
- Brush the tops of the rolls liberally with melted butter (or pour it over) mixture and sprinkle the sesame seeds on top.
- Bake for an additional 20 minutes, or until the bread is toasted and the cheese is melty.
- Slice into individual sliders and serve hot. Enjoy!
Equipment
- 9×13 Baking Pan
Becky’s Tips
- Check the internal temperature of the meat in the center of the pan with an instant-read thermometer. Use my burger temperature chart to find the perfect temp for you!
Nutrition information is automatically calculated, so should only be used as an approximation.
How to Make Cheeseburger Sliders Step by Step
Get the oven going: Preheat the oven to 350°F.
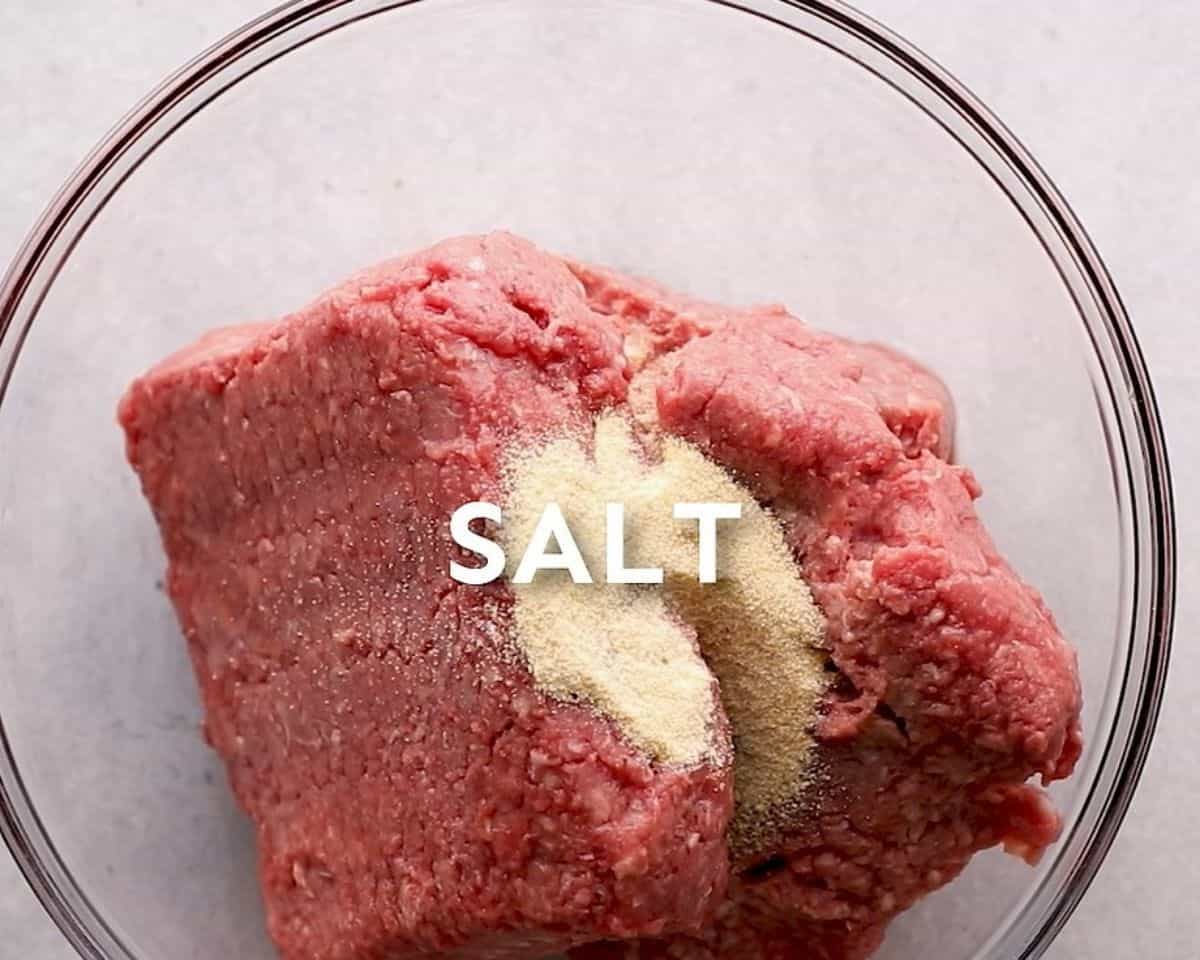
Make the beef: Add 2 lbs lean ground beef, 2 tsp garlic powder, 1 tsp kosher salt, and 2 tsp ground black pepper to a bowl and mix to combine.
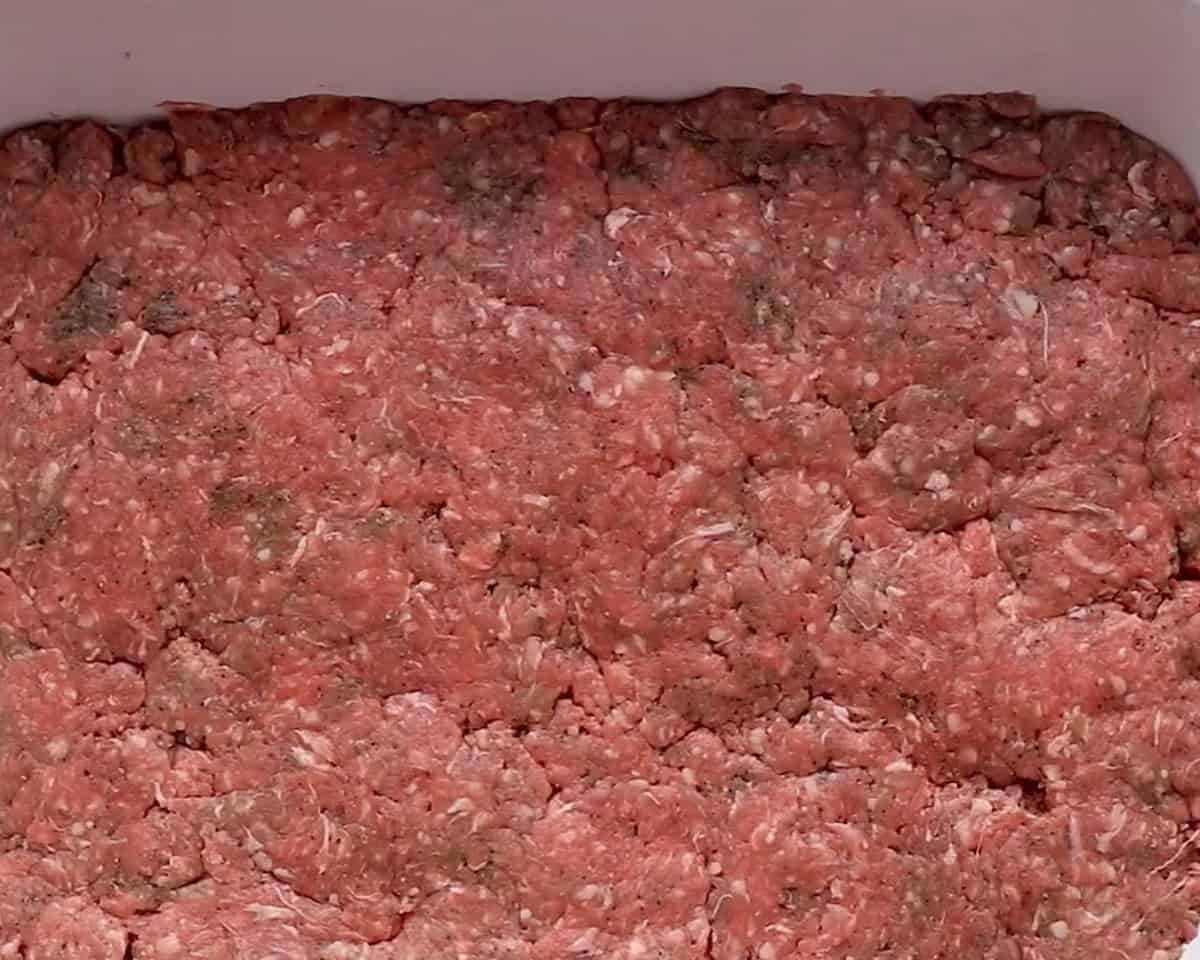
Take the beef and press it into the bottom of a 9×13-inch baking dish, pressing it down into a flat and even layer.
Bake the beef for 20 minutes, drain whatever liquid has accumulated, and set the beef aside.
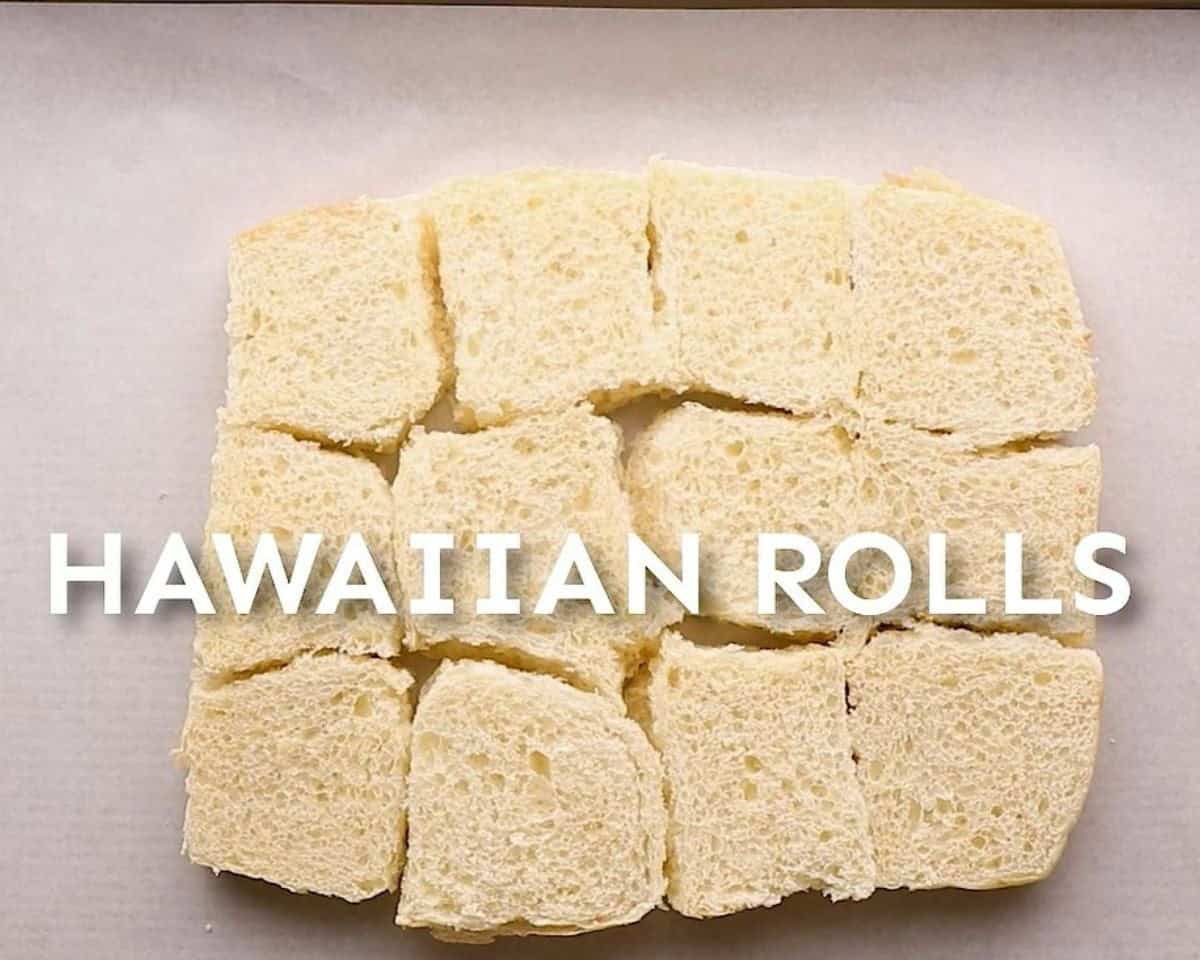
Prepare the sliders: Slice the Hawaiian rolls in half lengthwise and place the bottom half on a lined cookie sheet.

Top the bottom half of the rolls with the cooked beef.
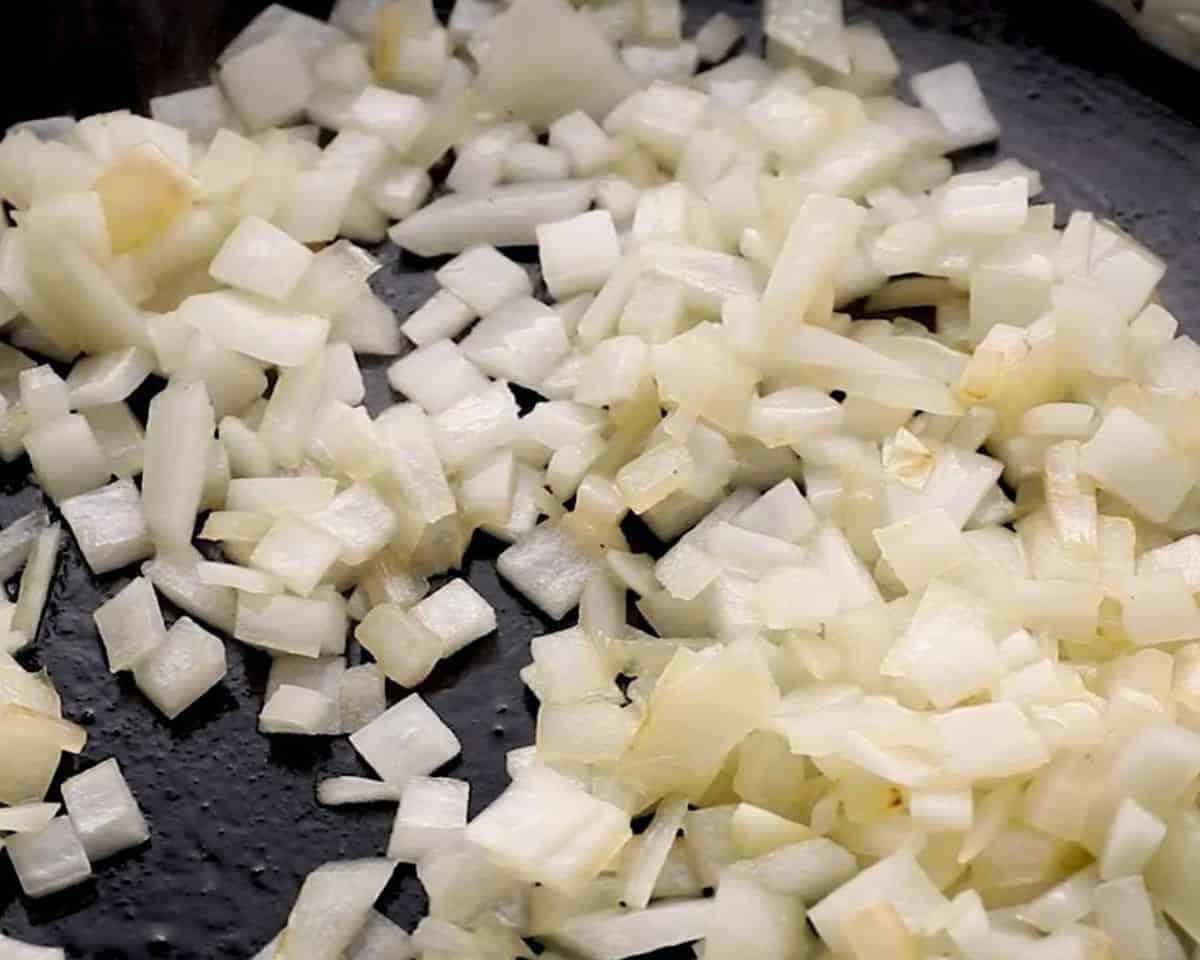
Cook the onions: Heat 1 tbsp of oil in a large skillet set over medium-high heat, and then add the diced onion. Stir the onion into the oil to coat and cook until the onion is soft, translucent, and fragrant.

Top the beef with the cooked onions, cheese slices, and the top half of the buns.
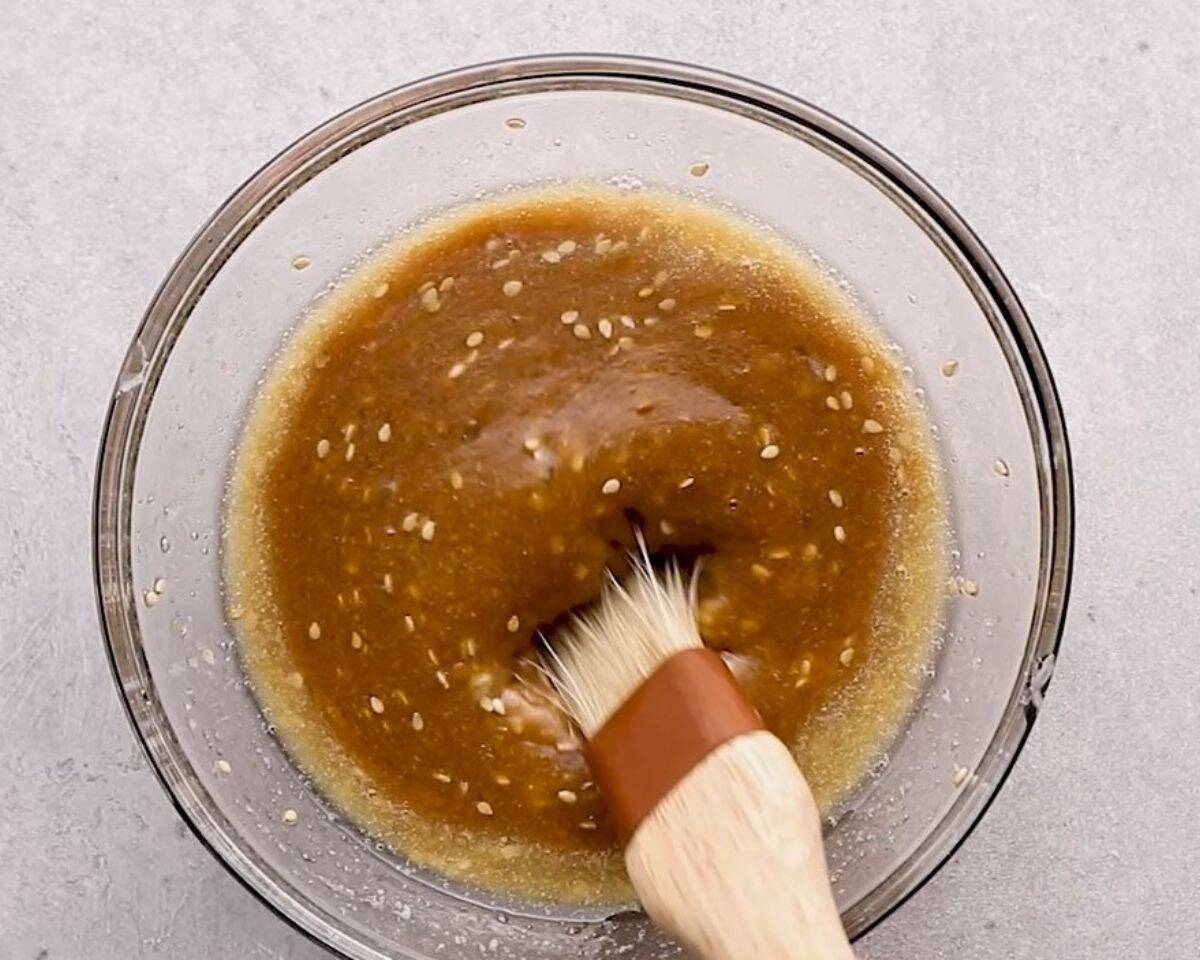
Make the glaze: Combine ¼ cup unsalted butter, ½ tsp kosher salt, 2 tbsp brown sugar, 3 tsp Worcestershire sauce, 2 tbsp Dijon mustard, and ½ tbsp sesame seeds in a bowl and mix to combine.
Finish the sliders: Use a pastry brush to brush the tops of the rolls liberally with the melted butter glaze, and then sprinkle a few more sesame seeds on top.
Bake the sliders for 20 minutes, or until the bread is nicely toasted and the cheese is completely melted.
Slice into individual portion-sized sliders and serve hot. Enjoy!
Variations on Hawaiian Roll Cheeseburger Sliders
I’ve chosen to make our baked sliders with onion and cheese, but there are so many ways you can change things up and keep it fun:
- Add peanut butter! Have you ever heard of a goober burger? It’s a cheeseburger topped with peanut butter. Sounds weird but trust me—they’re delish. It’s a bit of a Missouri tradition (the Wagon Wheel Inn was somewhere we frequented in my childhood). I hope you give it a try because it’s truly fantastic.
- Add other toppings such as tomatoes, bacon, pickles, or more. Any ingredients that won’t wilt (aka lettuce) would be a great addition to these baked burgers. I like to have a toppings bar on hand when feeding a crowd.
- Get creative with the cheese selection. Cheeseburgers are meant to be made with all kinds of different cheeses. I want to try pub cheese on these next.
- Use chicken or turkey instead of beef. Any ground meat will work in this recipe. Buffalo chicken would also be a great variation.

How to Store
If you want to get a head start, you can make the beef and onions one day ahead, but I wouldn’t recommend assembling on the rolls until the day of, or the rolls may become soggy.
If you’ve prepared the cheeseburgers but aren’t quite ready to serve them, you can place them in a 200°F oven covered with foil to keep them warm until you are ready.
Store leftover cheeseburger sliders in an airtight container or wrapped tightly in aluminum foil for up to 4 days. Reheat in a 350°F oven for 15-20 minutes, or until warmed through.
Freeze baked sliders individually wrapped in 2 layers of plastic wrap and 1 layer of aluminum foil for up to 3 months. Let thaw overnight in the refrigerator before reheating.
Serving Suggestions
The great thing about these cheeseburger sliders is that they’re so versatile. I serve them on their own as an appetizer, or with everything from crispy homemade French fries to chewy and cheesy soft pretzels. Some of my favorite kid-friendly sides are these flavorful baked sweet potato chips, crispy tater tots, and creamy loaded mac and cheese.

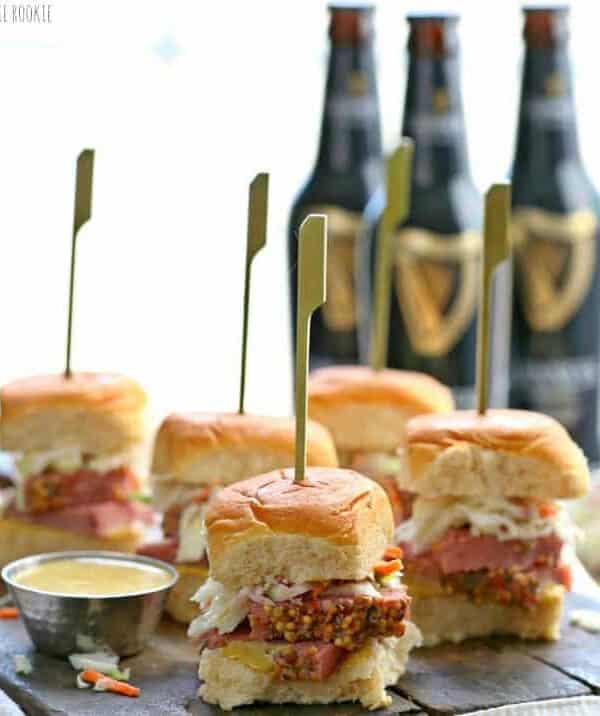
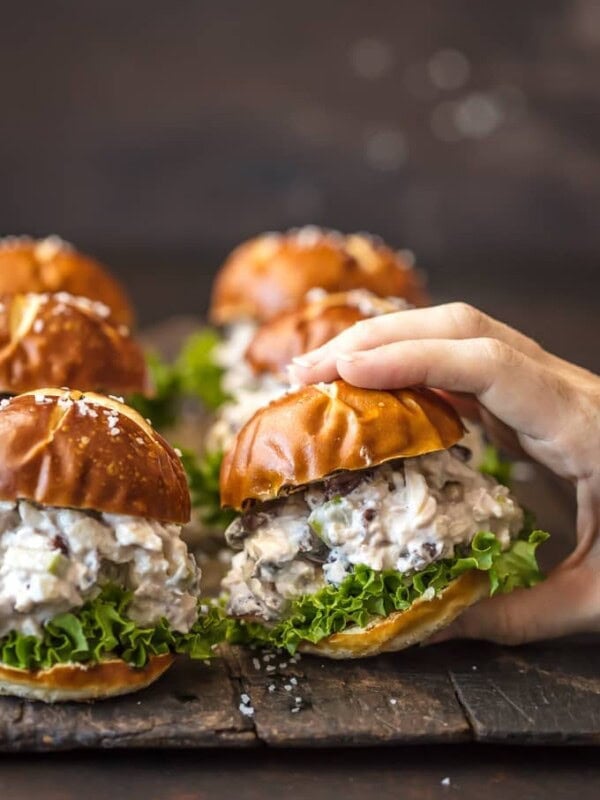
more slider recipes we love

Our Cheeseburger Sliders recipe was originally published on 09/12/23. It was retested, reworked, and republished to be better than ever on 9/12/25.


I’m getting ready to make this and I have to say THANK YOU, for calling out the amounts WITH the directions. I get so frustrated scrolling back and forth. Many thanks. ☺️👏🙏
This meal has become one of our favorites! Make them at least once a month and it’s a huge hit every single time!
My family (including my teen boys) absolutely loved this recipe!! I used the recipe for the Hawaiian rolls as well, so everything was made from scratch. Fantastic!!
Awesome, thank you Catherine!
Thanks a lot for sharing such a wonderful blog. All the best and do share such articles in future also.
these look good
Once the beef is baked, is it removed from the pan so that the bottom half the rolls can be placed in the same baking dish?
Yes, or use a cookie sheet for the sliders and transfer the beef then.
I’m making these for a “Big Game” party. Do you have a suggestion for keeping them warm for a couple of hours? Maybe stacked in a slow cooker set on low, or an electric skillet with a cooling rack to keep them off the direct heat? Any ideas?
Hi Daniel, we recommend placing them in a 200°F oven covered with foil to keep them warm!
These turned out GREAT and were a real crowd pleaser. I made one batch with beef and one with ground turkey, to which I added a little shredded butter to keep the turkey moist, and Worcestershire Sauce for a kick to the flavor. To keep warm for the first 45-60 minutes, I heated my cast iron griddle, placed it on hot pads on my serving area, coved it with a dish towel (so people would not burn themselves) put the sliders on the dish towel and threw another towel over them to keep warm. Worked like a charm. And there weren’t many left after an hour to keep warm anyway. The last few went back in the over later to reheat and Boom, success!
You put the sliders on a dish towel? What do you mean? In the baking dish?
Really enjoy the flavors. Have made other slider recipes, this one is easier than others. The one thing I am trying to figure out is to have the meat less compact/hard.
Hi Michael, be gentle when pressing the beef. You don’t need to really compact it; just get it into an even layer!
Can these be made earlier in the day and baked just prior to serving? Thank you!
Hi Pam, the bottom buns will likely turn soggy if prepped ahead!
I thought this was really tasty and a definite keeper to make again. made exactly as written except extra onions and fried with olive oil and a bit of butter (more flavour). I also made sure to get as much of the fat off the meat and pan. No sogginess at all :)