Published
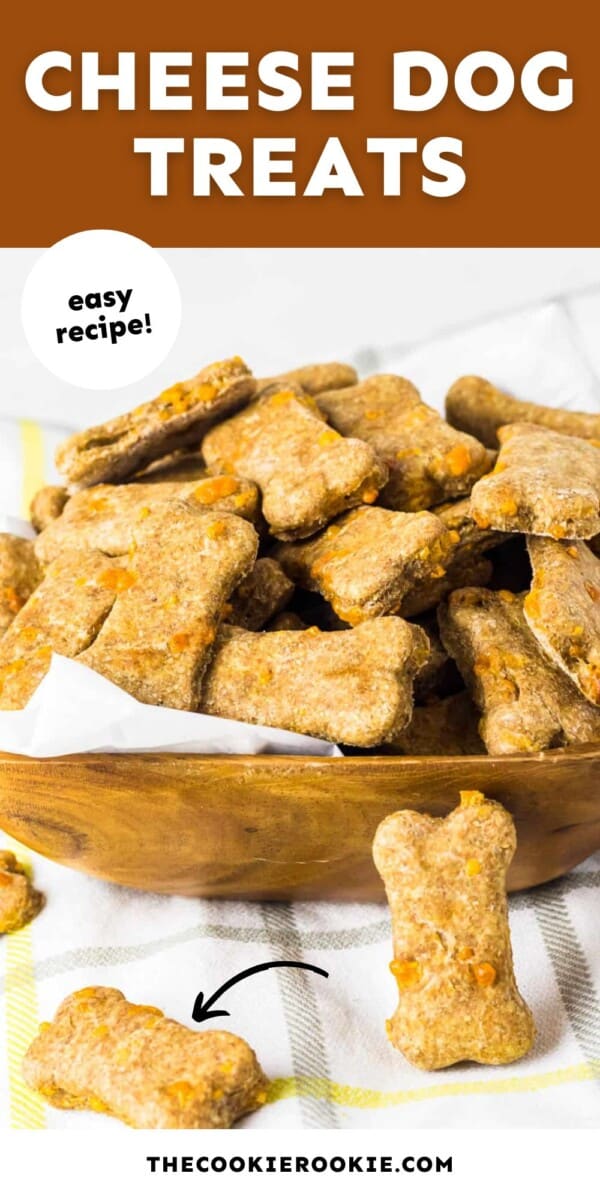
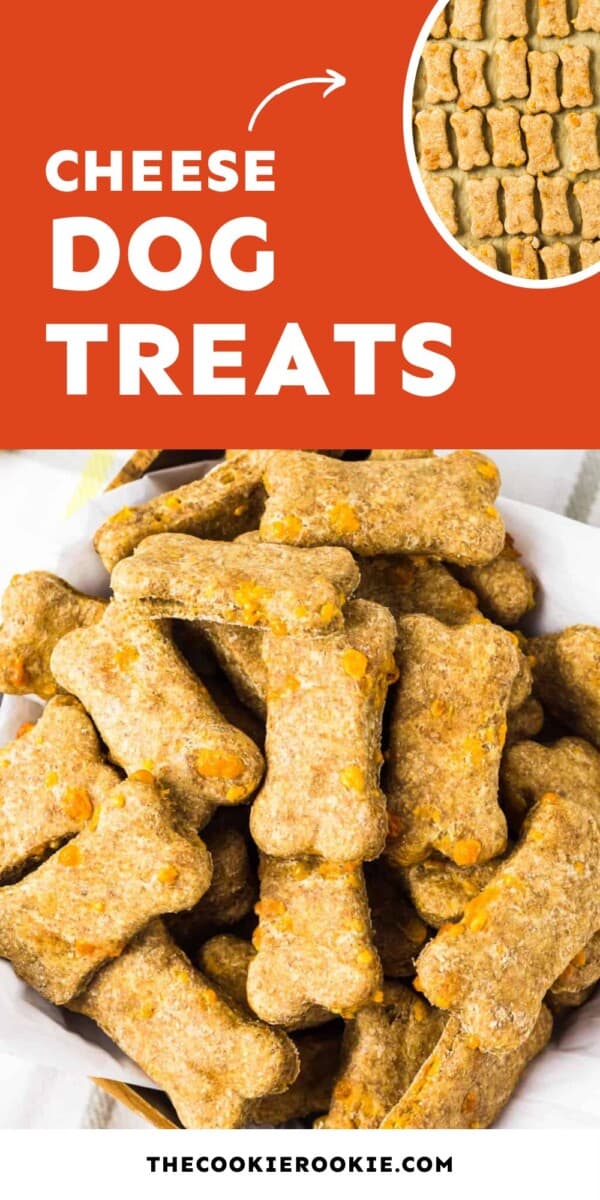

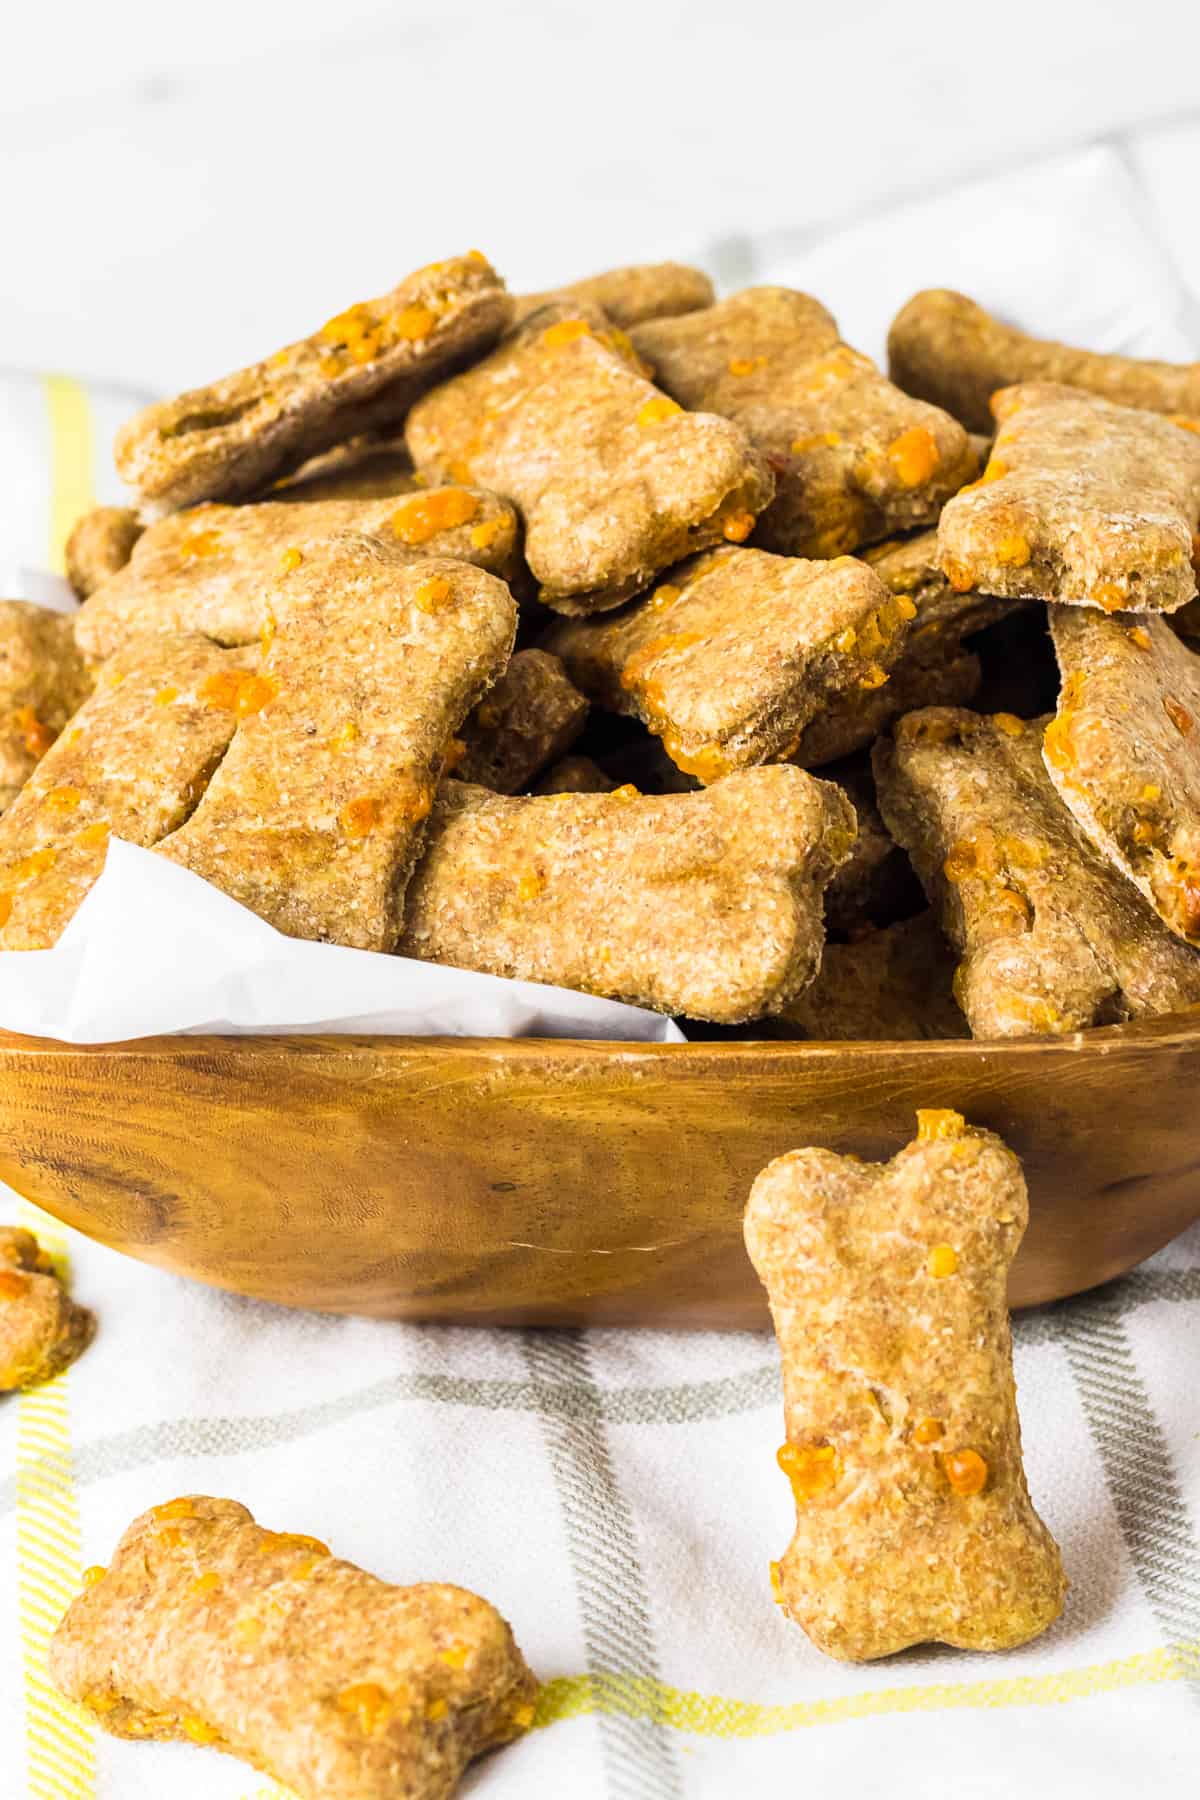
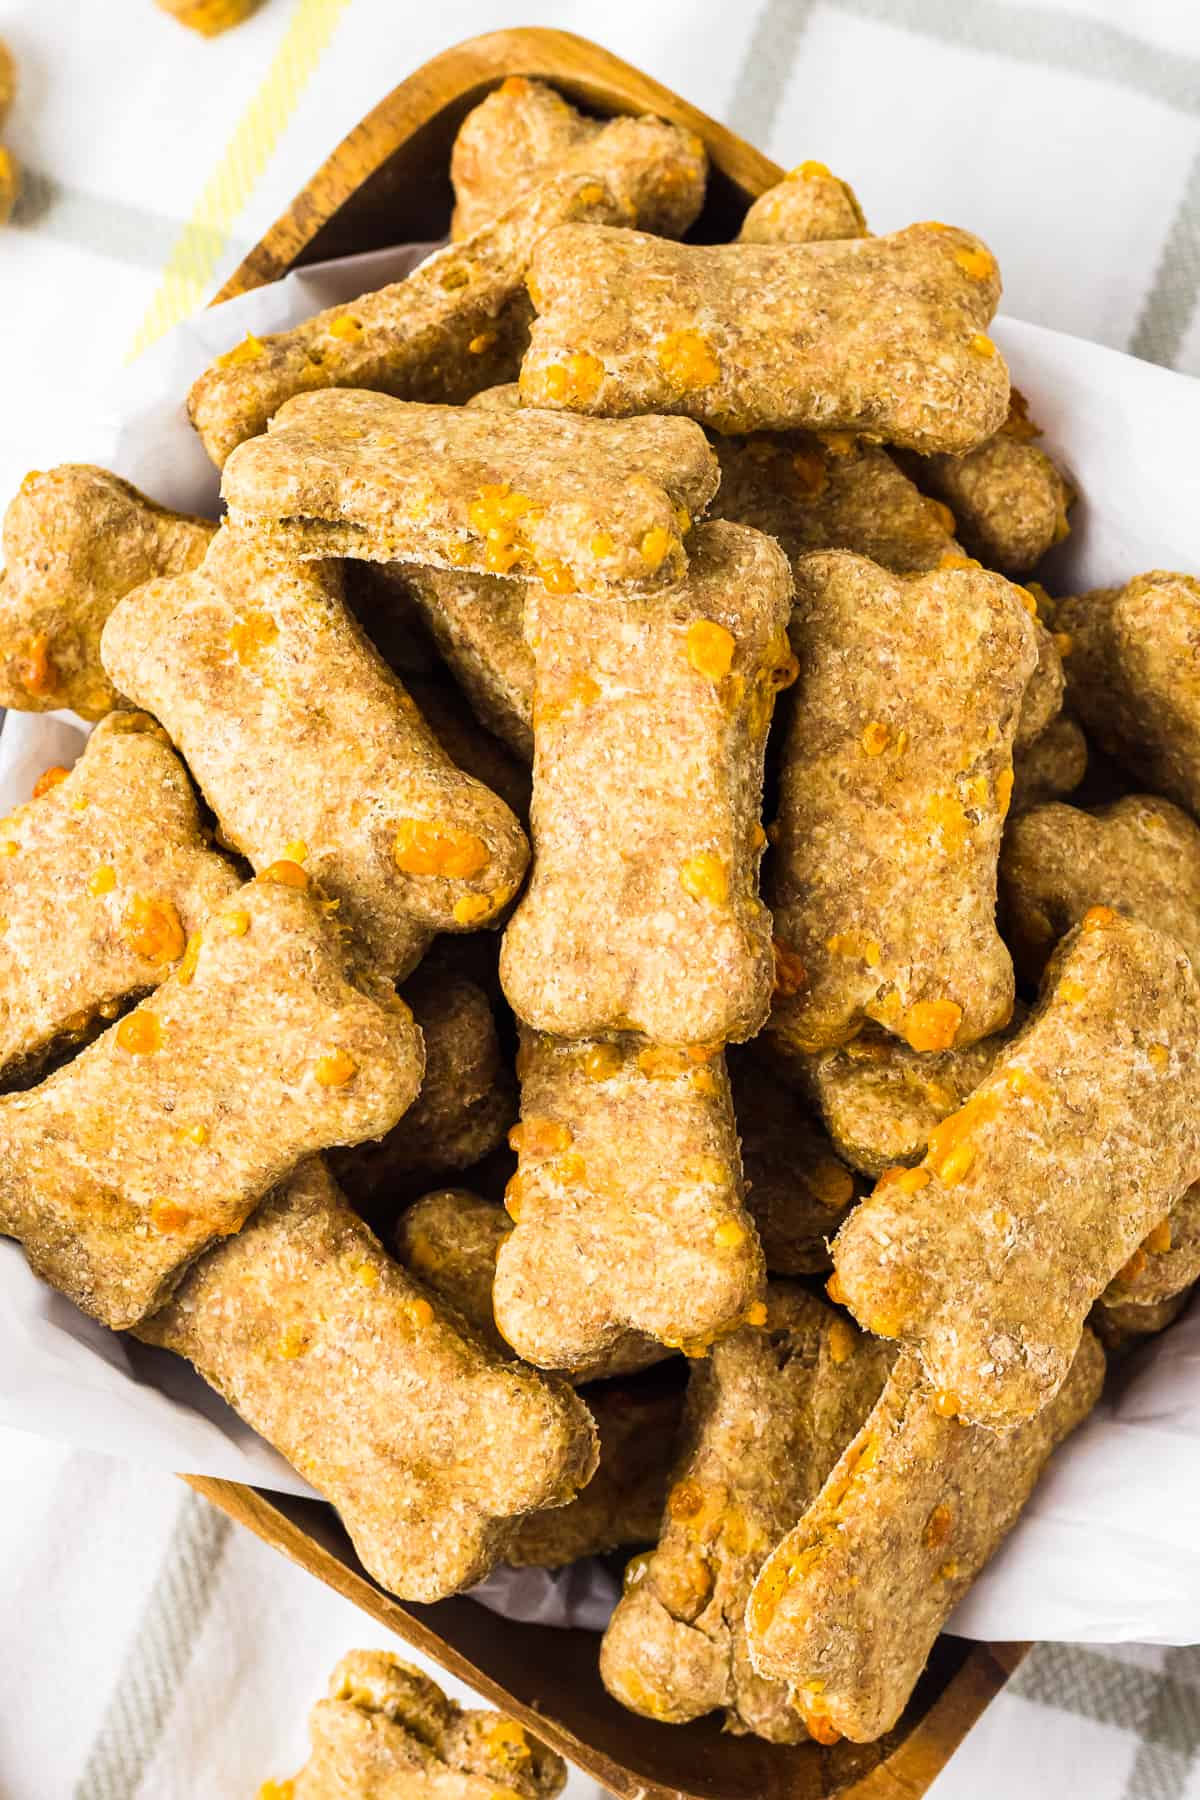
I love making these easy cheese dog treats to give to my pooches! I only need 4 inexpensive ingredients and less than an hour to make these crunchy, cheesy dog treats. These always get my puppys’ tails wagging!
These cheese dog treats are made with natural ingredients, so I feel good about giving these treats to my furry friends. All I need are flour, eggs, water, and, of course, cheese! My dogs love these tasty cheese biscuits, and I’m sure yours will as well!
What’s in this Cheese Dog Treats Recipe?
- Flour: I like using whole wheat flour for dog biscuits for the extra nutritional value. Other types of flour are fine to use, as long as you know your dog isn’t allergic.
- Eggs: Help bind the biscuits and give them structure. They’re also a great source of healthy fats, omega-3, and protein.
- Water: Helps hydrate the treats so everything stays together.
- Cheese: I used cheddar cheese in these dog treats, and my dogs loved them! Dogs can have almost any kind of cheese in moderation (avoid blue-veined cheeses!). Lower-fat cheeses tend to be better for them, so you can opt for a low-fat cheddar here.
Tips for Success
- This dough for these cheese dog treats reminds me a bit of bread in that you really need to knead it for a while to get all the ingredients combined. I used my hands to do this, but you could also break out the stand mixer and let that do the work for you!
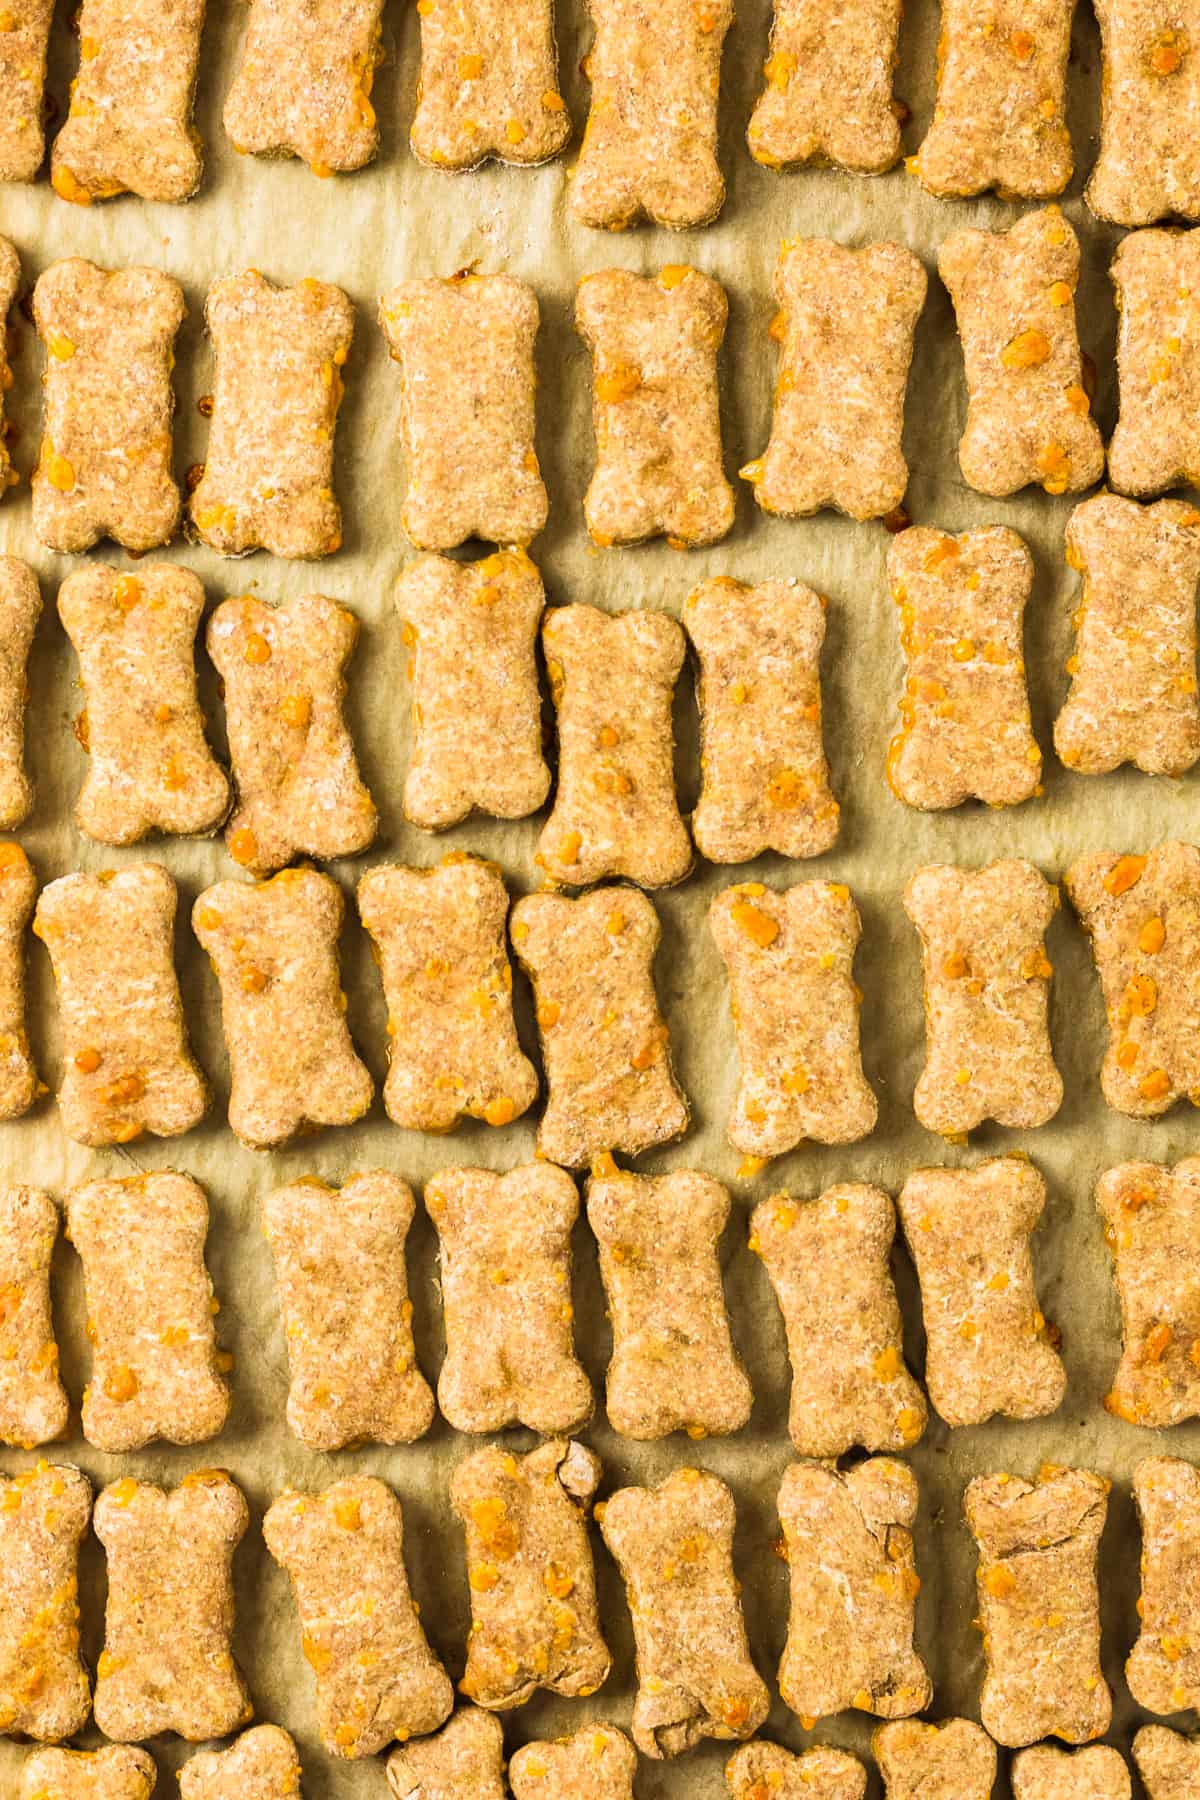
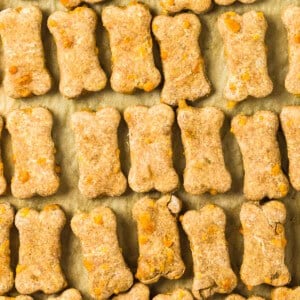
- You can use any size or shape of cookie cutter for this recipe. If you choose to make your biscuits thinker than ¾-inch you may need to cook a few minutes longer. The treats should be crunchy all the way through.
- These are treats and should be given as such. They shouldn’t replace your dogs’ main meals. One or two a day is plenty.
- While I wouldn’t exactly recommend humans snacking on these, if a little one gets their hands on them, they’ll be okay!
How to Store
Once your cheese dog treats have cooled, place them in an airtight container and they will keep well at room temperature or in the refrigerator for around 2 months.
This recipe makes a batch of 60 treats, so it’s a great idea to freeze them. Just pop them into a container or freezer bag and they will keep well for 3-4 months. Thaw the cheesy dog biscuits at room temperature before giving to your pooch.
5-Star Review
“I loved this recipe! But better yet so did my dogs! I used the dough attachment on my Ninja food processor, threw all the ingredients in and out came the perfect dough! The dough was so easy to work with! This will definitely be my go to recipe for my dog treats from now on!” – Kathy
Cheese Dog Treats Recipe
Ingredients
- 3 cups whole wheat flour 339 grams
- 2 large eggs 100 grams
- ⅔ cup water 151 grams
- 1 cup shredded cheddar cheese 113 grams
Instructions
- Preheat oven to 350°F. Line a baking sheet with parchment paper. Set aside.
- Mix all ingredients together in a large bowl to form a dough.3 cups whole wheat flour, 2 large eggs, ⅔ cup water, 1 cup shredded cheddar cheese
- Roll dough out onto a lightly floured surface with a rolling pin to desired thickness. (I kept mine around ½-inch thick).
- Use a cookie cutter to cut out dog treats and lay them onto the prepared baking sheet.
- Bake treats for 20-25 minutes.
- Allow to cool completely before feeding to your dog.
Equipment
- Kitchen Scale (optional)
- Baking Sheet
- Rolling Pin
Becky’s Tips
Nutrition information is automatically calculated, so should only be used as an approximation.


I made them according exactly to the recipe. They are “puffy” as if there was a rising agent… the dog certainly doesn’t care (black lab pup, VERY food motivated)but I’ll try again and would like to know how to make them crisp.
Hi Sher, Thanks for making the recipe—and I love that your pup approved. These treats do naturally puff a bit while baking because of the egg and cheese, which can give them a softer, slightly “bready” texture rather than a super crisp, crunchy one.
If you’d like them crispier next time, here are a few tweaks you can try:
-Roll them a bit thinner before baking
-Bake a little longer at a slightly lower temp to dry them out more
-After baking, turn the oven off and let them sit inside as it cools (this helps them firm up)
Every oven runs differently, so a little experimenting can help you find the perfect texture your pup loves best. Hope batch #2 is even better! 🐶
Our dog loves theses cheeses treats, and so easy to make….. they sometimes go mouldy even tho in air tight container, is it better to keep and give them straight from the fridge. Thanks
Hello how much longer woukd you recommend baking them for to make them crunchy
Hi Kim, they should be crunchy based on the instructions.
The cookies were quick and easy to make! Since I have 2 small dogs, a Chihuahua and a Parson Jack Russell Terrier, my dogs couldn’t chew them properly. I would highly recommend that you should get the cookie recipe make cookies a bit softer. I give it 4 ½ stars!
Could you use oat flour instead of whole wheat?
Hi Michelle, it should be okay but we haven’t tested it with oat flour.
This is a great way to use up cheese that has gone stale. Threw it in the blender instead of grating. Fantastic!
Brilliant!! Great recipe my dog loved them
Can I bake these is a silicone paw mold?
Sure, but they may take longer to bake depending on how full you fill the molds!
Hi.. do you think I can dehydrate afterwards once done in molds?
I am making training treats for dog school and was wondering if dehydrating might increase shelf life?
Hi Jenny, We haven’t tried that. Let us know if you try!
Yes
Made these to give out to dogs and I also made a peanut butter dog treat recipe! The owners were so excited about the cheese cookies, most didn’t even care about the peanut butter ones!! I was wondering though, how long do these dog treats stay good in just an air tight container without refrigerating?
Hi LeDonna, they should last for about a week at room temperature. They may spoil faster in warm or humid climates, though!
Made these for my pet treat business and they went moldy very fast…
Hi Sara, we’re sorry to hear that! If you don’t plan to refrigerate or freeze them, it’s really important to bake them until they are super snappy and hard. Driving out that extra moisture is key to avoiding mold for as long as possible!