Updated
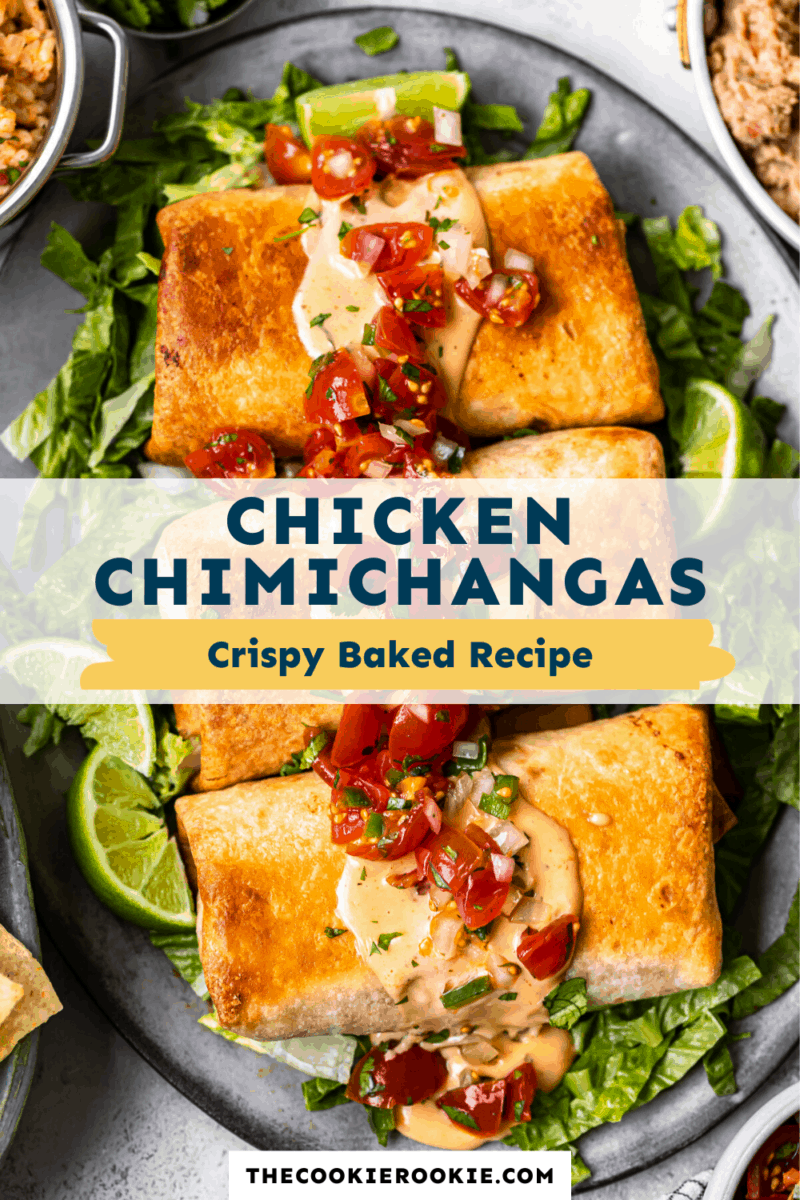
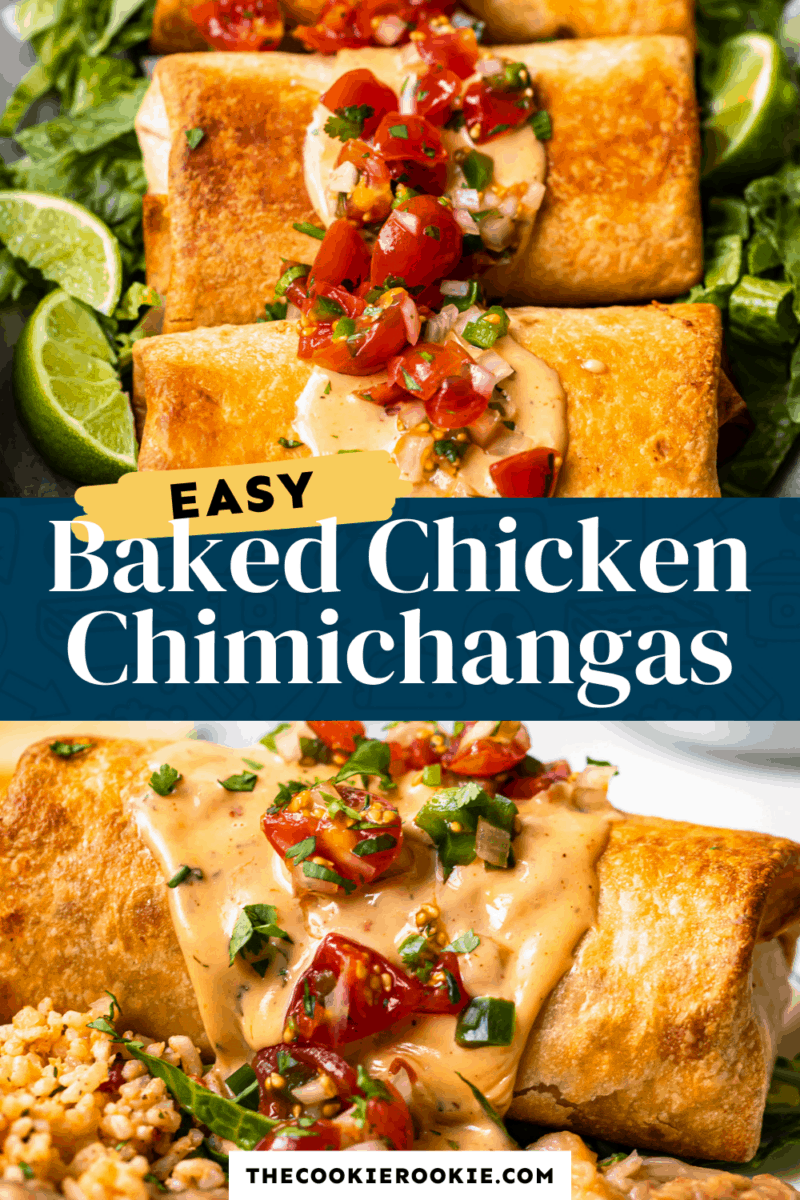
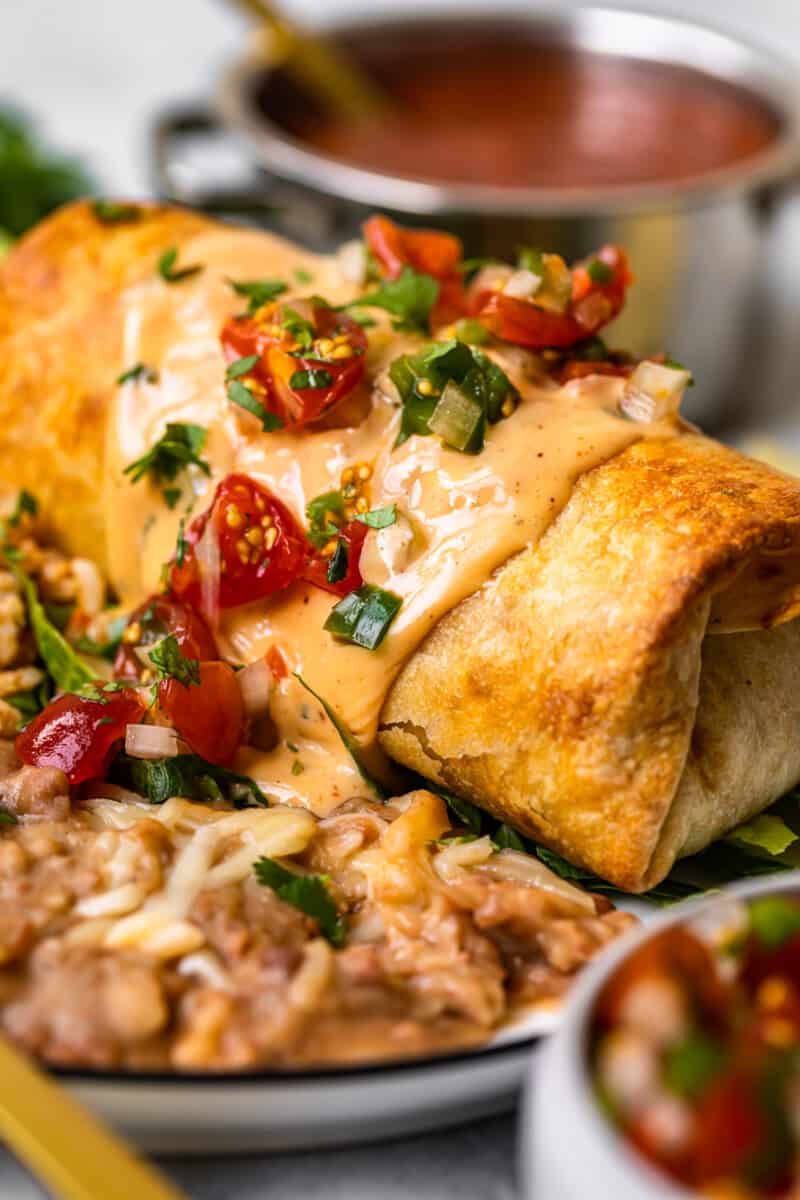
These baked chicken chimichangas are so crispy and delicious! I love how easy they are to make, which means I can whip up a great Tex-Mex dinner whenever I’m craving one. Everyone always enjoys these homemade chimichangas, especially when I top them with plenty of cheese sauce!
5-Star Review
“These hit the spot and even my 15 year old approved!! I substituted olive oil for the canola and used spinach herb tortillas along with the regular. Will be making these again for sure!!” – Jerri
Cheesy Chicken Chimichangas Recipe
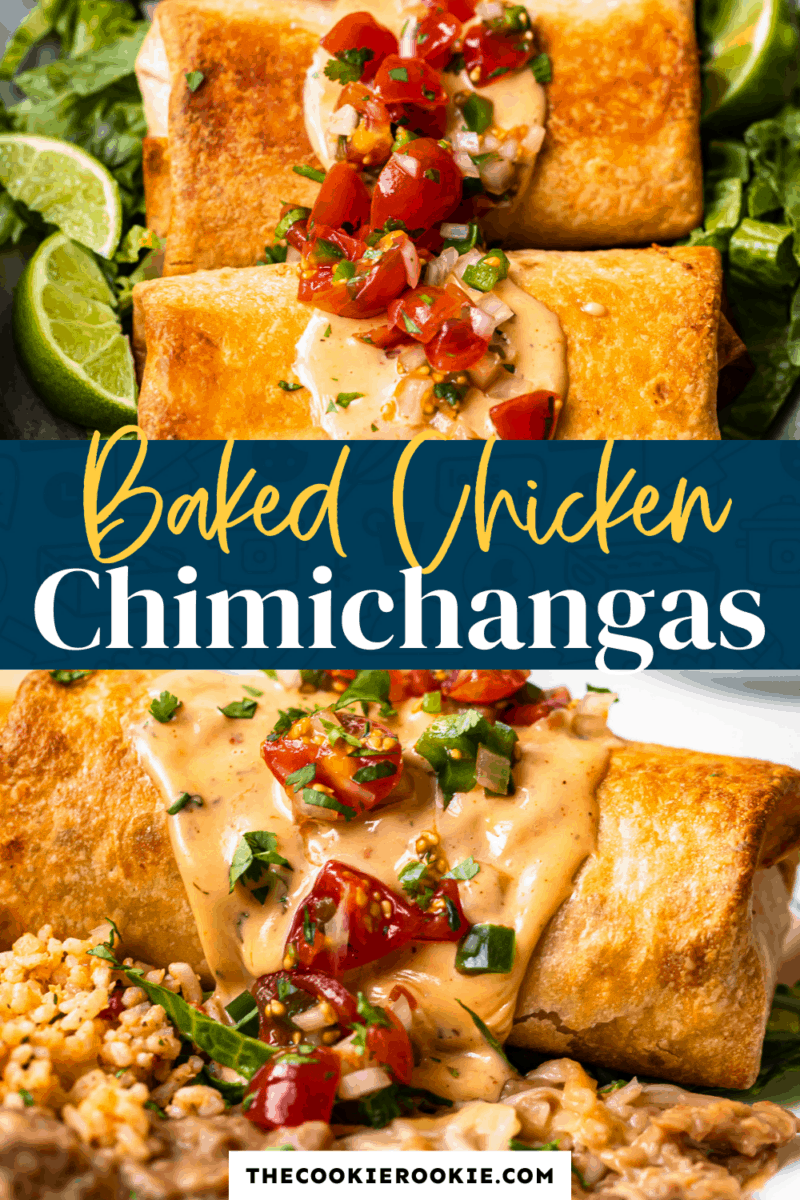
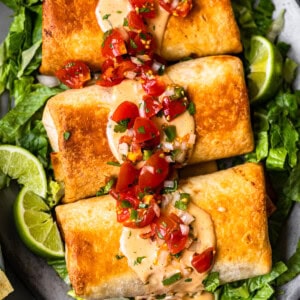
I can’t get enough of these baked chimichangas—stuffed with juicy chicken, fluffy rice, hearty beans, and loads of gooey cheese, they’re the kind of dinner everyone at my table devours in minutes.
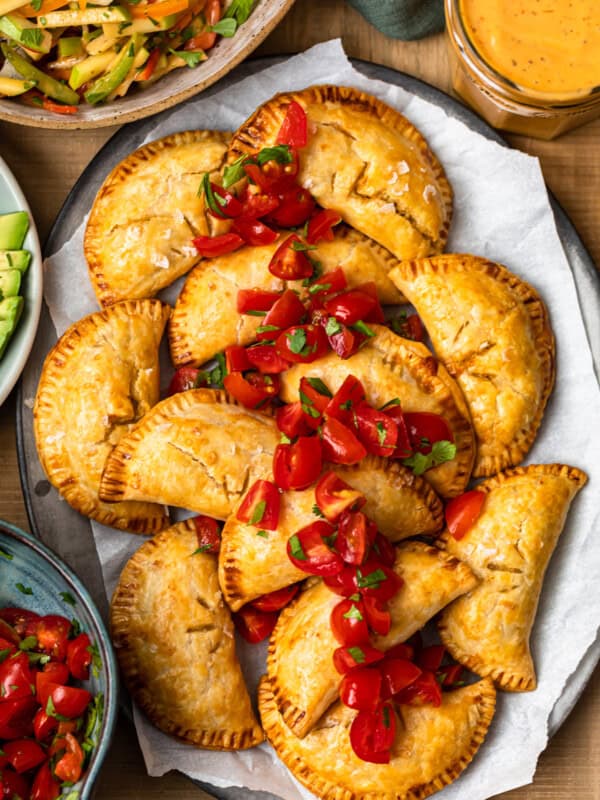
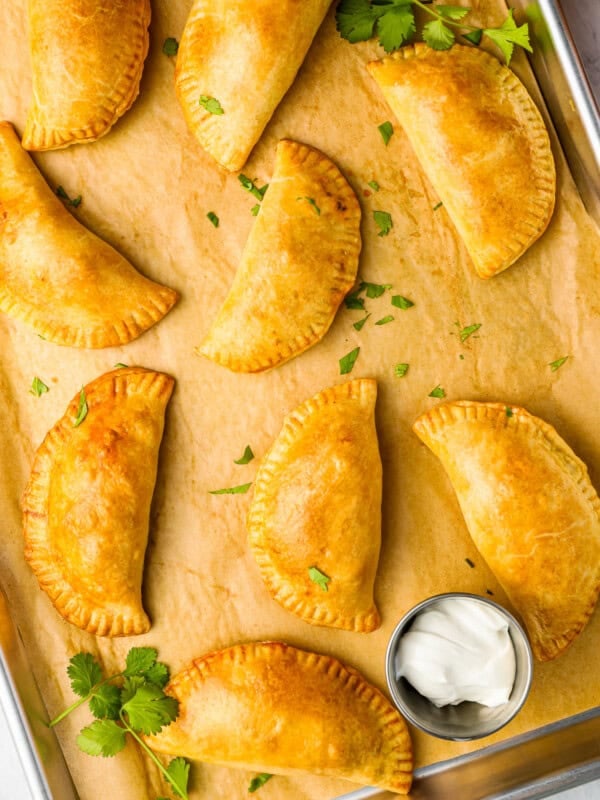
If you’re not familiar with chimichangas, think of them as a cross between a burrito and an enchilada, but with that irresistible crispy bite. Traditionally, they’re fried, but I’ve swapped the deep fryer for the oven, as I did in these baked chicken empanadas, and honestly, you’d never miss it. The tortillas still bake up perfectly golden and crunchy—trust me, you’re going to love this lighter (but just as delicious) version!
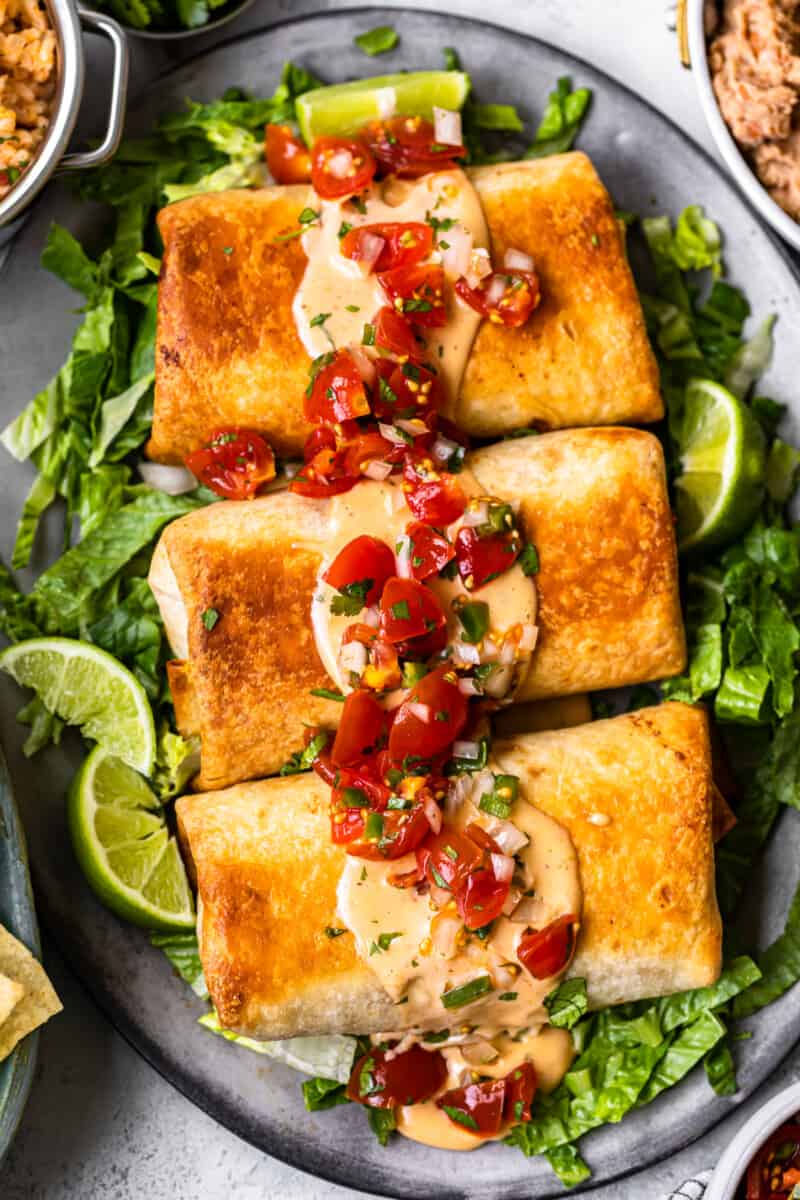
Serve these baked chicken chimichangas on Cinco de Mayo, or any night when you’re craving a cheesy Mexican dish. And don’t forget to add your favorite toppings and sides!
Chicken Chimichangas Recipe
Ingredients
- ½ cup canola oil divided
- ¼ cup unsalted butter, divided (4 tbsp)
- ½ medium yellow onion diced
- 2 cloves garlic minced
- 1 tsp ground cumin
- 1 tsp chili powder
- 1 tsp kosher salt
- ½ tsp ground black pepper
- 4 cups pulled chopped or cubed cooked chicken (rotisserie works well)
- ½ can Rotel-style tomatoes & juice (5 oz.)
- juice of 1 medium lime divided
- 1 can black bean drained
- 2 cups shredded Mexican-style or Monterey Jack cheese
- 2 cups cooked Mexican or white rice optional
- 6 tbsp canola oil
- 3 tbsp unsalted butter
- 8 soft flour tortillas (10-inch)
- queso cheese dip
Toppings & Sides for Serving:
- pico de gallo
- refried beans
- Mexican rice
- sour cream
- sliced jalapenos
- shredded lettuce
- tortilla chips
- salsa
- lime wedges
Video
Instructions
- Adjust oven rack to middle position and heat oven to 450°F.
- Sauté diced onion in 2 tbsp oil and 1 tbsp butter, over medium heat until translucent (about 4 minutes). Add minced garlic, cumin, chili powder, salt, and black pepper. Stir, set heat to low, and cook 30 seconds, stirring often.½ cup canola oil, ¼ cup unsalted butter, divided, ½ medium yellow onion, 2 cloves garlic, 1 tsp ground cumin, 1 tsp chili powder, 1 tsp kosher salt, ½ tsp ground black pepper
- Add chicken and tomatoes. Stir and cook until liquid evaporates, about 1 minute.4 cups pulled chopped or cubed cooked chicken , ½ can Rotel-style tomatoes & juice
- Add juice of ½ lime and beans, stir and cook until beans are heated through.juice of 1 medium lime, 1 can black bean
- In a small microwave-safe dish, heat 3 tbsp butter and 6 tbsp canola oil until butter is melted. Stir well.
- Brush a rimmed baking sheet with 1/3 of the butter/oil mixture and set it in the oven for 2 minutes.6 tbsp canola oil, 3 tbsp unsalted butter
- Spread 1 tbsp queso cheese in the center of a tortilla. Add ½ cup chicken/bean mixture and 2 tbsp Mexican rice. Top with 2 tbsp shredded cheese. Fold the sides and one end of the tortilla over the filling and roll it up to the other end.2 cups shredded Mexican-style or Monterey Jack cheese, 2 cups cooked Mexican or white rice
- Brush the baking pan again with the oil and butter mixture.
- Press the filled tortilla down a little and place it seam-side down on the hot sheet pan. Repeat the process with all tortillas.8 soft flour tortillas
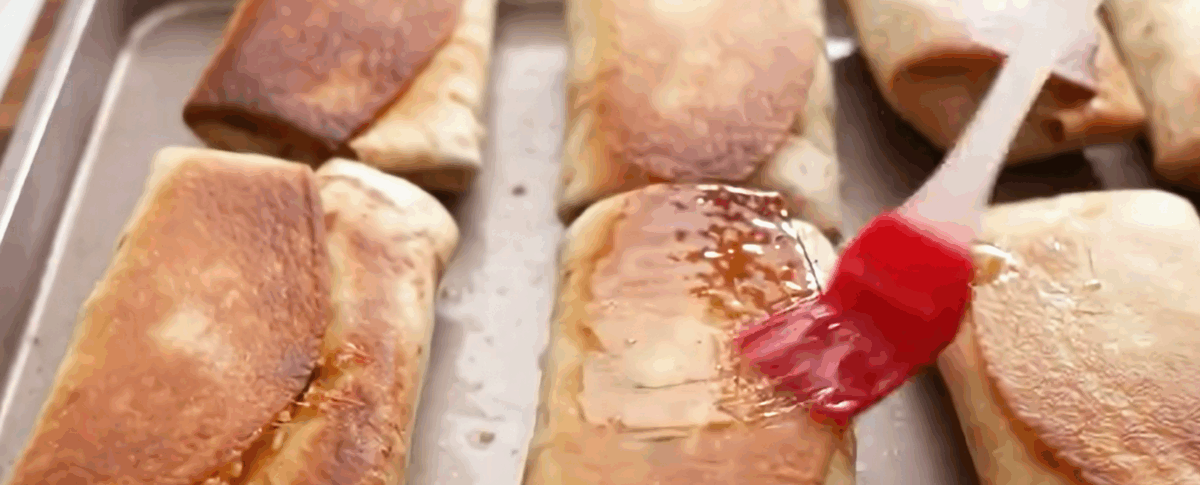
- Brush the tops of the chimichangas with the melted butter/oil mixture and bake for 10 minutes.
- Remove the pan from the oven and flip the chimichangas over. Brush the seam side with melted butter/oil and bake an additional 8-10 minutes or until golden and crispy.
- Turn off the oven and remove the chimichangas from the oven.
- If desired, spread 2 tbsp queso cheese on top of each chimichanga and return them to the oven just to melt the cheese a little.queso cheese dip
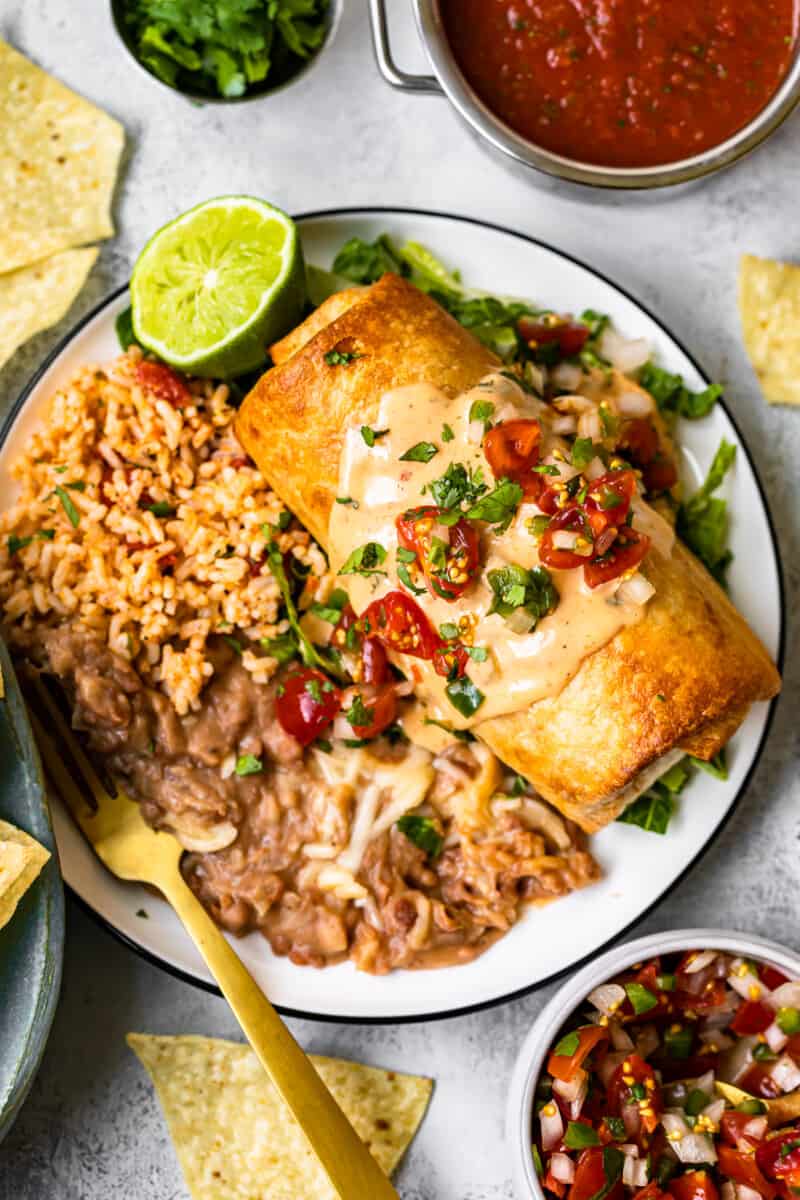
- Serve chimichangas with Mexican rice, beans, pico de gallo, shredded lettuce, sour cream, tortilla chips & salsa—whatever Mexican side dishes you love.pico de gallo, refried beans, sour cream, sliced jalapenos, shredded lettuce, tortilla chips, salsa, lime wedges
Becky’s Tips
- Do not overfill, or it will be tough to fold the tortillas. Using 10-inch tortillas and the ingredient measurements listed in the recipe card will help to avoid any filling spilling out.
Nutrition information is automatically calculated, so should only be used as an approximation.
How to Make Baked Chicken Chimichangas Step by Step
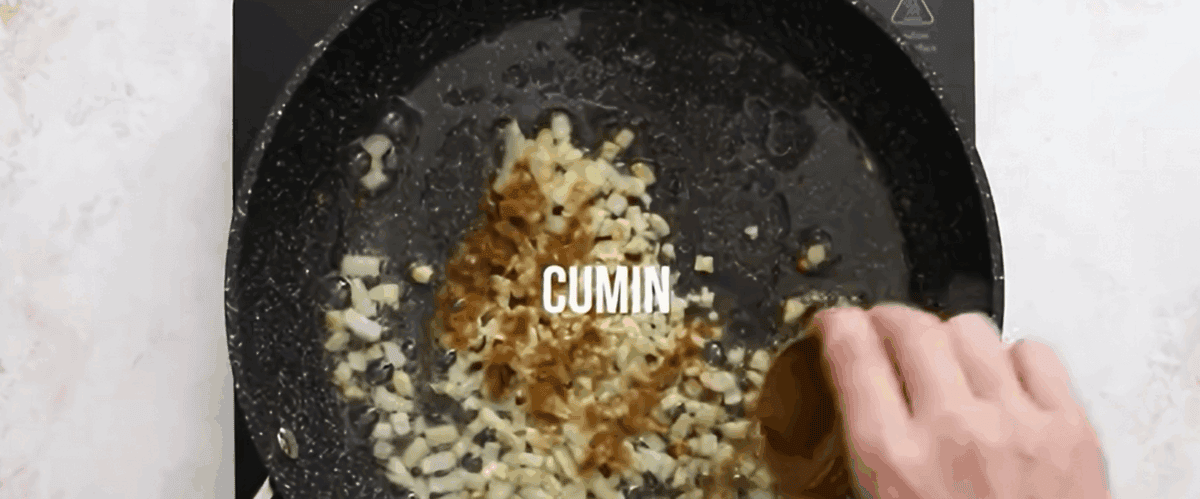
Cook onion and spices: Adjust oven rack to middle position and heat oven to 450°F. Sauté diced onion in 2 tbsp oil and 1 tbsp butter over medium heat, until translucent—about 4 minutes. Add minced 2 cloves garlic, 1 tsp cumin, 1 tsp chili powder, 1 tsp salt, and ½ tsp black pepper. Stir, set heat to low, and cook 30 seconds, stirring often.
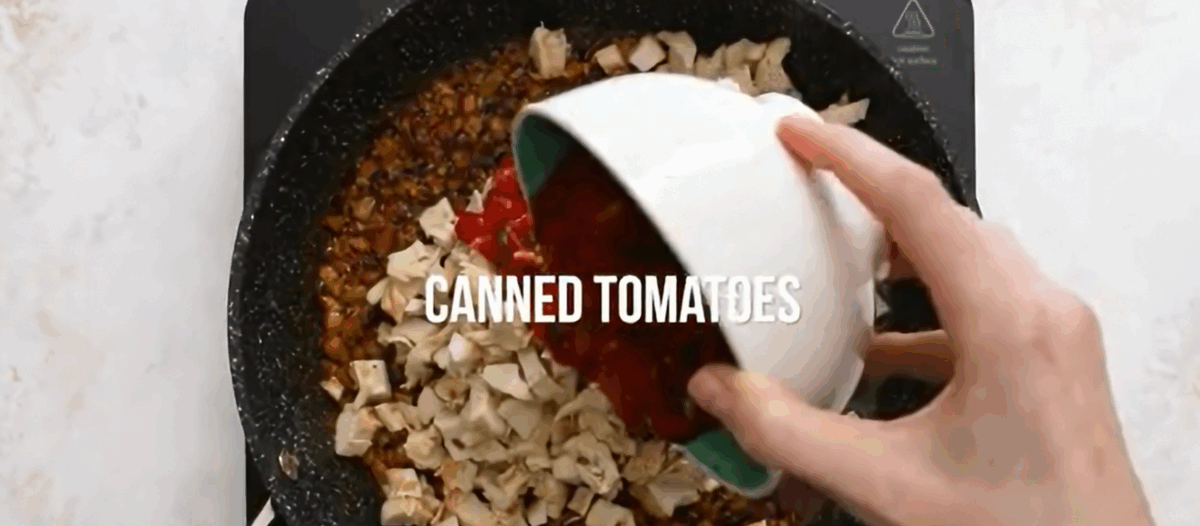
Stir in chicken and tomatoes: Add 4 cups chicken and ½ can diced tomatoes and their juice. Stir and cook until liquid evaporates, about 1 minute.
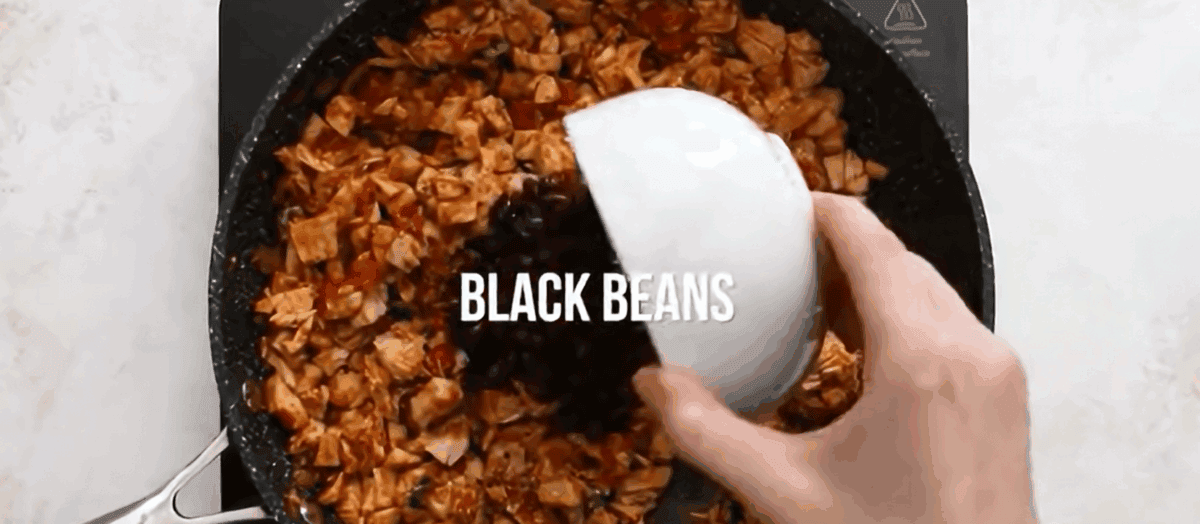
Stir in lime juice and beans: Add juice of ½ lime and 1 can beans, stir and cook until beans are heated through.
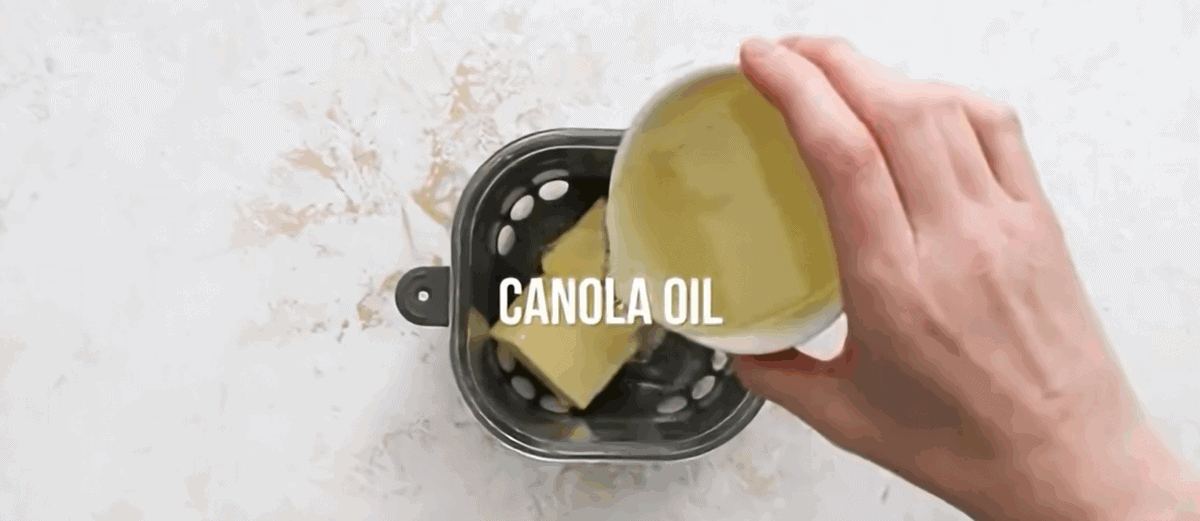
Combine butter and oil: In a small microwave-safe dish, heat 3 tbsp butter and 6 tbsp canola oil until butter is melted. Stir well.
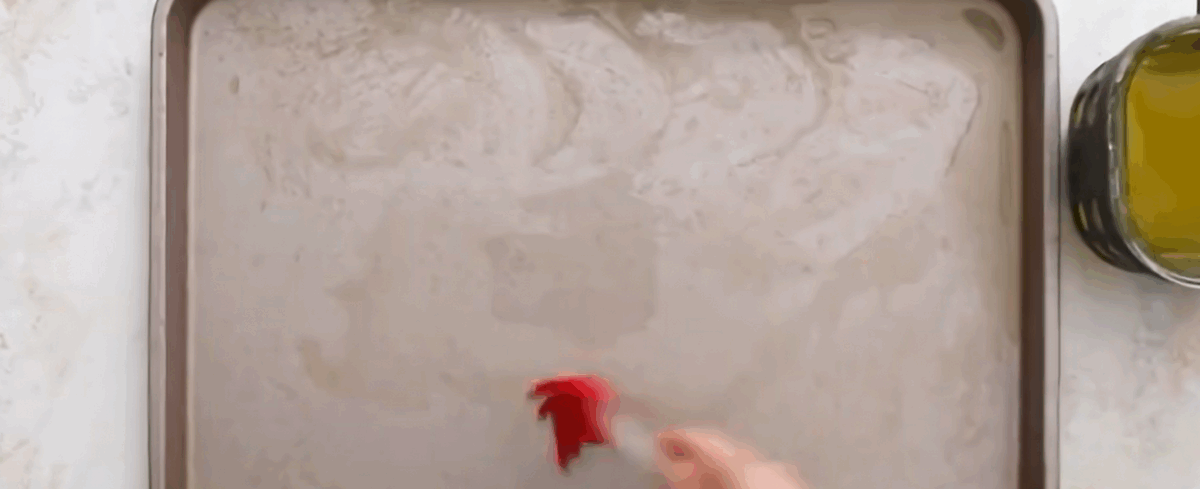
Brush baking sheet: Brush a rimmed baking sheet with 1/3 of the butter/oil mixture and set it in the oven for 2 minutes.
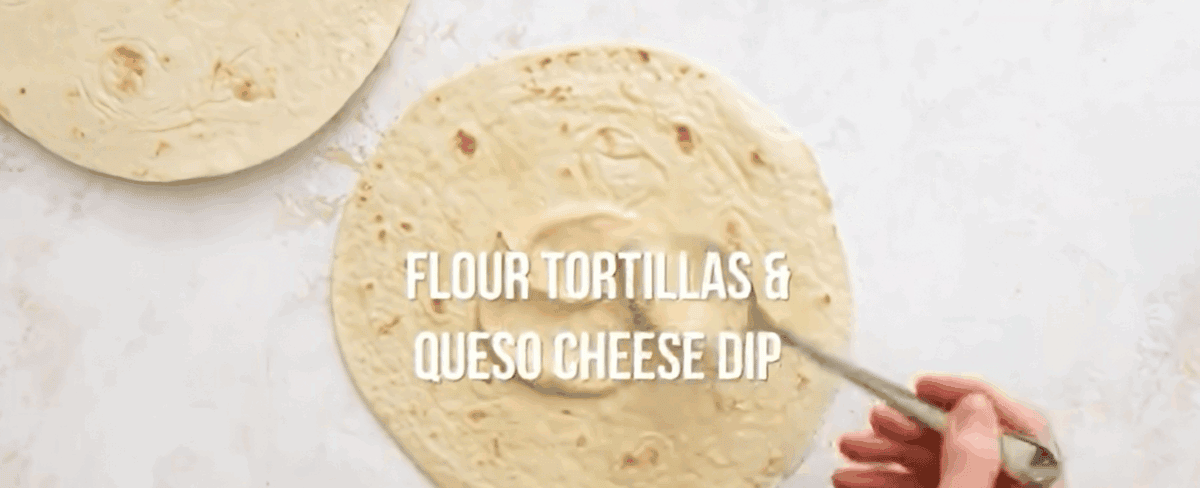
Prepare tortillas: Spread 1 tbsp queso cheese in the center of a tortilla. Add ½ cup chicken/bean mixture and 2 tbsp Mexican rice. Top with 2 tbsp shredded cheese. Fold the sides and one end of the tortilla over the filling and roll it up to the other end. Brush the pan again with the oil and butter mixture.
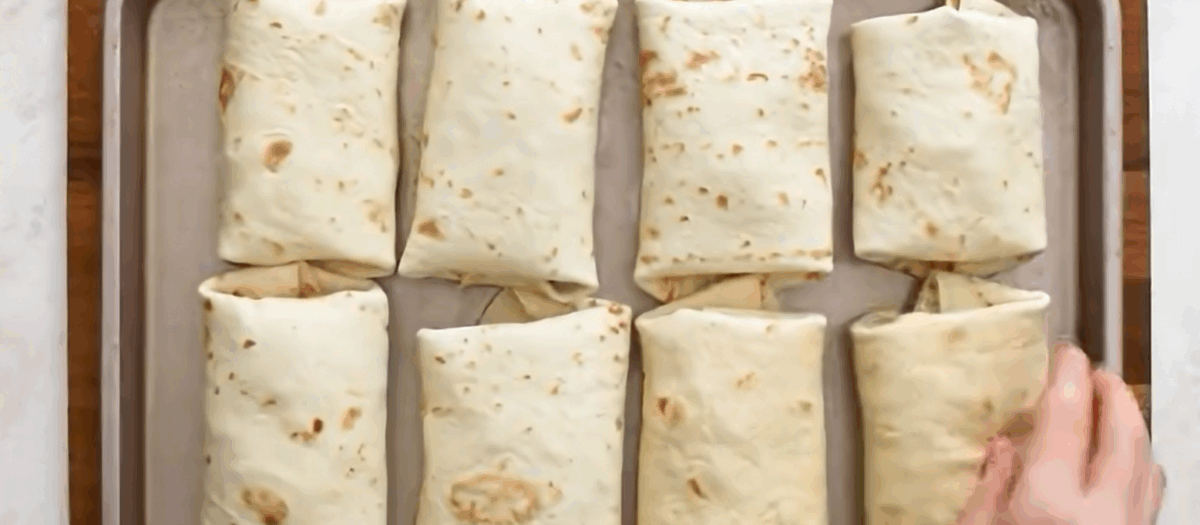
Place tortillas in pan: Press the filled tortilla down a little and place it seam-side down on the hot sheet pan. Repeat the process with all tortillas.
Flip and brush: Remove the pan from the oven and flip the chimichangas over. Brush the seam side with melted butter/oil and bake an additional 8-10 minutes or until golden and crispy.
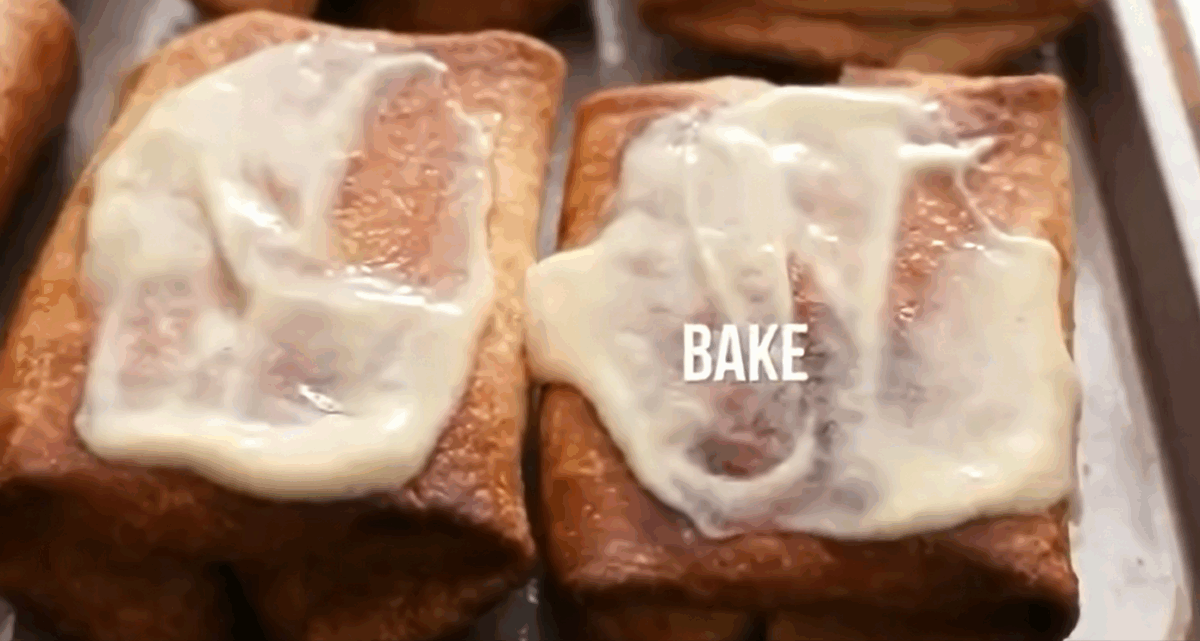
Add cheese sauce: Remove the chimichangas from the oven. If desired, spread 2 tbsp queso cheese on top of each chimichanga and return them to the oven just to melt the cheese a little.
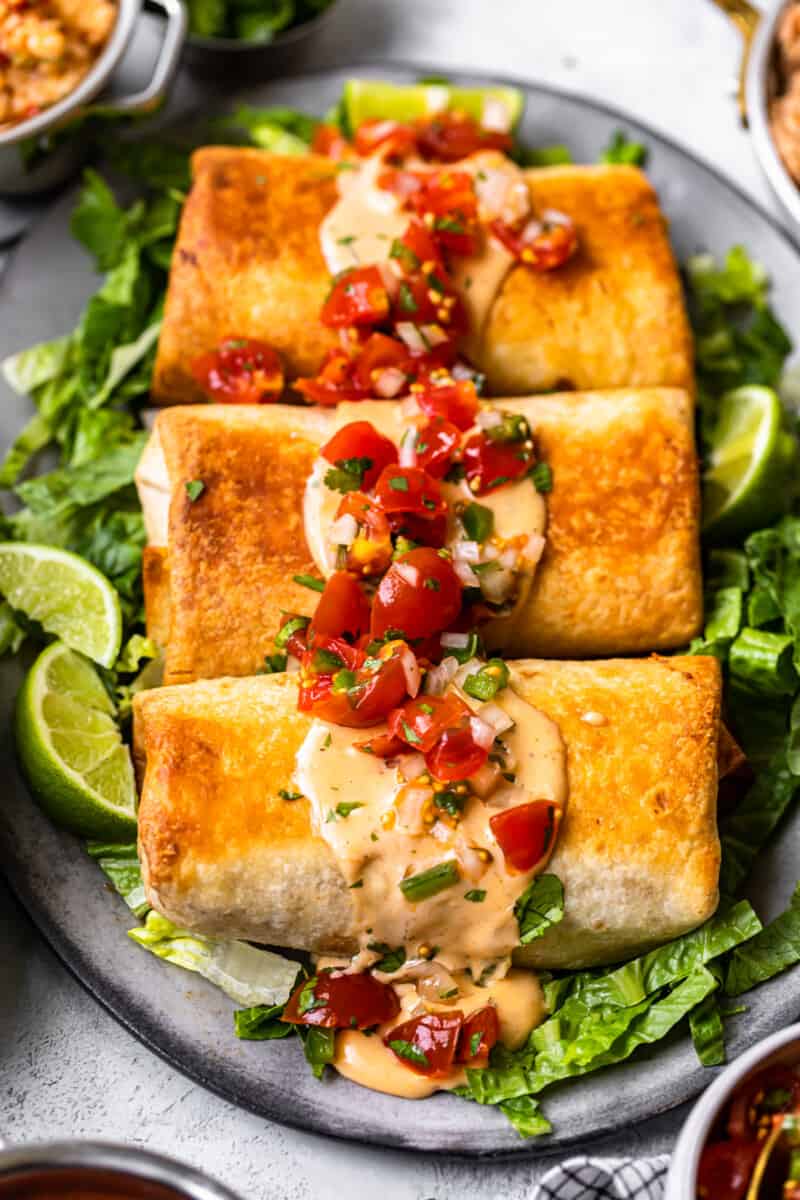
Serve and enjoy: Serve chimichangas with Mexican rice, beans, pico de gallo, shredded lettuce, sour cream, tortilla chips & salsa.
How to Store
Place leftover chimichangas in an airtight container and refrigerate for up to 4 days. To reheat, I pop them in the air fryer or oven for a few minutes to get that crispiness back (microwave works too, but they’ll be softer).
If you want to make them ahead or freeze them, wrap each chimichanga tightly in foil or plastic wrap and freeze for up to 4 months. When I’m ready to eat, I reheat straight from frozen in the oven at 375°F until heated through—no need to thaw!
Serving Suggestions
There’s a lot of filling in these chicken chimichangas, but we’re not done there. I like to add plenty of toppings as well as add extra ingredients on the side.
Top them off with queso for even more cheesiness, fresh salsa, or to keep it simple, you can sprinkle with diced tomatoes. For more flavor, a homemade taco sauce drizzled on top is always nice, or add dollops of creamy guacamole. On the side, I love serving these with a plate of refried beans, some simple Mexican rice, and chips and salsa. And of course these taste even better with a margarita, if you need a refreshing drink.


What is the best advice to make ahead? Looking at a day or 2. Company in town and want an easy mexican style meal when we return home at the dinner hour.
You could cook the filling ahead of time, but we don’t recommend assembling until you’re ready to bake them!
My family loved these and I will definitely make them again. Do you know if they would freeze well?
These absolutely freeze well, Kim! Simply wrap each chimichanga tightly in foil and place them in a Ziplock bag for up to 3 months. Let thaw overnight in the refrigerator before reheating!
they turned out perfect! I couldn’t believe the crunch it gave. The oil and butter in the beginning of the pan is less than what was indicated on the ingredient list, which brought the calorie count down quite a bit by my manual calculations at about 555 per chimichanga.
Thanks for sharing, Kristie!
These hit the spot and even my 15 year old approved!! I substituted olive oil for the canola and used spinach herb tortillas along with the regular. Will be making these again for sure!!
Sounds amazing, Jerri!
These look really good, but I’m a little confused on the portion size. Recipe says it serves 6, but you use 8 tortillas? 1.5 per person, or 1 each with leftovers?
Whatever you prefer! That’s just how it ended up working out!