
Updated


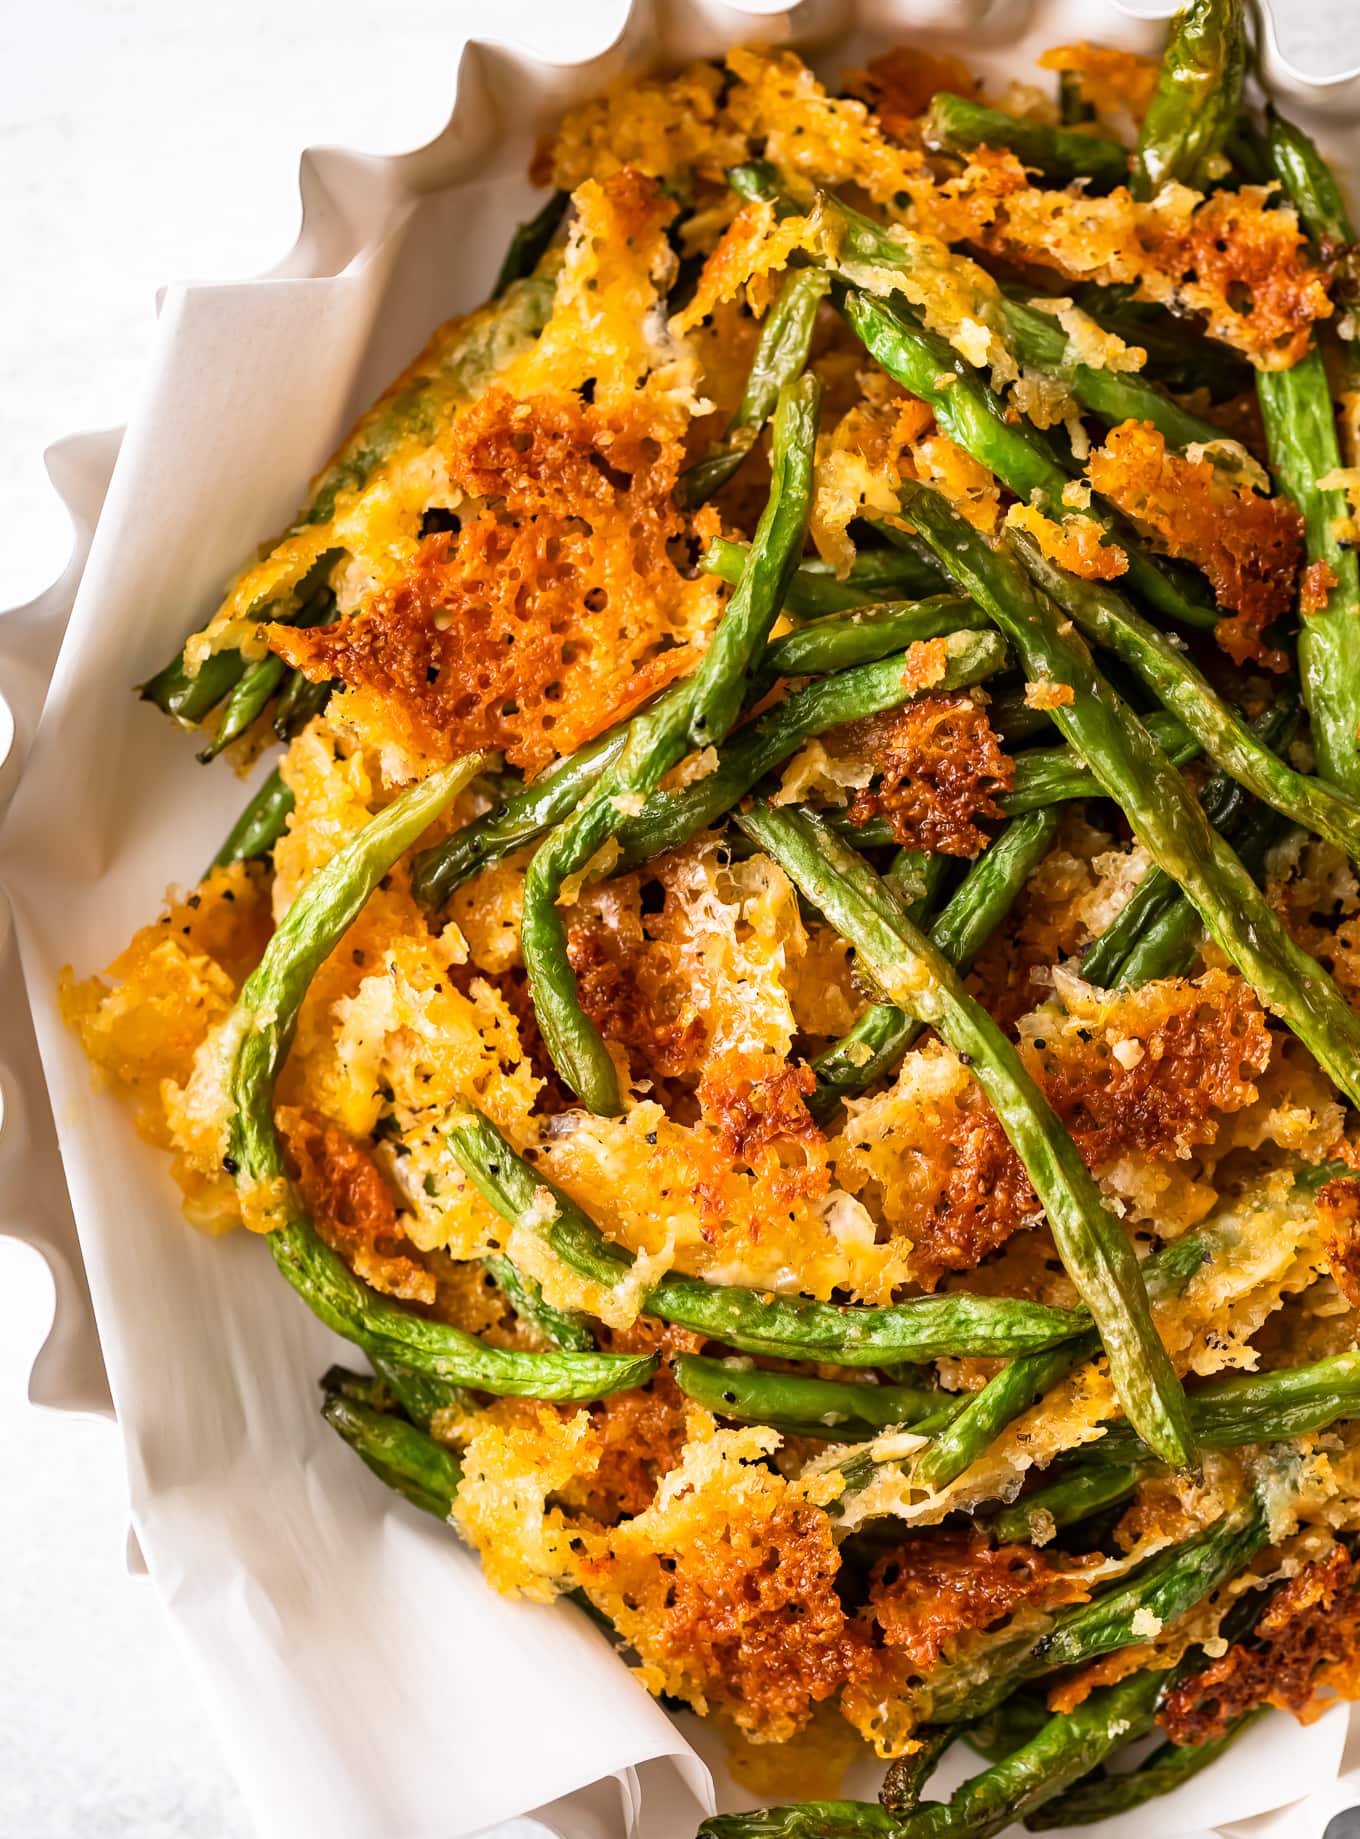
These crispy baked green beans are the ultimate cheesy vegetarian side dish. I take fresh green beans, blanch and bake them, and then toss them in a flavorful blend of crunchy panko, savory Parmesan, sharp cheddar, and spicy jalapeño cheeses before I broil them until perfectly golden. Crispy, cheesy, and packed with flavor, this easy side dish is guaranteed to be a family favorite.
Pin this recipe for later!
Pin It5-Star Review
“These are now my family’s favorite green beans!! They are perfect and cheesy and just really yummy!! Thanks so much!!” -Laurie
The Best Cheesy Baked Green Beans
I honestly don’t think there’s much better than a cheesy side dish. This one checks all the boxes with tender green beans, crispy panko, and a flavorful blend of cheeses that create the perfect balance of creamy, crunchy, and savory. It’s a colorful dish that looks impressive but comes together easily—and it’s one of my favorite ways to make sure I actually eat my veggies.
This recipe makes enough for six healthy side dish portions, but if I have more guests, it’s easily doubled, tripled, or quadrupled. I often find that guests are more interested in my delicious side dishes than the main event, and these crispy, cheesy green beans are a real treat.
Tips for Beginners
- Use the freshest green beans. Fresh green beans have the best flavor, texture, and color, which makes a big difference in this simple side dish. Look for beans that are firm, bright green, and snap easily when bent.
- Blanch the beans. This will help them to keep their vibrant color, soften their tough exterior, and help with moisture retention.
- Panko helps to keep the beans super crunchy. I find they are a much better choice than regular breadcrumbs.
- Serve straight out of the oven. These green beans are at their best when they’re hot and fresh. The panko topping is perfectly golden and crispy right after baking, while the cheeses are still warm and melty. Letting them sit too long can soften the crunchy coating, so serve them immediately for the best texture.

Cheesy Crispy Baked Green Beans
Ingredients
- 1 lb. fresh green beans washed and trimmed
- 2 tsp kosher salt divided
- 2 tbsp good olive oil
- ¼ tsp ground black pepper
- 2 tbsp unsalted butter
- 1 garlic clove minced
- ⅓ cup panko bread crumbs
- ½ cup cheddar cheese shredded
- ½ cup jalapeno pepper cheese or pepper jack, shredded
- ¼ cup Parmesan cheese grated
Video
Instructions
- Heat the oven to 400°F and line a large sheet pan with foil. Place the pan in the oven on the middle rack while the oven preheats.
- To blanch the green beans, fill a large saucepan with 3 quarts of water and 1 tsp kosher salt. Bring the water to a rolling boil. While the water boils, prepare a medium bowl with ice water and set the bowl on the counter near the saucepan. Place the green beans in the salted water and cook 1½ minutes. Immediately, use a slotted spoon to transfer the beans to the ice water and leave them submerged for 5 minutes. Drain the beans, and pour them onto a paper towel-lined platter. Use paper towels or a clean dishcloth to gently dry the beans.1 lb. fresh green beans, 2 tsp kosher salt
- In a large bowl, mix green beans, olive oil, 1 tsp salt, and black pepper.2 tbsp good olive oil, ¼ tsp ground black pepper
- Remove the heated pan from the oven and turn the beans out onto the hot pan. Cook for 5 minutes.
- While the beans cook, melt the butter in the microwave and add the garlic; mix well.2 tbsp unsalted butter, 1 garlic clove
- In a medium bowl, toss together the breadcrumbs, garlic butter, cheddar, jalapeno and Parmesan cheeses.⅓ cup panko bread crumbs, ½ cup cheddar cheese, ½ cup jalapeno pepper cheese, ¼ cup Parmesan cheese
- Remove the sheet pan from the oven and sprinkle the breadcrumb/cheese mixture over the beans.
- Turn the oven to broil and place the pan back on the middle rack. Broil the beans until the cheese is melted and begins to brown and gets crispy. Watch closely – breadcrumbs and cheese can burn easily.
- Remove the pan from the oven and transfer the beans to a serving dish. Serve immediately and enjoy.
Equipment
- Baking Sheet
Becky’s Tips
- The freshest green beans will ensure the tastiest side dish.
- To keep their vibrant color, soften their tough exterior, and help with moisture, blanch the beans.
- I find panko makes for a crunchier dish than regular breadcrumbs.
- To ensure the beans are crispy, serve right away.
- Store leftovers in the fridge for up to 3 days.
Nutrition information is automatically calculated, so should only be used as an approximation.
 Did you make this? Leave a comment!
How to Make Cheesy Crispy Baked Green Beans Step by Step
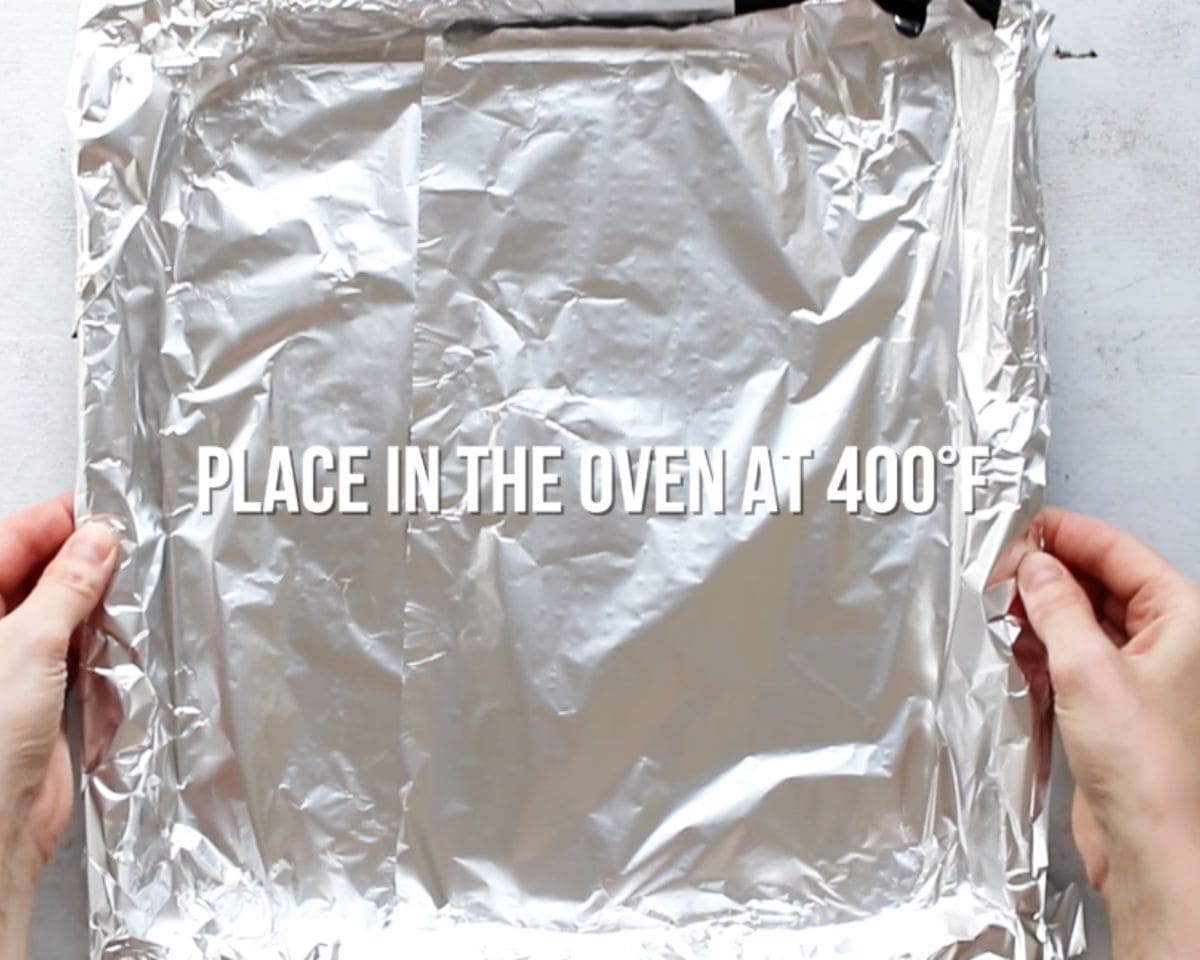
Get the oven going and prepare a pan: Heat the oven to 400°F, line a large sheet pan with foil, and place the pan in the oven on the middle rack while the oven preheats.
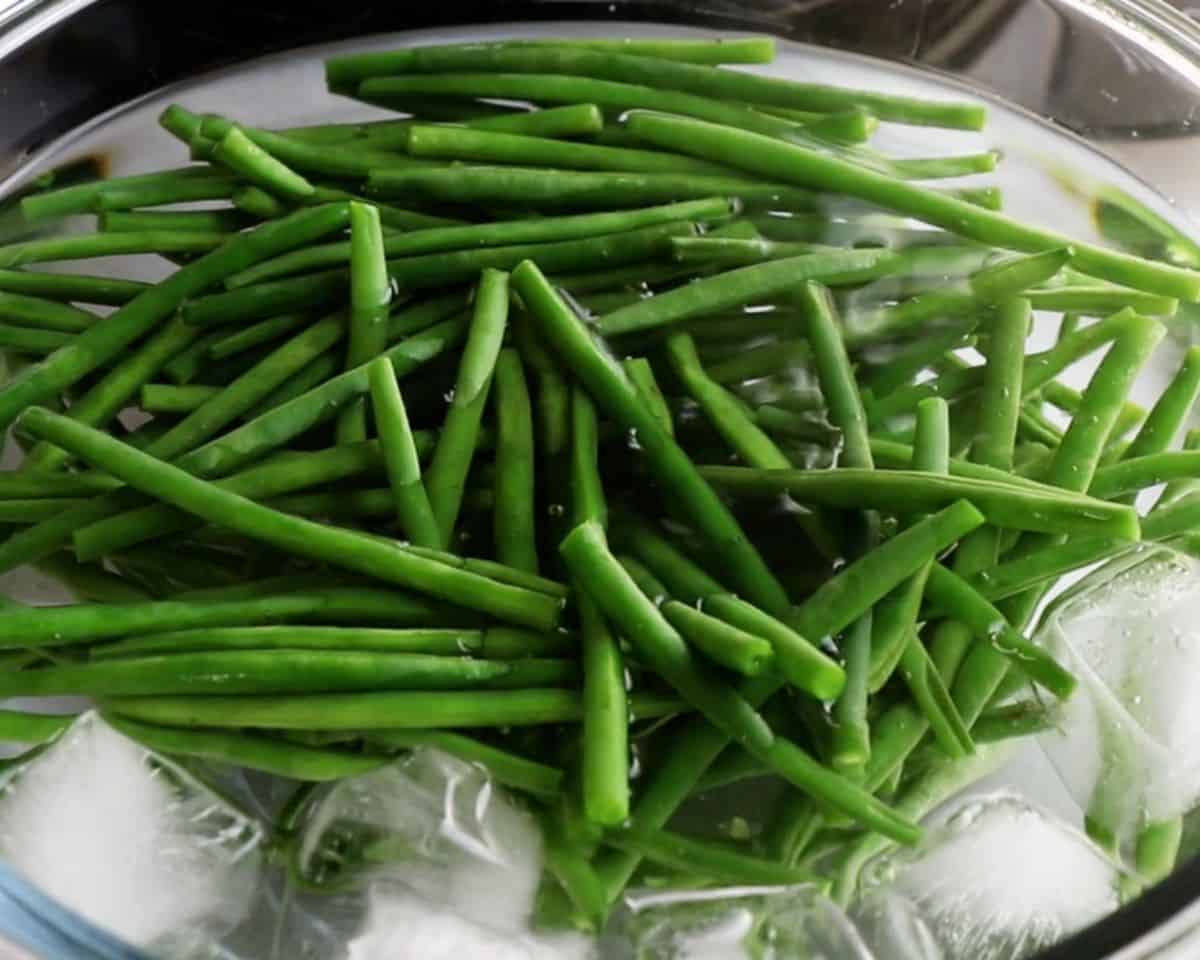
Blanch the green beans: Fill a large saucepan with 3 quarts of water and 1 tsp kosher salt. Bring the water to a rolling boil and prepare an ice bath in a medium-sized bowl. Place 1lb. green beans in the salted water and cook for 1½ minutes.
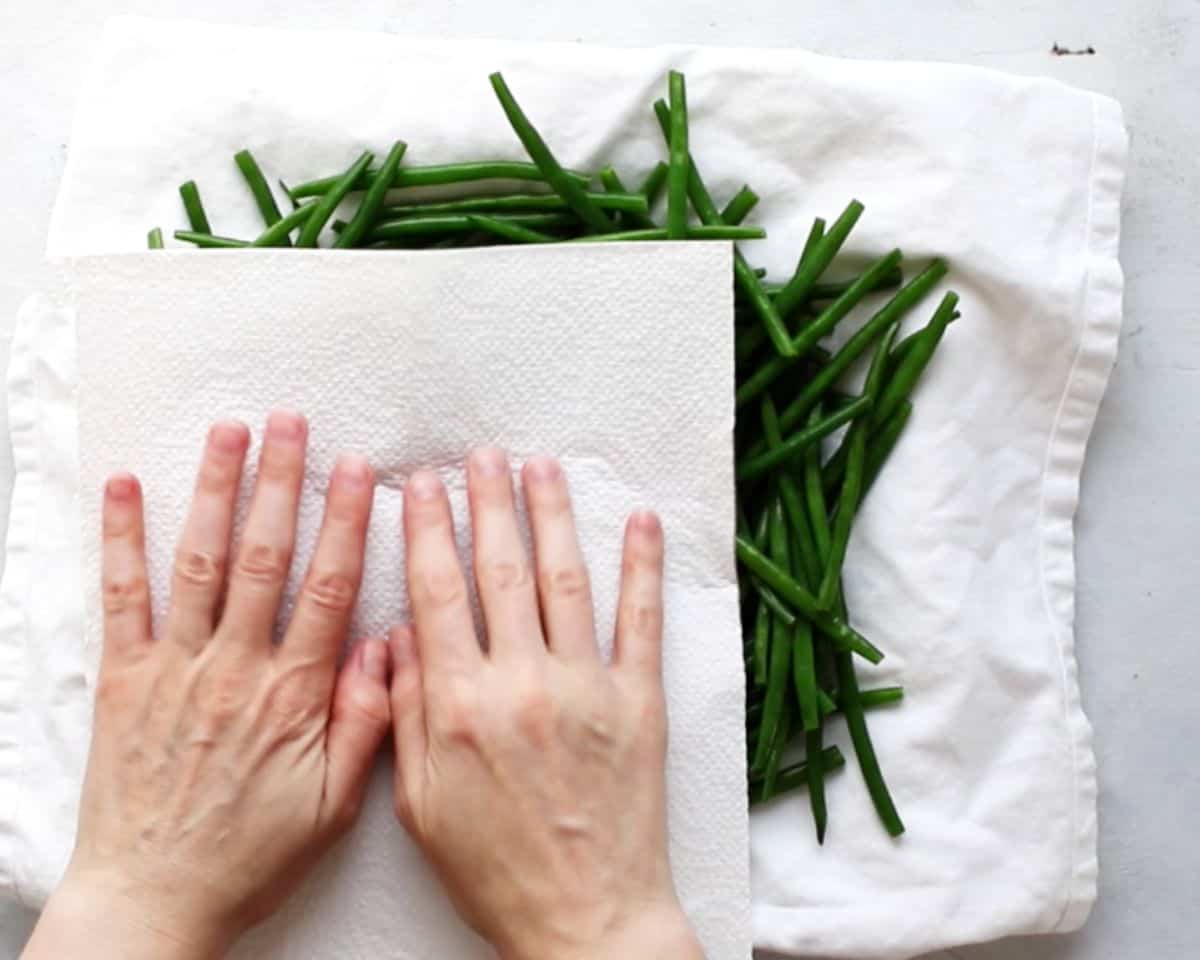
Dry green beans: Using a slotted spoon, remove from the water and submerge in the ice bath for 5 minutes. Drain, and lay them on a paper towel-lined platter. Use paper towels or a clean dishcloth to gently dry them off.
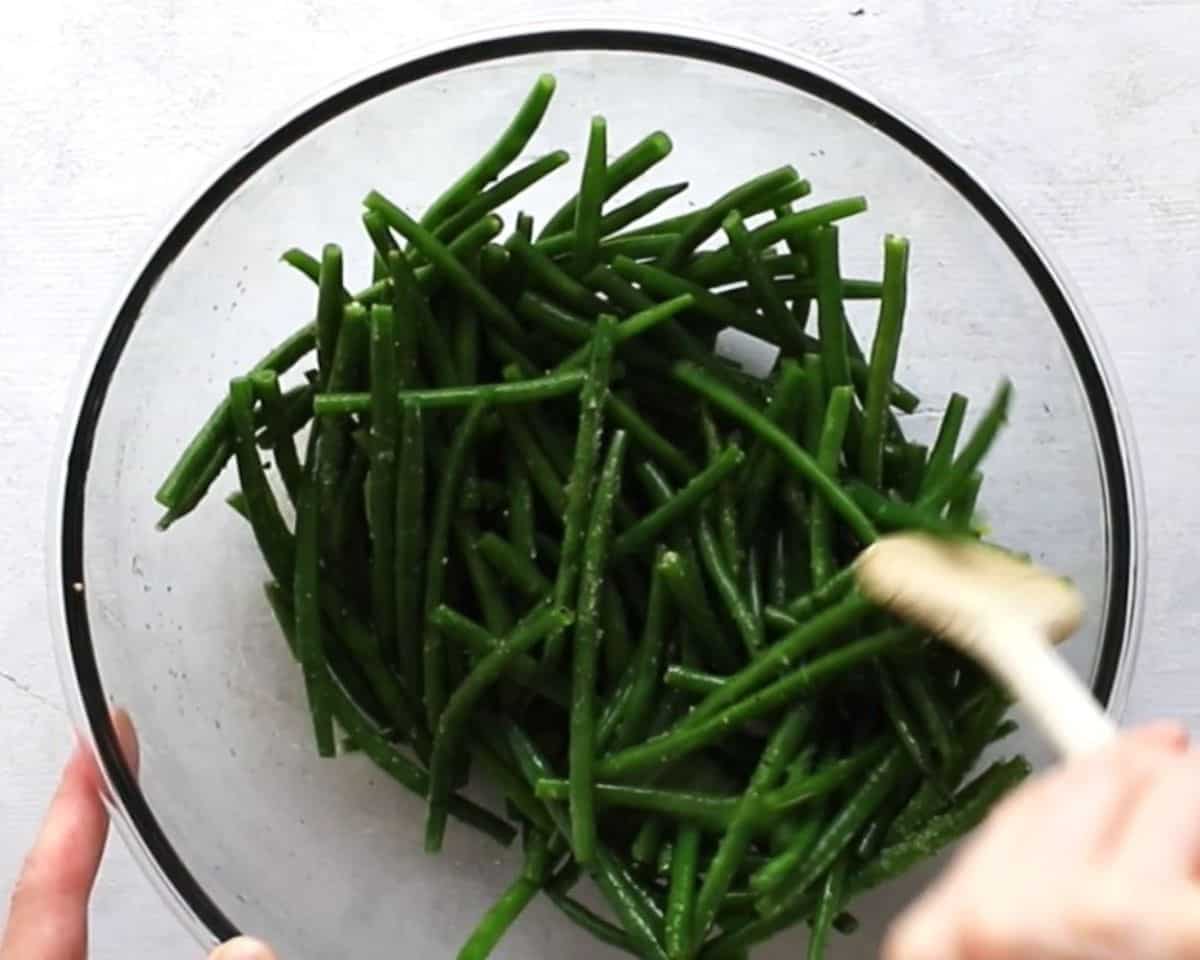
Season the beans: In a large bowl, toss the green beans with 2 tbsp olive oil, 1 tsp salt, and ¼ tsp black pepper.
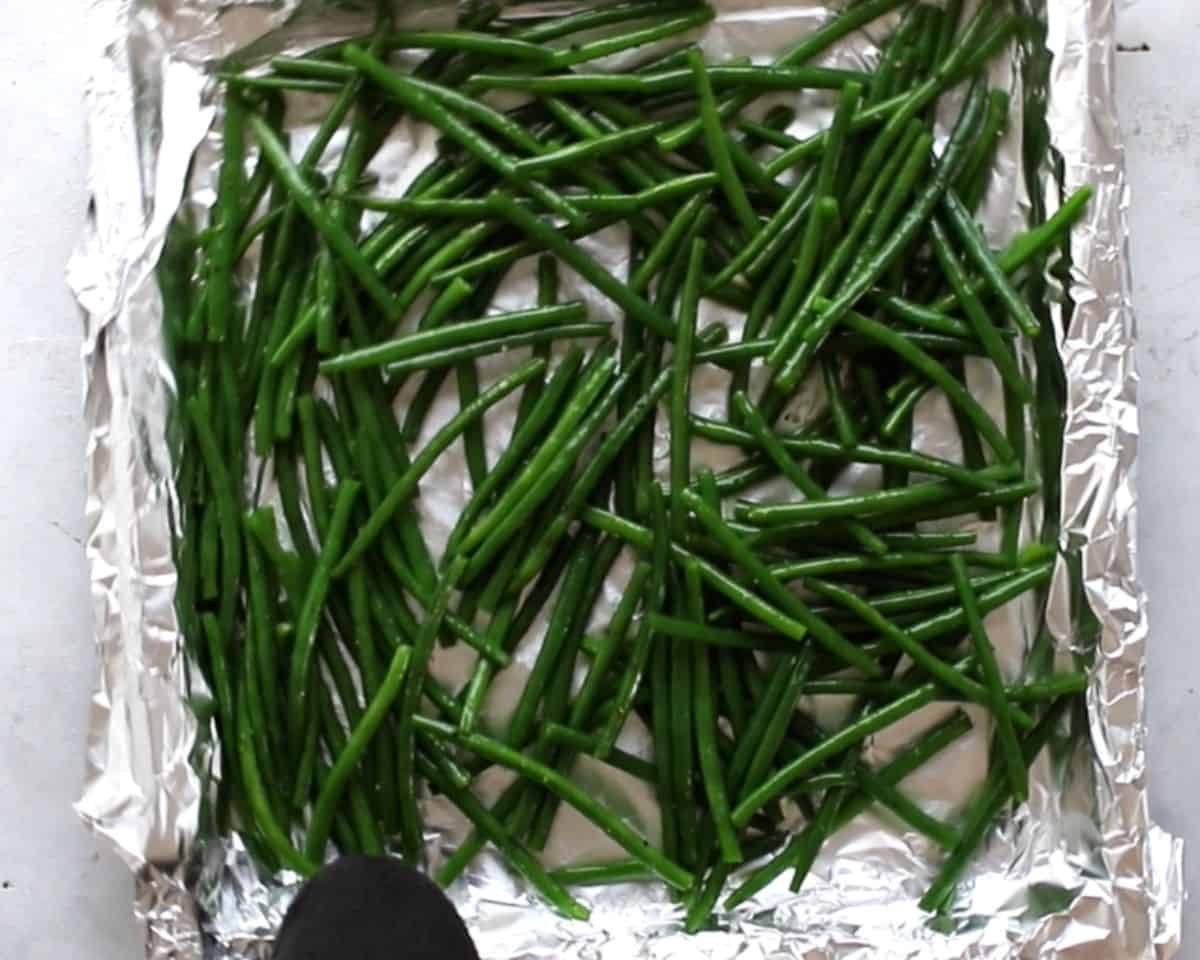
Cook the beans: Remove the heated pan from the oven, place the beans on the pan and cook for 5 minutes.
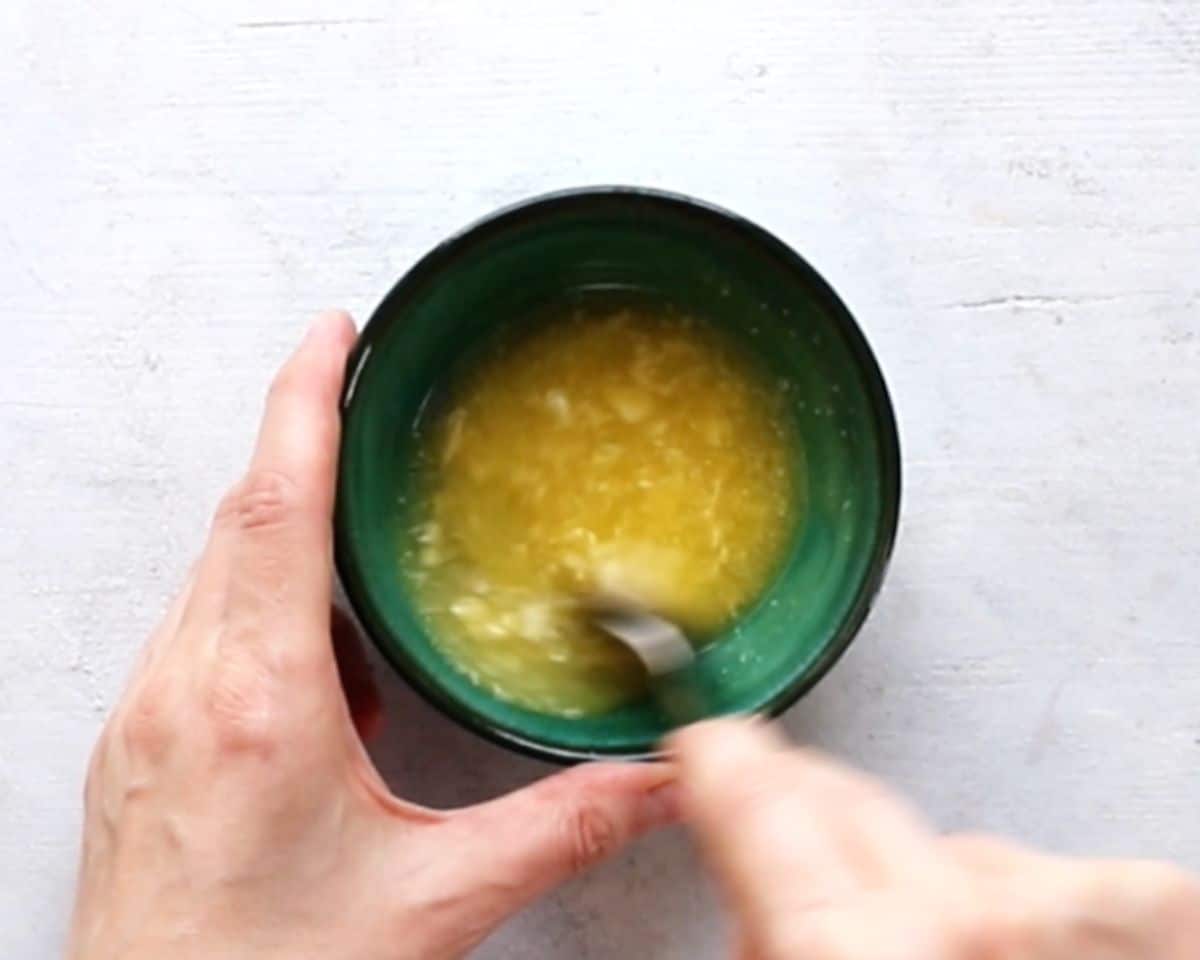
Prepare the garlic butter: Melt 2 tbsp butter in the microwave, then add 1 garlic clove and mix well.
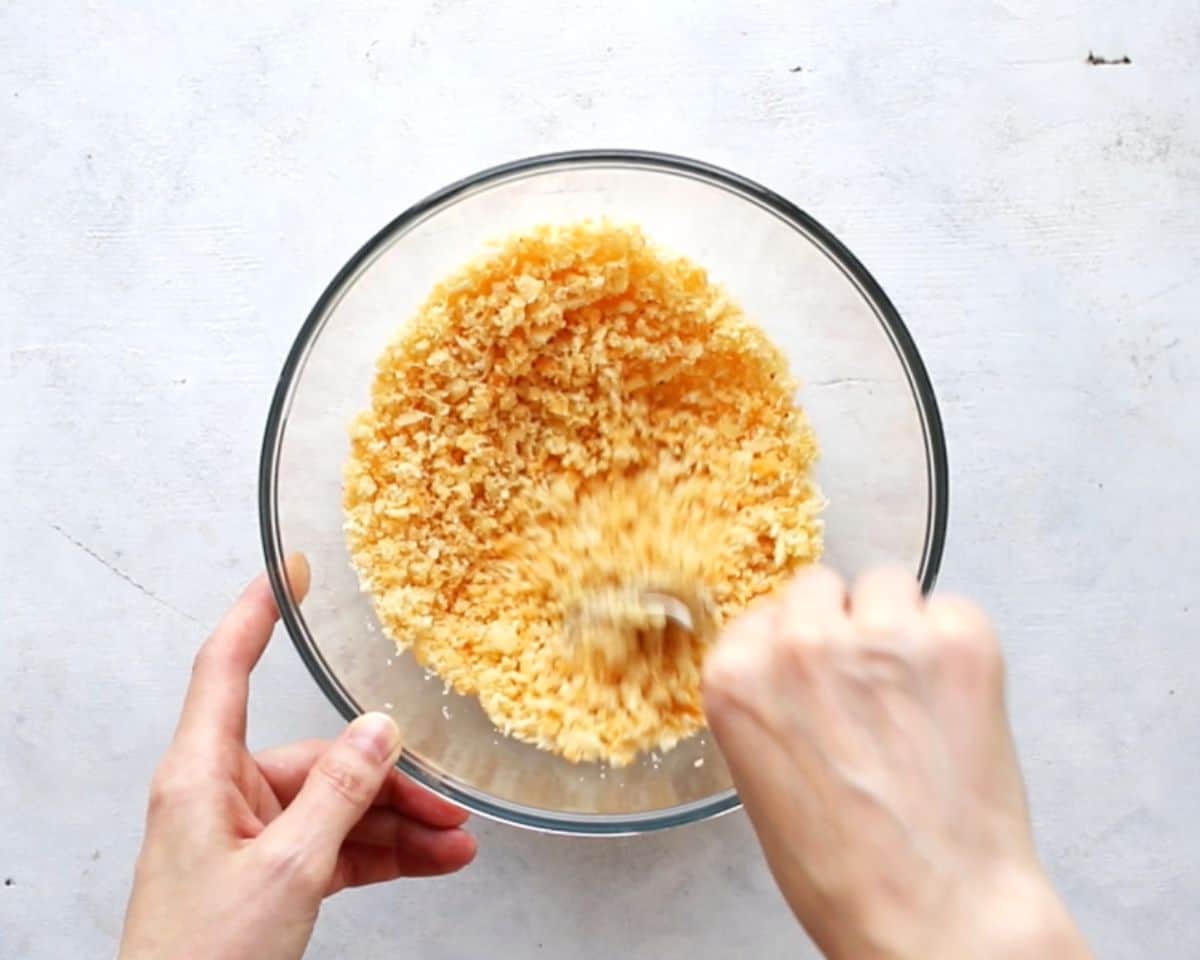
Prepare the breadcrumb mixture: In a medium bowl, combine ⅓ cup breadcrumbs, the garlic butter, ½ cup cheddar, ½ cup jalapeño pepper cheese, and ⅓ cup Parmesan cheese.
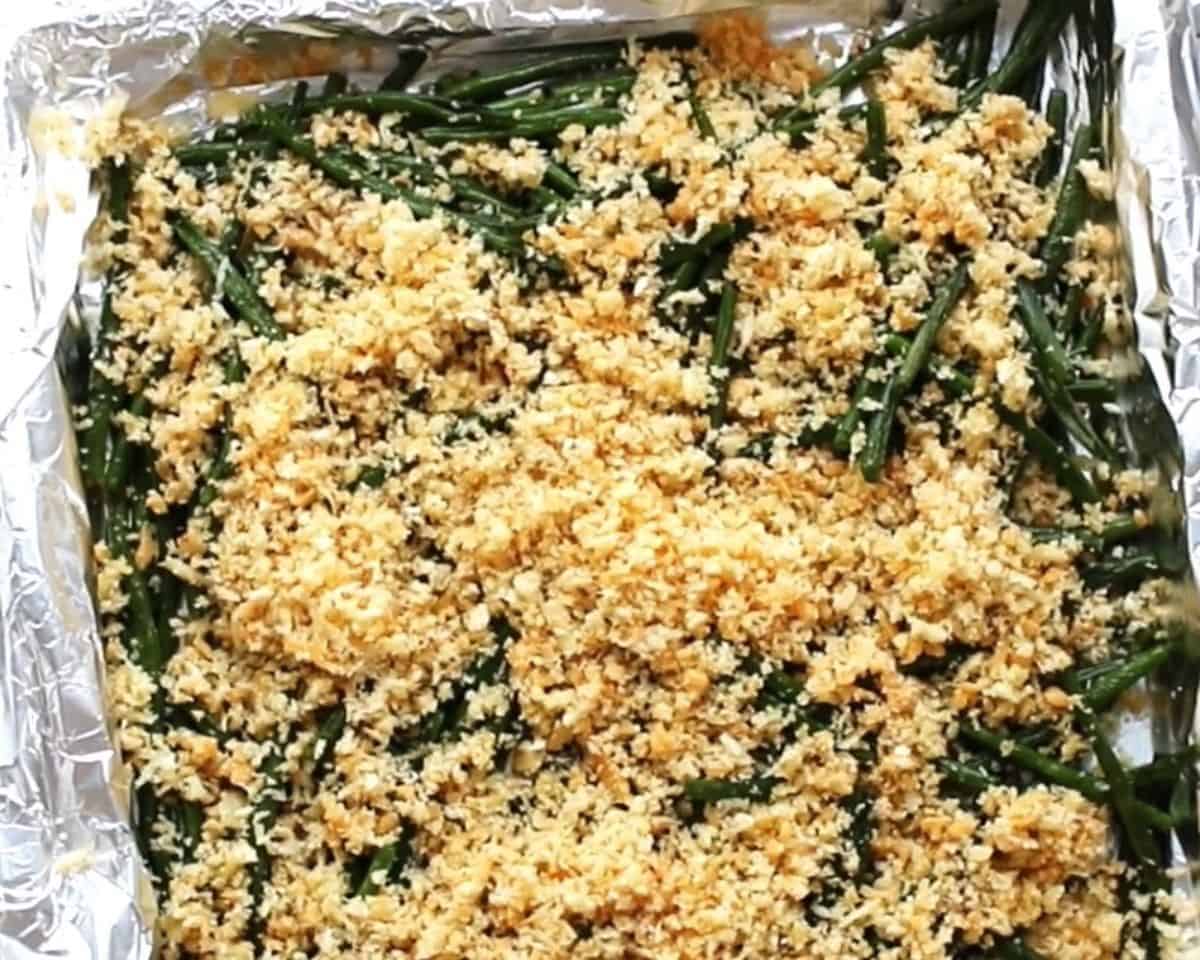
Sprinkle the mixture over the beans and broil: Take the sheet pan out of the oven and sprinkle the breadcrumb/cheese mixture over the beans.
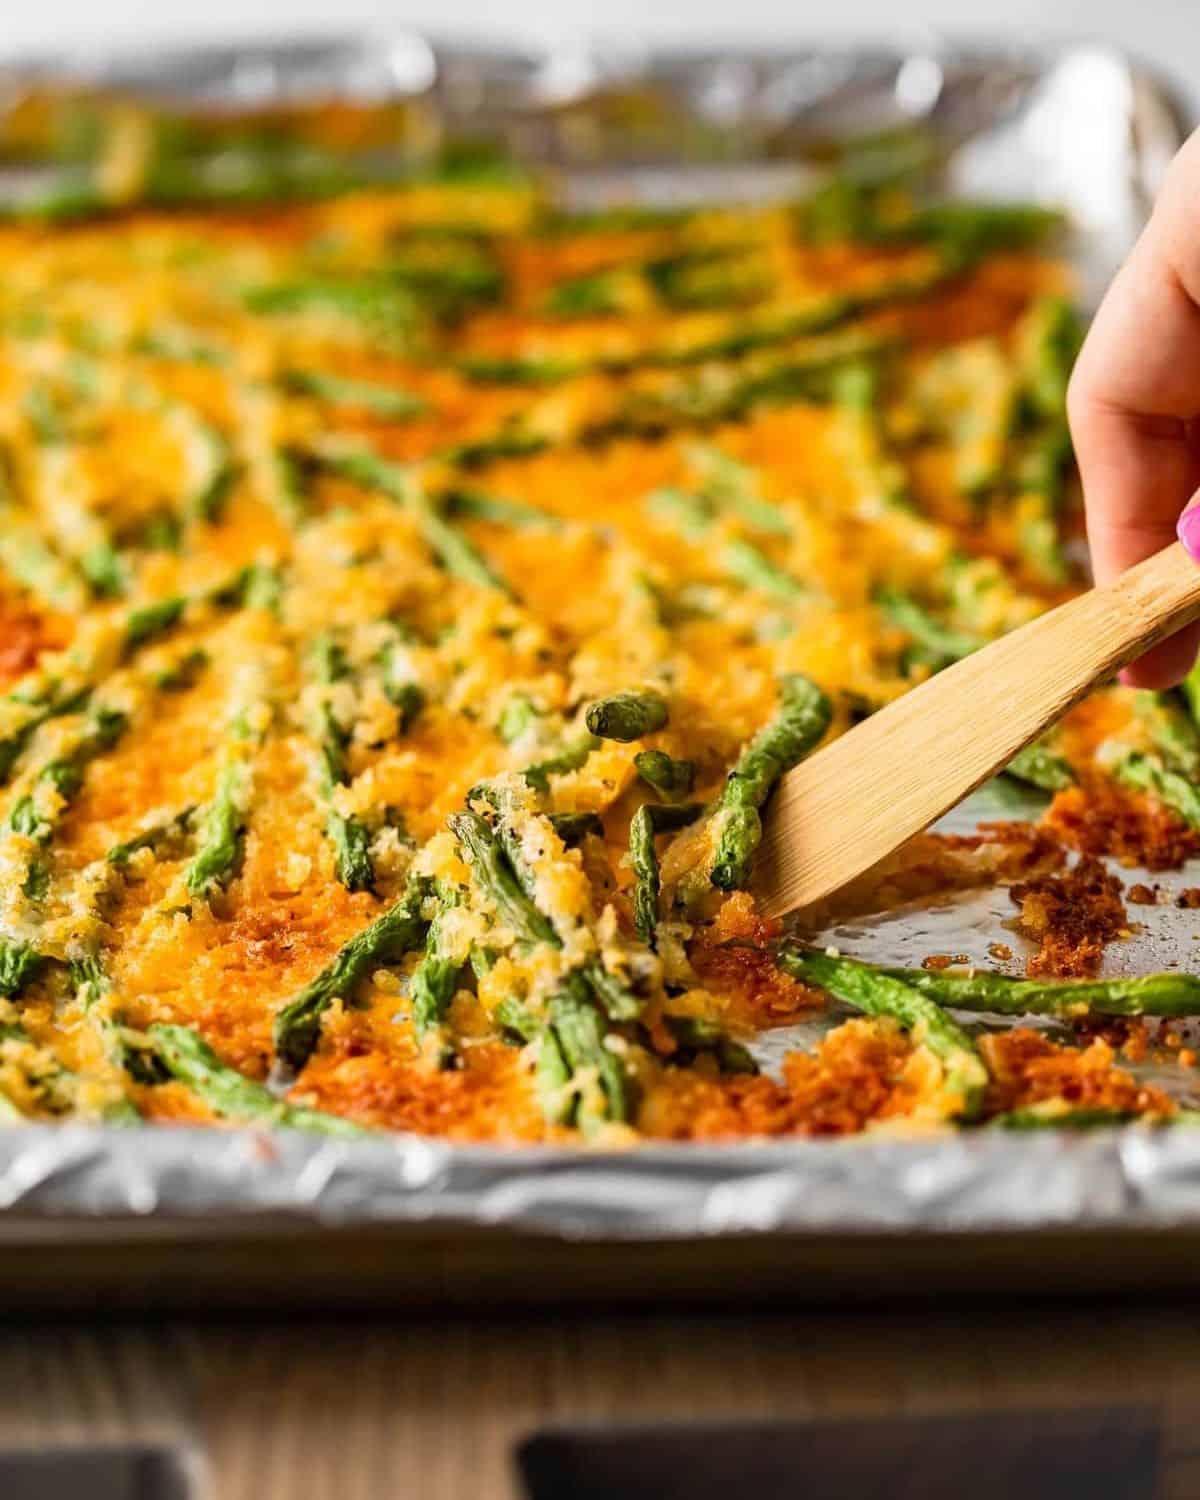
Turn the oven to broil and place the pan back on the middle rack. Broil the beans until the cheese is melted, begins to brown, and gets crispy. Watch closely as the breadcrumbs and cheese can burn easily.
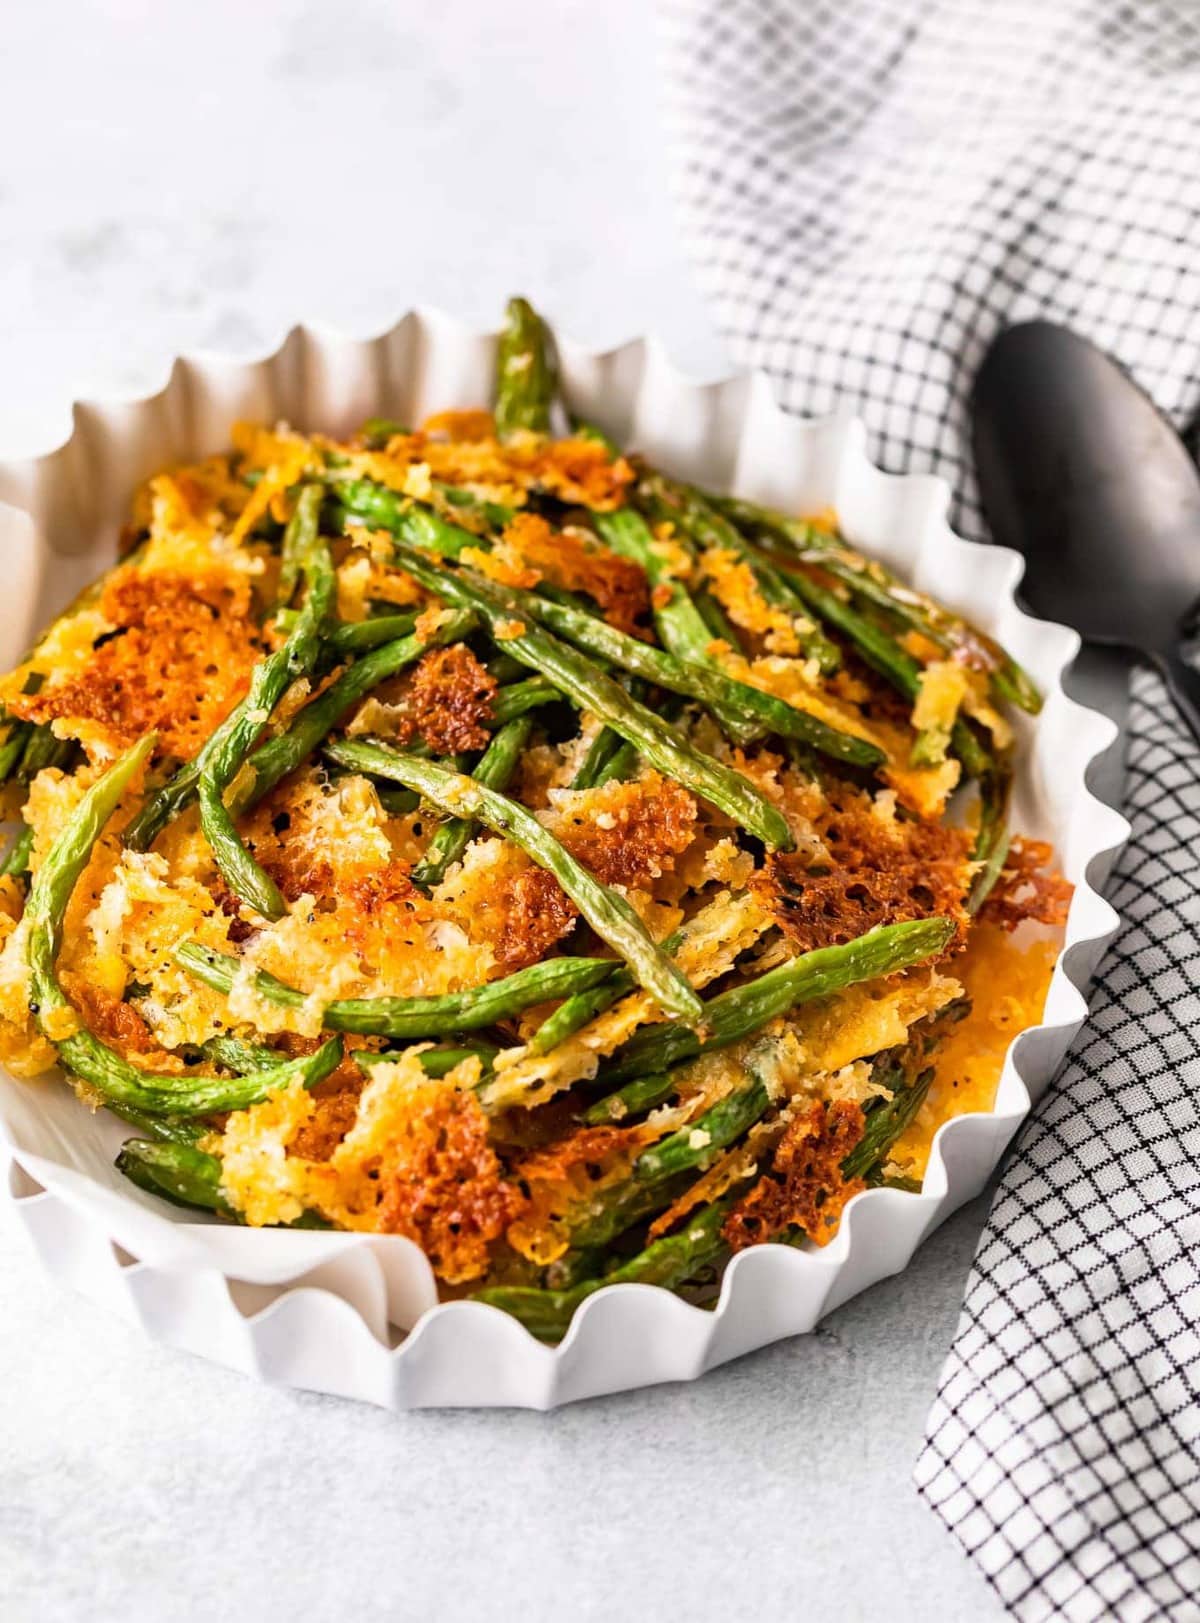
Transfer and serve: Remove the pan from the oven and transfer the beans to a serving dish. Serve immediately and enjoy.
How to Store
Store leftovers in an airtight container in the fridge for 2-3 days.
Reheat
Reheat in the oven to crisp up again. The green beans will be softer once they are stored and reheated.
Freeze
The beans can be frozen for up to 2 months, thawed in the fridge, and reheated in the oven, though they will lose some of their crunch.
Serving Suggestions
My kids absolutely love it when I serve these green beans with this crunchy pretzel crusted chicken, but I’ll often serve the beans with this comforting roasted pork shoulder or these garlic butter steak bites. These crispy green beans are great for a weeknight dinner, holiday get-together, or potluck side dish. This recipe easily feeds my family of four with leftovers the next day.
More Green Bean Recipes To Try
- These Fried Green Beans feature fresh green beans that I’ve beer-battered and deep-fried.
- Crockpot Green Bean Casserole is an easy, creamy hands-off dish perfect for holidays, potlucks, and family get-togethers.
- These Green Beans Almondine turn out crunchy and nutty and come together with just 5 ingredients.








These are now my families favorite green beans!! They are perfect and cheesy and just really yummy!! Thanks so much!!
Thanks for stopping in and sharing, Laurie!
Was wondering if I left out the bread crumbs how it would come out? I’m currently doing low carb and I think this would be a great recipe if I left out the bread crumbs.
These are so good! I just made them for lunch! Delish! Thanks again for a great recipe my family loves!! :)
Glad your crew loved it!
This is such a great idea to eat green beans! My kids loved it!
Thanks, Toni!
What a great way for me to get my kids to eat green beans! Super cheesy & super tasty!! YUM!
Thanks, Kristyn!
The crispier the better if you ask me! These are so delicious!
What a great idea to add all that cheese to green beans! We absolutely loved them!
What a delicious side dish! This was the perfect side dish with dinner; my kids loved the cheesy crunch!
Thanks, Sara!