
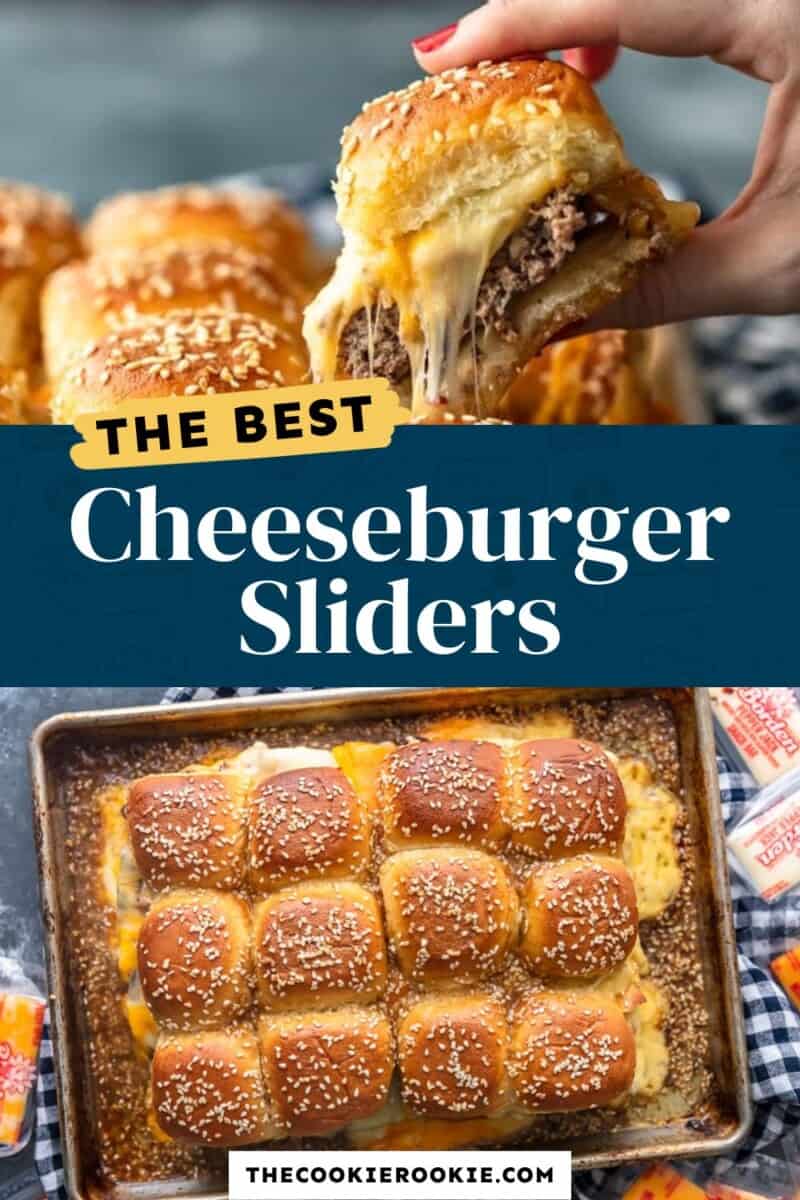
Cheeseburger Sliders are a fun and easy meal perfect for those busy school nights or fun game days! When I’m not sure what to make for dinner, my son Henry always requests these. There’s nothing better than these easy baked sliders for feeding a hungry crowd. It’s a recipe we make throughout the year and also one of our favorite game day recipes.

This post may include affiliate links that earn us a small commission from your purchases at no extra cost to you.
What’s in this Cheeseburger Sliders Recipe?
I simply cannot get enough baked sliders in my life. Being a parent is busy, especially around back to school, and these cheeseburger sliders are just one way I make life easier. I tested several ways to make the burger part of these sliders, and once I developed this technique, I knew I’d found a winner. Here’s what I included in the recipe:
- Ground Beef: These sliders are made using a huge ground beef burger patty! It’s easy to make and provides a tasty and juicy base for our cheeseburgers. We recommend using lean ground beef.
- Sautéed Onion: Although optional, the sautéed onions are my favorite part of these sliders. We usually add them to half the pan to make sure everyone at the party can enjoy a slider.
- Hawaiian Rolls: I love the subtle sweetness that using Hawaiian roll slider buns provides. You can use your favorite rolls if you prefer.
- Quality Cheese: We used cheddar, Swiss, pepper jack, and provolone. It was fun to make every cheeseburger a little different. Use your favorite quality cheese slices and don’t be afraid to get creative! We might try pub cheese for the Super Bowl!
- Sesame Butter Spread: This really takes the flavor profile up a notch! It’s a simple addition that we hope you try.
Pro Tip: I always check the internal temperature of the meat in the center of the pan with an instant-read thermometer. Use my burger temperature chart to find the perfect temp for you!
Variations on Hawaiian Roll Cheeseburger Sliders
I’ve chosen to make our baked sliders with bacon, onion, and cheese, but there are so many ways you can change things up and keep things fun. Here are some ways we have customized this recipe:
- Add some peanut butter! Have you ever heard of a goober burger? It’s a cheeseburger topped with peanut butter. Sounds weird but trust me; they’re delish. It’s a bit of a Missouri tradition (the Wagon Wheel Inn was somewhere we frequented in my childhood). I hope you give it a try because it’s truly fantastic.
- Add other toppings such as tomatoes, bacon, pickles, or more! Any ingredients that won’t wilt (aka lettuce) would be a great addition to these baked burgers! I like to have a toppings bar on hand when feeding a crowd.
- Get creative with the cheese selection. Cheeseburgers are meant to be made with all kinds of different cheeses. I want to try pub cheese on these next!
- Use Chicken or Turkey instead of Beef. Any ground meat will work in this fun and easy recipe. Win! Buffalo Chicken would be a fun variation!

How to Store and Reheat
Store leftover cheeseburger sliders in an airtight container, or wrapped tightly in aluminum foil for up to 4 days. Reheat in a 350°F oven for 15-20 minutes, or until warmed through.
How to Freeze
Freeze these baked sliders individually wrapped in 2 layers of plastic wrap and 1 layer of aluminum foil for up to 3 months. Let thaw overnight in the refrigerator before reheating.
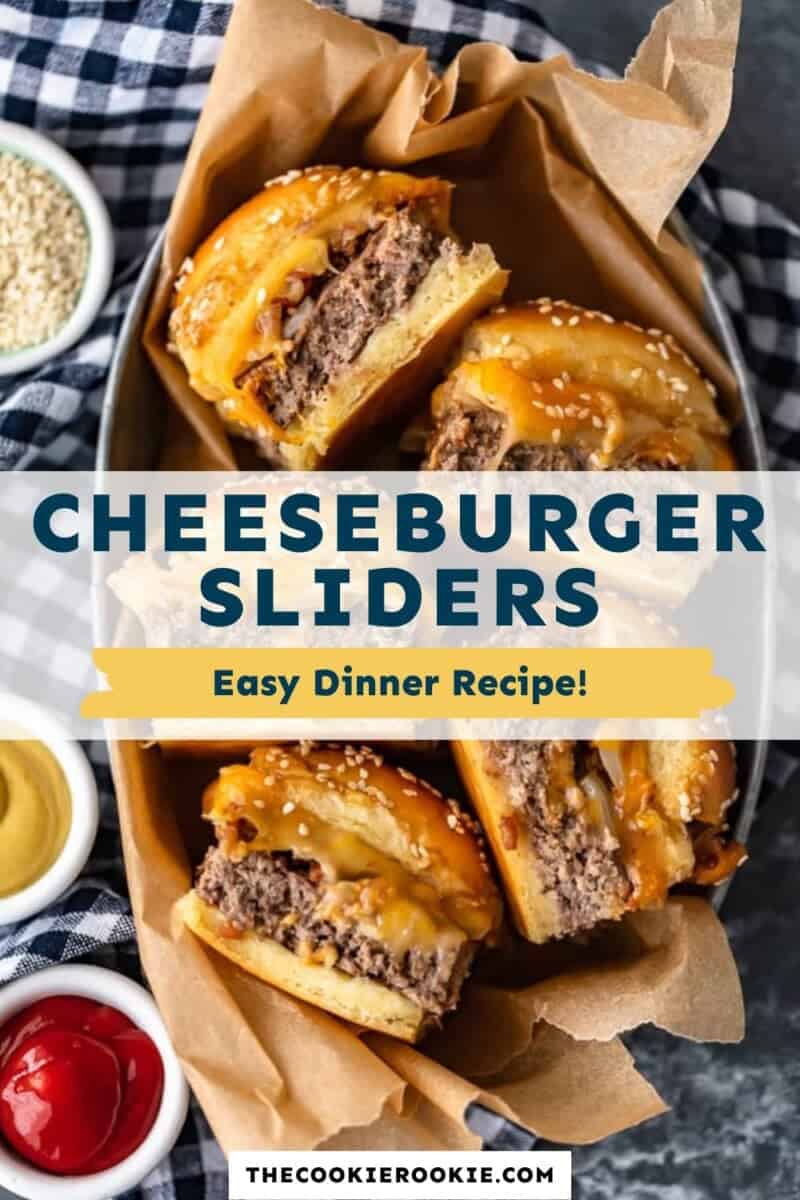
Serving Suggestions
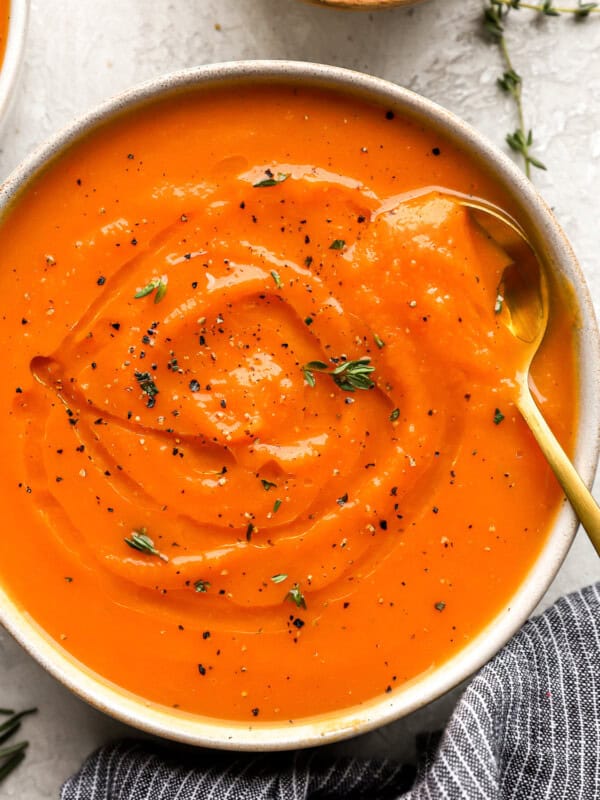
The great thing about these cheeseburger sliders is that they’re so versatile. I serve them on their own as an appetizer, or serve them with everything from French fries to soft pretzels. Some of my favorite kid-friendly sides are avocado fries, baked sweet potato chips, tater tots, corn ribs, and loaded mac and cheese.

5-Star Review
“This is bar none one of the most delicious recipes I have ever made. My husband was over the moon! Thank you!!” – Lisa
Cheeseburger Sliders Recipe

Equipment
Ingredients
For the Cheeseburgers
- 2 pounds lean ground beef
- 2 teaspoons garlic powder
- 1 teaspoon kosher salt
- 2 teaspoons ground black pepper
- 1 tablespoon olive oil
- ½ white onion diced
- 12 slider-sized Hawaiian rolls (1 package)
- 12 (¾-ounce) cheese snack bars any flavor — I used Borden
For the Glaze (Optional)
- ¼ cup unsalted butter melted (½ stick)
- ½ teaspoon kosher salt
- 2 tablespoons brown sugar
- 3 teaspoons Worcestershire sauce
- 2 tablespoons Dijon mustard
- ½ tablespoon sesame seeds
Instructions
- Preheat oven to 350°F
- Combine the beef and spices in a bowl.2 pounds lean ground beef, 2 teaspoons garlic powder, 1 teaspoon kosher salt, 2 teaspoons ground black pepper
- Press the beef into the bottom of a 9×13-inch baking dish into a flat and even layer.
- Bake for 20 minutes. Drain the liquid and set aside.
- In a large skillet set over medium-high heat add the olive oil. Add in the diced onion and stir to coat. Cook until onion is translucent and fragrant. Drain excess oil fully and set aside.1 tablespoon olive oil, ½ white onion
- Slice the rolls in half lengthwise. Place the bottom half in the same baking dish.12 slider-sized Hawaiian rolls
- Top the bottom half of the rolls with the cooked beef, then the onions, then slices of cheese in a single layer. Top with the top half of the rolls.12 (¾-ounce) cheese snack bars
- In a small bowl combine the melted butter and all other ingredients for the butter topping. (optional, see note)¼ cup unsalted butter, ½ teaspoon kosher salt, 2 tablespoons brown sugar, 3 teaspoons Worcestershire sauce, 2 tablespoons Dijon mustard, ½ tablespoon sesame seeds
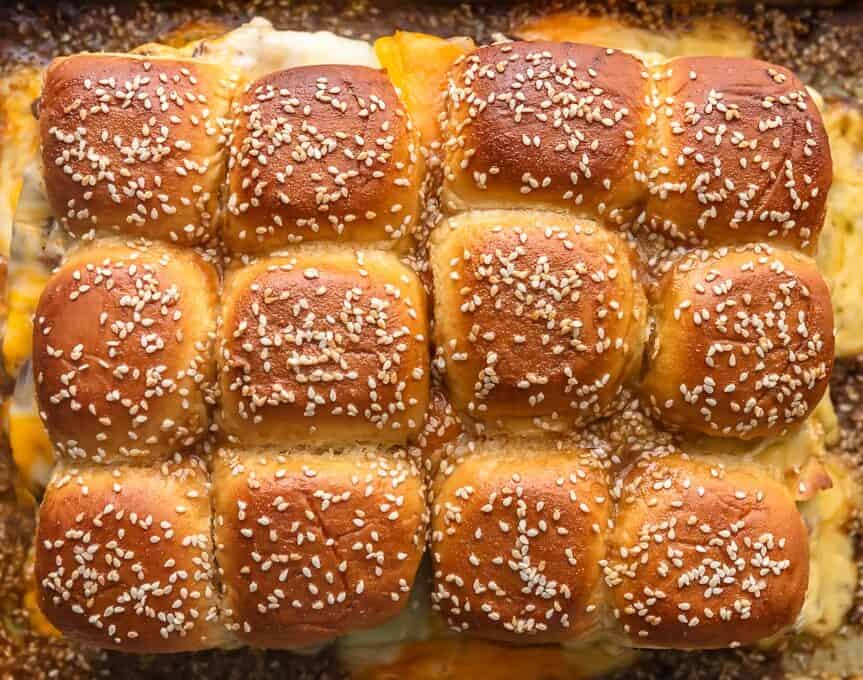
- Brush the tops of the rolls liberally with melted butter (or pour it over) mixture and sprinkle the sesame seeds on top.
- Bake for an additional 20 minutes, or until the bread is toasted and the cheese is melty.
- Slice into individual sliders and serve hot. Enjoy!
Video
Becky’s Tips
- The Sesame Butter is optional. You can use as little or as much as you’d like. It helps to keep the bread from getting too dry and toasted. Alternatively, you can tent the dish with foil to keep the tops from burning.
- Check the internal temperature of the meat in the center of the pan with an instant-read thermometer. Use my burger temperature chart to find the perfect temp for you!
Nutrition information is automatically calculated, so should only be used as an approximation.


These turned out great, so easy! I used Muenster cheese slices and no seeds just because that’s what I had on hand. Kids loved them and so did we! Thank you!
Thanks for sharing!
Sorry to hear it wasn’t up to your taste!
I am very excited to make these. One question – do you use the same baking sheet you cook the hamburger meat on to cook the sliders on? Or can you cook the hamburger meat in a skillet on the stove top? Will it come out the same? It’s 9 am and I am so hungry for these already!
The first one is the easiest way but definitely do what you’re comfortable with!
We make these regularly. We also add a layer of crispy bacon under the cheese because…well, teenage boys 😁
Great recipe!
Sounds amazing, Dawn!
There is always a link at the top that says “recipe” that will take you right to it, if the blog part is not your forte! I hope that helps in the future :)
Family favorite! I didn’t have poppy seeds or mustard and they were still delish! I continue to make it that way, because we love the sweet sauce so much!
Thanks, Lindsay!! I’m so glad you loved it so much!!
These were great. Recipe as posted. My only problem was soggy bottoms. I mean, really gross soggy bottom buns. How do I prevent that? Maybe my burger wasn’t cooked enough when I put it on the bun?? I figured it shouldn’t be fully cooked since it was going back in for another 20 minutes.
Yes, try cooking the burger more before putting it on the bun!
did you remember to drain the grease from the the just cooked burger meat, before placing the bottom half of the buns back in?
Look at the video. The buns were assembled on a parchment lined baking sheet .
Great and so easy. Even my husband loves them.
That’s so awesome to hear!! Thank you!
How do you transfer the beef out of the baking dish, and then on to the bottom half of the buns? I watched the video but it didn’t show this part of the process. Thank you!
I drained the liquid out of the baking dish, patted it dry with a paper towel, and then used a fork/spatula to transfer it over to on top of the bottom buns. If you let it cool slightly you can just use your hands (or a clean towel). Hope that helps!
So you use the same baking dish you cooked the burgers in? You then take out the hamburger, pat dry, then place bottom buns in, then put the hamburger buns on top?
This came out so good! Mmmmm mmmm mmmm! I made it exactly as described and it turned out perfectly!
Yay! So happy to hear that!!!